


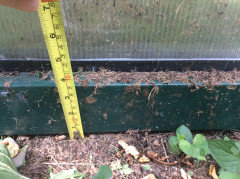
Paver base: How do I use it?
G K
3 years ago
last modified: 3 years ago
Featured Answer
Comments (14)
Related Professionals
Panama City Landscape Architects & Landscape Designers · Sand Springs Landscape Architects & Landscape Designers · Columbine Landscape Contractors · Gaithersburg Landscape Contractors · Kaneohe Landscape Contractors · Hull Decks, Patios & Outdoor Enclosures · New Lenox Decks, Patios & Outdoor Enclosures · Roanoke Decks, Patios & Outdoor Enclosures · Lake Forest Swimming Pool Builders · Tempe Landscape Architects & Landscape Designers · Manhattan Beach Landscape Architects & Landscape Designers · Middle River Landscape Architects & Landscape Designers · Manchester Landscape Contractors · Fuquay-Varina Landscape Contractors · Eastvale Solar Energy Systems
kudzu9
3 years ago
G K
3 years agolast modified: 3 years agokudzu9
3 years agolast modified: 3 years agokevin9408
3 years agolast modified: 3 years agoG K
3 years agolast modified: 3 years agokudzu9
3 years agoG K
3 years agolast modified: 3 years agokudzu9
3 years agoG K
3 years agolast modified: 3 years agokudzu9
3 years agokevin9408
3 years ago PRO
PROYardvaark
3 years ago


Related Stories
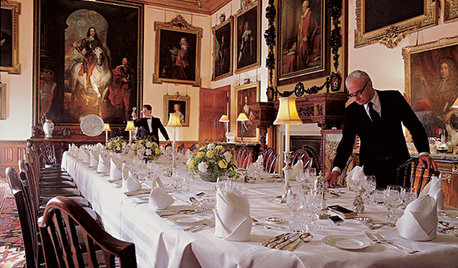
FUN HOUZZEverything I Need to Know About Decorating I Learned from Downton Abbey
Mind your manors with these 10 decorating tips from the PBS series, returning on January 5
Full Story
GARDENING AND LANDSCAPING8 Great Ways to Use Landscape Pavers
Today's Stepping Stones Define a Space While Adding Affordable Style
Full Story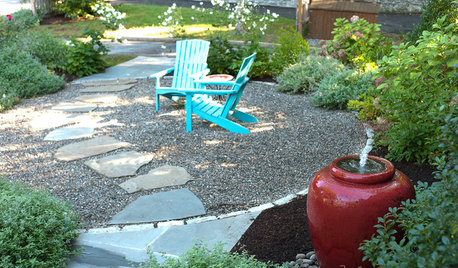
GARDENING AND LANDSCAPINGPatio Pavers Rock Out
Pair stone or gravel with bigger pavers for a patio design that guests will pay tribute to
Full Story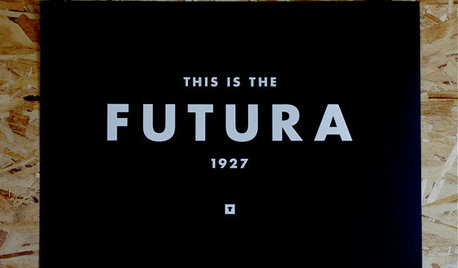
PRODUCT PICKSGuest Picks: Type-Based Art Prints
These 19 typography-focused art prints with proverbs, inspirational quotes and more know how to say it in style
Full Story0
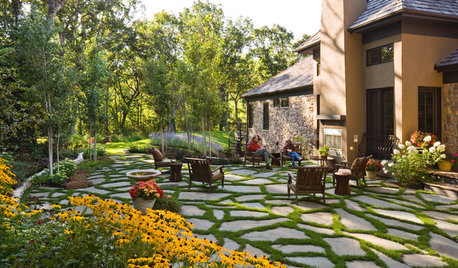
GARDENING AND LANDSCAPINGPatio Pavers Go Green in Between
Kind to the environment and easy on the eyes, pavers with moss or other foliage in the joints create a charming permeable hardscape
Full Story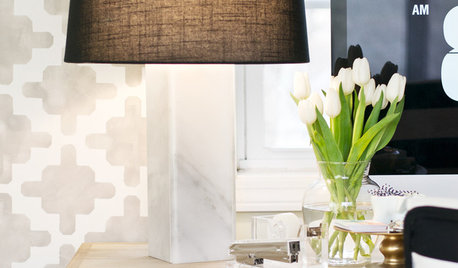
DIY PROJECTSMake a Marble Lamp Base With Tile
Get a lamp base that looks high end but costs only around $20, using basic tools and easy-to-find materials
Full Story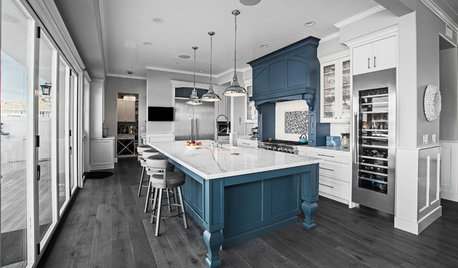
LATEST NEWS FOR PROFESSIONALSDesigning a Business: When and How Do I Outsource My Work?
Design business coach Chelsea Coryell weighs in on when you may need help and what another pro can take on
Full Story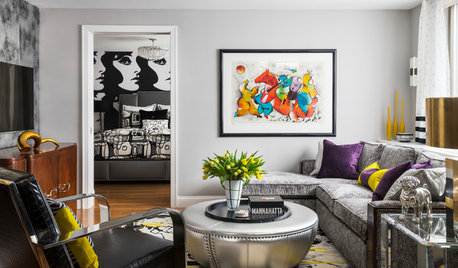
LATEST NEWS FOR PROFESSIONALSDesigning a Business: How Can I Add Income Streams?
Design business coach Chelsea Coryell offers up several easy ways pros can increase their cash flow
Full Story
LATEST NEWS FOR PROFESSIONALSDesigning a Business: How Many Clients Can I Handle?
Design business coach Chelsea Coryell weighs in on how to find the right number of clients and projects
Full Story
LATEST NEWS FOR PROFESSIONALSDesigning a Business: How Do I Set My Pricing Structure?
Design business coach Chelsea Coryell breaks down how home pros can determine what to charge for their services
Full Story

Yardvaark