

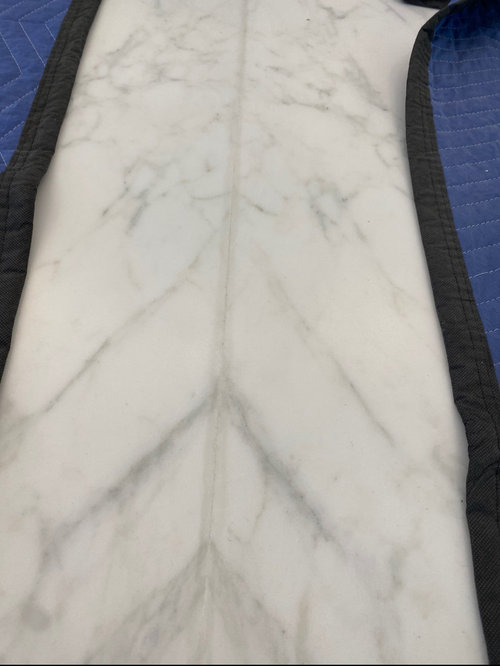
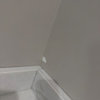
Marble Countertop Seam Bleed Shadow Issue
5 years ago
Sort by:Oldest
Comments (9)
Related Stories
KITCHEN COUNTERTOPS7 Low-Maintenance Countertops for Your Dream Kitchen
Fingerprints, stains, resealing requirements ... who needs ’em? These countertop materials look great with little effort
Full Story
KITCHEN COUNTERTOPS10 Countertop Mashups for the Kitchen
Contrast or complement textures, tones and more by using a mix of materials for countertops and island tops
Full Story
KITCHEN DESIGNHouzz Quiz: What Kitchen Countertop Is Right For You?
The options for kitchen countertops can seem endless. Take our quiz to help you narrow down your selection
Full Story
KITCHEN COUNTERTOPSQuartz vs. Granite: The Battle of the Countertops
Read about the pros and cons — and see great examples — of these popular kitchen countertop materials
Full Story
MOST POPULARYour Guide to 15 Popular Kitchen Countertop Materials
Get details and costs on top counter materials to help you narrow down the choices for your kitchen
Full Story
KITCHEN COUNTERTOPSWhat’s the Difference Between Quartzite and Quartz Countertops?
Weigh the pros and cons of these popular kitchen countertop materials
Full Story
KITCHEN COUNTERTOPSWhy I Chose Quartz Countertops in My Kitchen Remodel
Budget, style and family needs all were taken into account in this important design decision
Full Story
KITCHEN DESIGNKitchen Countertops 101: Choosing a Surface Material
Explore the pros and cons of 11 kitchen countertop materials. The options may surprise you
Full Story
BATHROOM DESIGNBathroom Countertops: The Pros and Cons of Engineered Quartz
See why these designers like engineered quartz for its durability, color options and more
Full Story
KITCHEN COUNTERTOPSKitchen Countertop Materials: 5 More Great Alternatives to Granite
Get a delightfully different look for your kitchen counters with lesser-known materials for a wide range of budgets
Full Story
Sponsored

kriii
Joseph Corlett, LLC
Related Professionals
Wausau Home Remodeling · Oxnard Home Remodeling · Trenton Kitchen Remodelers · Grand Island Bathroom Remodelers · Ithaca Bathroom Remodelers · Santa Barbara Bathroom Remodelers · Pullman Bathroom Remodelers · Knoxville Design-Build Firms · McAllen Design-Build Firms · Forrest City Home Builders · Waco Kitchen & Bathroom Designers · Garden City Kitchen & Bathroom Designers · Terre Haute Kitchen Remodelers · Youngstown Kitchen Remodelers · Albany Custom CountertopscarliecarlieqOriginal Author
Joseph Corlett, LLC
Joseph Corlett, LLC
carliecarlieqOriginal Author
carliecarlieqOriginal Author
Joseph Corlett, LLC
carliecarlieqOriginal Author