

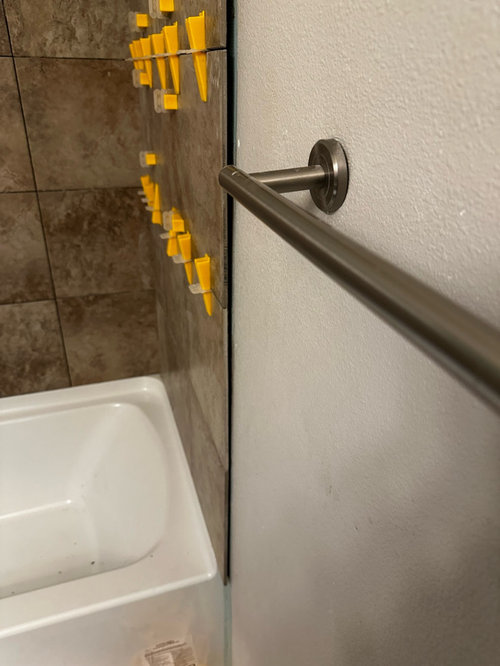
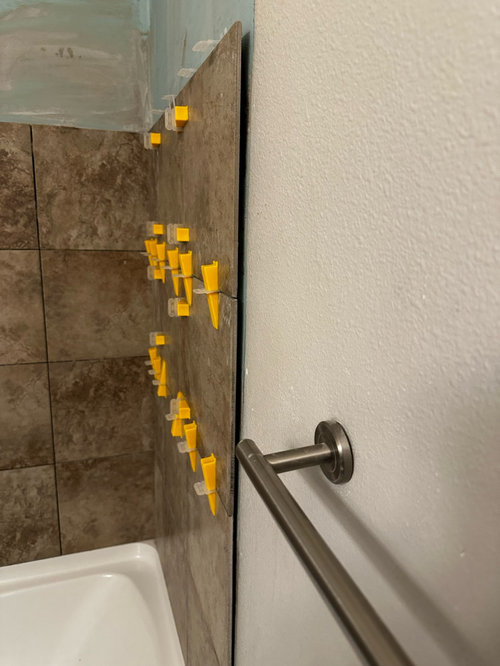
poor tile work in bathroom, what to do at this point.
2 years ago
Sort by:Oldest
Comments (14)
Related Stories
BATHROOM MAKEOVERSTile Creates an Artistic Focal Point in This Serene Bathroom
A neutral color palette, sculptural tub and wall of curving tile set the tone in this California bathroom
Full Story
TILEHow Tiny Tiles Can Elevate Your Bathroom’s Style
Thanks to their ability to add texture and subtle pattern, petite hexagonal and penny tiles may be here to stay
Full Story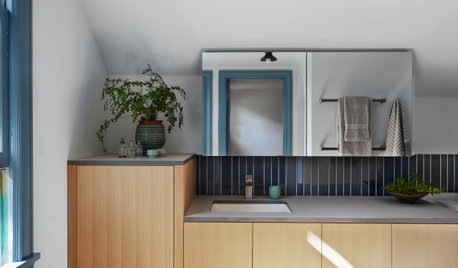
BATHROOM MAKEOVERSBathroom of the Week: Clean Lines and Beautiful Blue Tiles
A designer uses her client’s vintage Welsh linens and favorite Gaudí tile as starting points for style
Full Story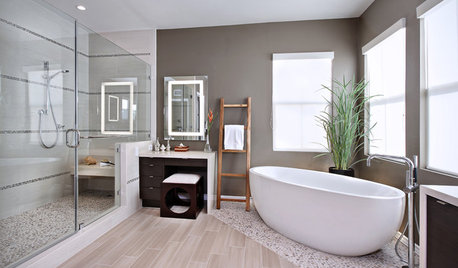
BATHROOM DESIGNGet Creative With Your Bathroom Floor Tile
Add movement, definition and interest to a humble bathroom floor by sidestepping uniform tile in favor of an unusual design
Full Story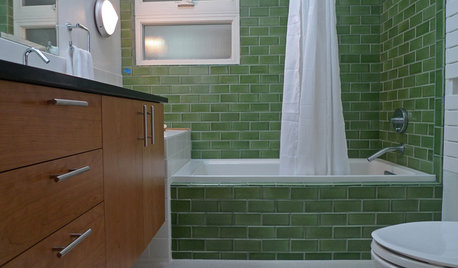
BATHROOM DESIGNBathroom Surfaces: Ceramic Tile Pros and Cons
Learn the facts on this popular material for bathroom walls and floors, including costs and maintenance needs, before you commit
Full Story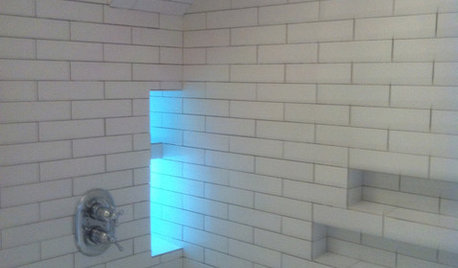
BATHROOM DESIGN10 Top Tips for Getting Bathroom Tile Right
Good planning is essential for bathroom tile that's set properly and works with the rest of your renovation. These tips help you do it right
Full Story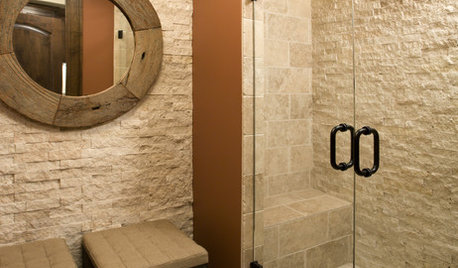
TILEBathroom Tile: Loving the Look of Ledgestone
Stacked-stone tile looks amazing in a bathroom, especially when washed with light. Here's what to think about before you buy
Full Story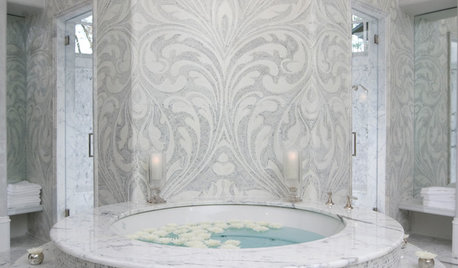
BATHROOM DESIGNPolish Your Bathroom's Look With Wrapped Tile
Corner the market on compliments for your bathroom renovation by paying attention to where the walls meet and the edges round
Full Story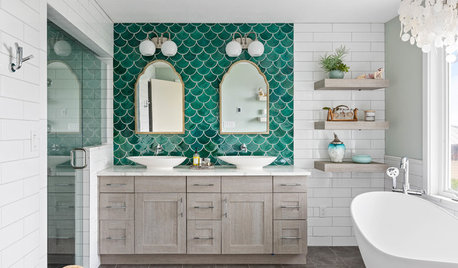
BEFORE AND AFTERSGreen Mermaid Tile and a New Layout Boost a Dated Pink Bathroom
This now-airy Whidbey Island bathroom features a soaking tub, a walk-in shower, heated floors and an expanded water view
Full Story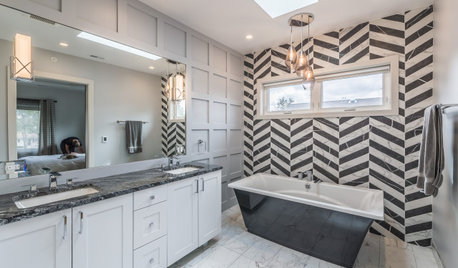
BATHROOM DESIGN10 Bathrooms With Statement-Making Tile
Tiles with bold patterns, surprising textures and rich colors make these bathrooms stand out
Full StorySponsored

Columbus Design-Build, Kitchen & Bath Remodeling, Historic Renovations
HALLETT & Co.
Michael BatelaanOriginal Author
Related Professionals
Belleville Kitchen & Bathroom Designers · McAllen Kitchen & Bathroom Designers · Middletown Kitchen & Bathroom Designers · Toledo Kitchen & Bathroom Designers · Stockton Kitchen & Bathroom Designers · Montgomery Bathroom Remodelers · Amarillo Bathroom Remodelers · Tuscaloosa Tile and Stone Contractors · Sarasota Tile and Stone Contractors · Columbus Tile and Stone Contractors · Lufkin Tile and Stone Contractors · Ottumwa Tile and Stone Contractors · Amherst Tile and Stone Contractors · Duluth Tile and Stone Contractors · Hilo Tile and Stone ContractorsMichael BatelaanOriginal Author
Michael BatelaanOriginal Author
millworkman
Michael BatelaanOriginal Author
Dragonfly Tile & Stone Works, Inc.
Michael BatelaanOriginal Author
cpartist
Premier Designs
Michael BatelaanOriginal Author
Michael BatelaanOriginal Author
Strawberry Patch Designs
Michael BatelaanOriginal Author