
Search results for "Follower lump" in Home Design Ideas
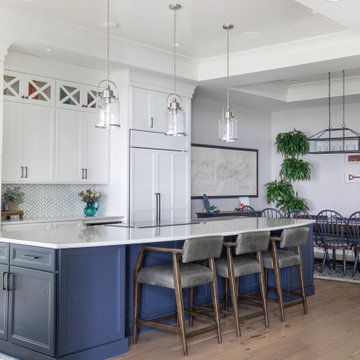
 Geneva Cabinet
www.genevacabinet.com . . . Geneva Cabinet Company, Lake Geneva WI, Kitchen with NanaWall window to screened in porch, Medallion Gold cabinetry, painted white cabinetry with Navy island, cooktop in island, cabinetry to ceiling with upper display cabinets, paneled ceiling, nautical lighting,
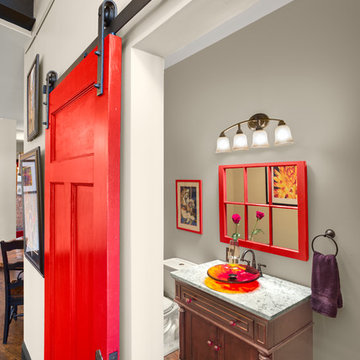
 Prime 1 Builders
This project won in the 2013 Builders Association of Metropolitan Pittsburgh Housing Excellence Award for Best Urban Renewal Renovation Project. The glass bowl was made in the glass studio owned by the owner which is adjacent to the residence. The mirror is a repurposed window. The door is repurposed from a boarding house.
George Mendel
 Tile Doctor Ltd
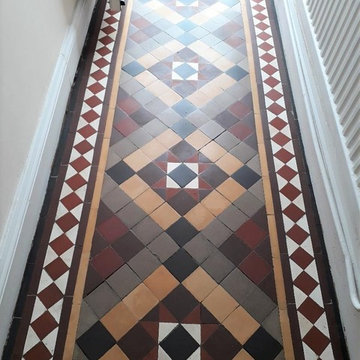
As is often the case in years past and for whatever reason many homeowners covered their decorative Victorian hallway tiles in a variety of products from carpet to laminate flooring. These days the trend has reversed and quite rightly many homeowners now realise the value a tiled floor can bring to a property and look to us to have it restored.
Our client had purchased a property in Norfolk seaport of Kings Lynn and, on lifting the dirty old carpet and decaying underlay in the hallway, discovered a beautiful tiled entrance hall. It was obvious that a previous owner had decided to lay carpet over the tiles as an easy way of hiding the result of careless renovation and decorating which had resulted in a thick coating of plaster, paint, carpet tape glue and various other contaminants which had become firmly stuck to the surface. There were also two small rectangular black and brown tiles missing behind the front door which had been damaged during the removal of some old lead pipes.
This was clearly a job which would need somewhat more than a scrubbing brush and a bottle of Flash!
Our first job was to remove as much of the solid contaminants as possible by hand with floor scrapers and a steamer which softened the more stubborn lumps. We then applied Tile Doctor Remove & Go which is a powerful alkaline stripper to the whole area, left it to dwell on the surface for twenty minutes and then scrubbed it in using a rotary machine fitted with a black scrubbing pad. The resulting slurry was then power rinsed and extracted away using our Ninja machine which is a high-power industrial vacuum. Any remaining patches where the carpet tape had been stuck down were spot treated using Tile Doctor Nanotech HBU which made short work of the hardened glue.
The result was a clean floor, but the surface still felt slightly rough and pitted, a problem which we resolved using the rotary machine fitted with a 200-grit diamond burnishing pad followed by a 400-grit pad with a little 400 grit honing powder which left the surface smooth, silky and ready for the application of a sealer.
Finally, we acid washed the whole area using Tile Doctor Acid Gel, a slow release product which would neutralise any remaining chemicals, improve new sealer adhesion and inhibit the future production of any efflorescence salts. We had used a fair amount of water during the cleaning process, so we left the floor to dry off thoroughly overnight with assistance from our commercial dehumidifier.
On our return the following day, we discussed the sealer options with the client and recommended using microporous Tile Doctor Colour Grow which is an impregnating sealer that seeps into the pores of the stone protecting it from within. It will provide an excellent fluid resistant seal whilst enhancing the natural colours in the stone, additionally it’s fully breathable thereby enabling any moisture trapped under the floor to rise through the floor and evaporate. This is important on old floors like this where no damp-proof membrane was installed. The sealer was applied with a paint pad in tow coats and allowed to dry for an hour before buffing the floor with a hog’s hair pad to give a rich natural-look sheen finish.
The Victorian tiles responded well to the treatments which were completed in two consecutive days. My client was extremely pleased with the results and left the following comment:
“My floor was in poor condition after being buried under carpet as well as many, many years of paint and muck. I enjoyed the time they spent at my home and wouldn’t hesitate to use (or recommend) the Tile Doctor service in the future.”
Nick White
Norfolk Tile Doctor
Find the right local pro for your project
 LLG Residential Design LLC
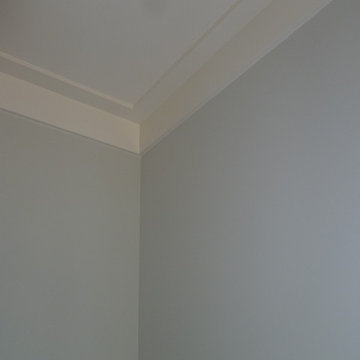
Looking for a nice clean crown molding, but what something different? These homeowners did just that with a simple clean flat molding applied to the wall and ceiling to create this look.
 User
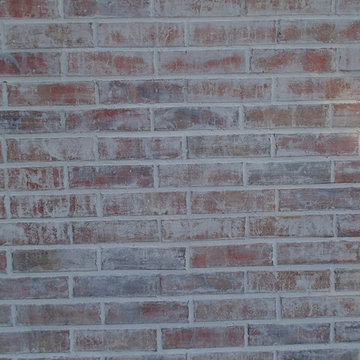
UserThis is an organic Lime Wash done with a true lime wash product as opposed to a brick mortar or concrete that is often seen on new houses. This product can be applied as a solid coating making the surface completely white, or can be applied and "washed off" in many artistic ways, as seen here. If you hate your brick or just want something unique this is a great option!
Photo credit: Jeff Murrey
 Dianne Davant and Associates
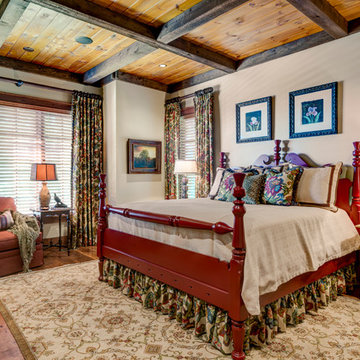
Master Bedroom with Red Bed Frame and custom drapery and bedding.
Bedroom - traditional master light wood floor bedroom idea in Charlotte
Bedroom - traditional master light wood floor bedroom idea in Charlotte
 Inhabit | Space
Whon Photography
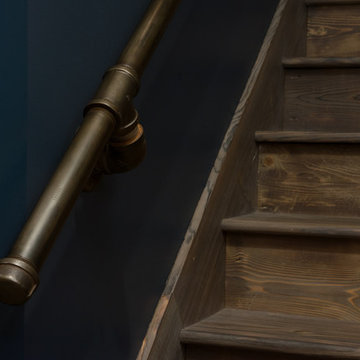
Large urban underground carpeted staircase photo in Indianapolis with gray walls and no fireplace
Large urban underground carpeted staircase photo in Indianapolis with gray walls and no fireplace

Sponsored
Sunbury, OH

J.Holderby - Renovations
Franklin County's Leading General Contractors - 2X Best of Houzz!
 Ky-Kan Coatings
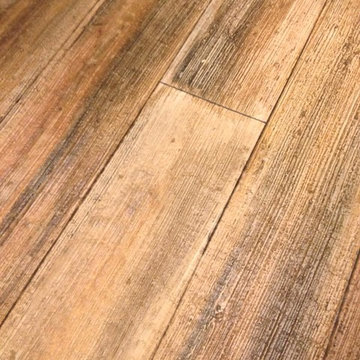
Concrete can be made to look like any substance. Tile, stone, wood, brick, etc. With unlimited color options, Ky-Kan Coatings can transform any room in your home or business using lightweight, beautiful concrete.
 Zelaya Properties LLC
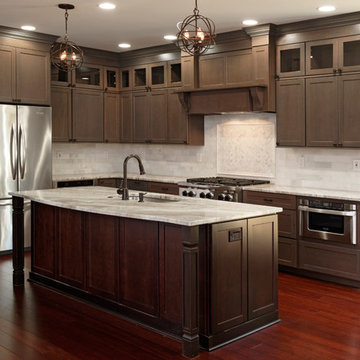
We used: Custom cherry cabinetry in Arts & Crafts Shaker style by Kabinart in Boulder and Espresso stains. Liberty Hardware Venetian bronze 1-1/2" cabinet knobs. KitchenAid Architect II Series 22 CF counter-depth French door refrigerator. KitchenAid Architect Series II 27" convection single wall oven. KitchenAid 36" 6-burner dual fuel freestanding commercial-style range. KitchenAid Architect II Series 24" dishwasher. Sharp Insight Pro Series 24" built-in microwave drawer (Model #KB6524PS). Crystorama Solaris 12" wide pendant lights in English bronze. Granite countertops in Brown Fantasy. 3"x6" polished marble backsplash.
Paint colors:
Walls: Glidden Silver Cloud 30YY 63/024
Ceilings/Trims/Doors: Glidden Swan White GLC23
Robert B. Narod Photography
 Michelle Mohlere Interior Color & Design
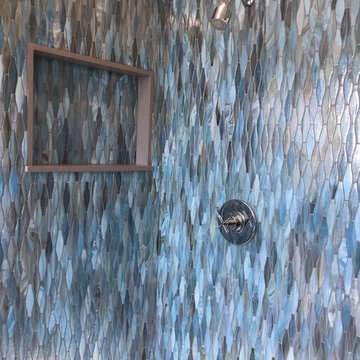
Small bathroom remodel.
Rainfall Shower Walls.
Mid-sized beach style 3/4 blue tile and glass tile porcelain tile corner shower photo in Los Angeles with a one-piece toilet, beige walls and a console sink
Mid-sized beach style 3/4 blue tile and glass tile porcelain tile corner shower photo in Los Angeles with a one-piece toilet, beige walls and a console sink

 Hadley-Irvine General Contracting LTD
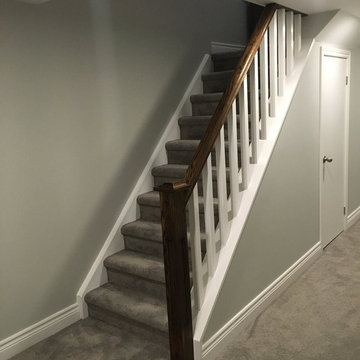
Staircase - mid-sized traditional carpeted and underground carpeted and gray floor staircase idea in Toronto with wooden risers, gray walls and no fireplace
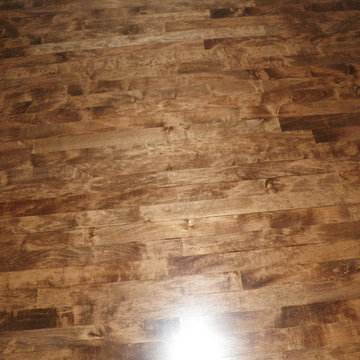
 Elegant Hardwood Floors
maple hardwood floor, water-popped, and stained with 50% rosewood and 50% neutral stains.
Inspiration for a timeless medium tone wood floor living room remodel in Salt Lake City
Inspiration for a timeless medium tone wood floor living room remodel in Salt Lake City
Sponsored
Sunbury, OH
J.Holderby - Renovations
Franklin County's Leading General Contractors - 2X Best of Houzz!
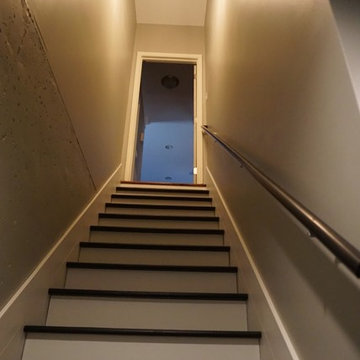
 projectkj
Self
Inspiration for a small modern wooden straight staircase remodel in Louisville with wooden risers
Inspiration for a small modern wooden straight staircase remodel in Louisville with wooden risers
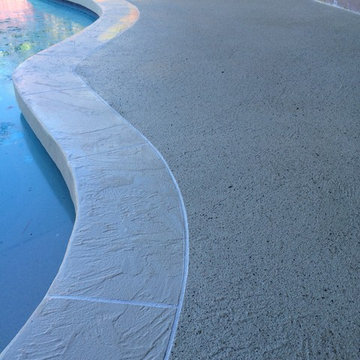
 CTi South Florida
Old stamped concrete has been resurfaced with soft beige color using Hallmark System. With additional 2 color highlights the look is beautiful and maintenance is no cost. No slippery, long duration, 10 YRS warranty
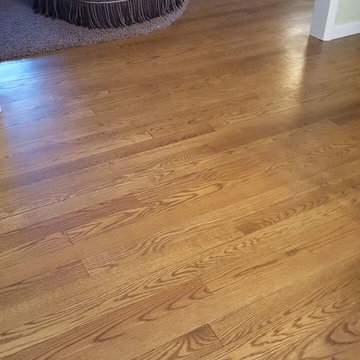
 JM Carpets
Large country u-shaped medium tone wood floor kitchen photo in Milwaukee with white cabinets and a peninsula
 Cook Designs
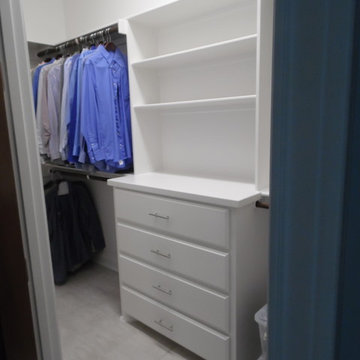
Custom designed Craftsman Style Walk-in Master Closet
Large arts and crafts gender-neutral porcelain tile walk-in closet photo in Austin with raised-panel cabinets and white cabinets
Large arts and crafts gender-neutral porcelain tile walk-in closet photo in Austin with raised-panel cabinets and white cabinets
 Custom Surface Solutions
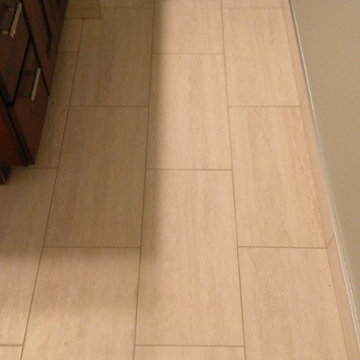
Custom Surface Solutions (www.css-tile.com) - Owner Craig Thompson (512) 430-1215. This project shows new 12 x 24 tile installed vertically with offset layout pattern on wall and floor. Includes shower box with linear glass accent tile back and vertical glass accent band. Tile edges are finished with Schluter Jolly satin aluminum profile edge trim.
 The Yellow Cape Cod
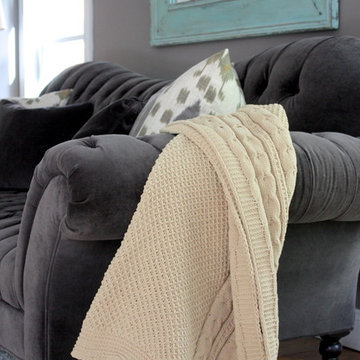
This semi-casual living space was created by Home Stylist, Sarah Macklem of The Yellow Cape Cod. Sarah created two separate zones in this large open space. One end of the room is a reading nook with a pair of accent chairs and ottoman next to the bookcase. The other end of the space is a conversation zone created by a pair of arm chairs, a sumptuous sofa and occasional tables. Touches of whimsy were incorporated to keep the mood light. More information on this space can be found at http://www.theyellowcapecod.com Photography by Sarah Macklem

1