
Search results for "Applies" in Home Design Ideas

 VISTA TILES
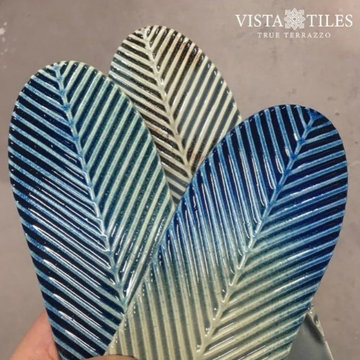
There are 97 leaf tile tiles in 1 m2.
The product size is 9cmx15 cmx 1cm. The back side is matt-based and serrated, the front side is glazed and glossy polished.
Leaf Çini ceramic tile features are a dimension that expresses the structure as a multi-colored color with the tile tiles decorations.
- Material made of ceramic material. Tiles are converted into water and cleaning materials.
- Decorating the leaf tile tile for many years. Color and pattern do not exist.
- Water and moisture clean thanks to the glossy glazed polished.
- It does not form mold.
- In places where Leaf Tile tiles are used, we breathe cool and warm in summer.
- Figure the days of sound waves taking advantage of the reflective feature of the days in the regions caused by Leafy Tiles.
- Kütahya tiles are against the sun, wind and exterior.
- Leaf Tiles and easy to use.
- Kütahya and Iznik patterned shaped tile tile models and prices are the most suitable examples.
It is used between countertops in kitchens.
Ceramic-based hexagons are suitable for use as wall tiles in bathrooms.
Production is made in pools, flooring, pool interior flooring, design design and design.
For floor tiles, it can be designed to be comprehensive in detail to floor tiles.
Leaf Tile Tile Application
First of all, the area to be applied should be flat, if not, it should be corrected. Thin plaster should be applied to the area. Cement-based adhesive mortar should be used as adhesive mortar. The adhesive mortar is applied to the surface to be applied regularly and evenly with a fine notched trowel. Kütahya and İznik patterned tile tiles are placed on the surface to be laid. For non-slip and a flat application, you can press on it using a spirit level or wedge. It is an important issue that the Kütahya and Iznik tiles with Ottoman and Seljuk motifs complement each other.
After bonding the tile tiles to the surface, the grouting is ready for application. Normally, tiles are laid without joints. After the grouting material is prepared in accordance with the instructions, it is applied on the tile tiles. We recommend that you prefer antibacterial grouts, especially for patterned tile ceramic tiles that you will apply in your kitchens and bathrooms. After the joint application, the excess joints remaining on the tiles whose flooring has been completed are removed by wiping them with a wet sponge.
Please note that international buyers are responsible for any duties/customs charges and import taxes associated with shipping to their respective countries. These fees are calculated and imposed by your country when the item arrives in the country.

 Tile Doctor Ltd
This Tumbled Travertine tiled floor at a beautiful house in Horley had been poorly maintained through the years using the wrong type of sealer which quickly wore down allowing dirt to become ingrained in the stone. The owner had become concerned about the state of the tiles and decided it was time to call in an expert that could restore the tiles to a condition that complimented the environment in which it was situated.
Travertine is known for being very distinctive in character and very durable, making it a very popular choice for tiled flooring in properties worldwide. However, the stone does require regular professional maintenance and polishing to keep it looking it top shape and home owners rarely realise this when they decide to have it installed. Fortunately, in the UK at least you can rely on your local tile doctor to maintain it for you.
The first part of the job involved giving the floor a thorough clean to remove what was left of old sealers and any polishing compounds that remained on the floor. Before beginning that however I brought in all my equipment and products into the house and then prepped the area by taping up the woodwork to protect it during the renovation process.
To remove what was left of the old sealers and other coatings still present on the floor a strong solution of Tile Doctor Remove and Go was applied to the floor and left to soak in for about ten minutes before being actively worked in with a rotary machine fitted with a black scrubbing pad. The solution turned black with the soil as it was lifted out of the pores of the stone and it was then rinsed off with water and extracted with a wet vacuum.
Following this, we moved on to a process we know as burnishing that hones the stone and brings up the polished appearance. Working in sections due to the size of the floor It involves the application of a series of diamond encrusted burnishing pads from coarse through to very fine.
The coarse 400-grit pad fitted to the rotary floor buffer and run over the floor using only water for lubrication. The water turns into a slurry as the pad does its job removing dirt and this has to be rinsed off the floor and extracted with the wet vacuum before applying the next pad. The process was then repeated with medium 800 grit pad for an initial polish followed by the Fine 1500 grit pad for the second polish using water for lubrication and rinsing and extracting in between each pad.
The last pad is a very fine 3000 grit pad for the final polish and is applied with only a little water sprayed onto the floor using a technique we call a Spray Burnish. This last pad really brings up the polished appearance of the stone.
To bring up the appearance of the stone even further and add a really durable polish Tile Doctor Shine Powder was applied. This is a crystallising powder sealer that ensures a very high shine and a tough, durable finish. This powder is applied directly to the tiles in combination with approximately ½ a litre of water and a soft white buffing pad.
Last step was to add to the protection provided by the Shine Powder with two coats of Tile Doctor Ultra-Seal which is a natural look sealer that doesn’t change the look of the stone and is applied to the stone and grout. This sealer works by seeping into the stone, occupying the pores and preventing dirt from becoming ingrained.
The customer was ecstatic with the results, being particularly pleased that she got the floor looking the way she originally wanted without significant expense, not to mention stress.
Michael Conlon
East Surrey Tile Doctor
 VISTA TILES
There are 97 leaf tile tiles in 1 m2.
The product size is 9cmx15 cmx 1cm. The back side is matt-based and serrated, the front side is glazed and glossy polished.
Leaf Çini ceramic tile features are a dimension that expresses the structure as a multi-colored color with the tile tiles decorations.
- Material made of ceramic material. Tiles are converted into water and cleaning materials.
- Decorating the leaf tile tile for many years. Color and pattern do not exist.
- Water and moisture clean thanks to the glossy glazed polished.
- It does not form mold.
- In places where Leaf Tile tiles are used, we breathe cool and warm in summer.
- Figure the days of sound waves taking advantage of the reflective feature of the days in the regions caused by Leafy Tiles.
- Kütahya tiles are against the sun, wind and exterior.
- Leaf Tiles and easy to use.
- Kütahya and Iznik patterned shaped tile tile models and prices are the most suitable examples.
It is used between countertops in kitchens.
Ceramic-based hexagons are suitable for use as wall tiles in bathrooms.
Production is made in pools, flooring, pool interior flooring, design design and design.
For floor tiles, it can be designed to be comprehensive in detail to floor tiles.
Leaf Tile Tile Application
First of all, the area to be applied should be flat, if not, it should be corrected. Thin plaster should be applied to the area. Cement-based adhesive mortar should be used as adhesive mortar. The adhesive mortar is applied to the surface to be applied regularly and evenly with a fine notched trowel. Kütahya and İznik patterned tile tiles are placed on the surface to be laid. For non-slip and a flat application, you can press on it using a spirit level or wedge. It is an important issue that the Kütahya and Iznik tiles with Ottoman and Seljuk motifs complement each other.
After bonding the tile tiles to the surface, the grouting is ready for application. Normally, tiles are laid without joints. After the grouting material is prepared in accordance with the instructions, it is applied on the tile tiles. We recommend that you prefer antibacterial grouts, especially for patterned tile ceramic tiles that you will apply in your kitchens and bathrooms. After the joint application, the excess joints remaining on the tiles whose flooring has been completed are removed by wiping them with a wet sponge.
Please note that international buyers are responsible for any duties/customs charges and import taxes associated with shipping to their respective countries. These fees are calculated and imposed by your country when the item arrives in the country.
Find the right local pro for your project
 Dancer Concrete Design
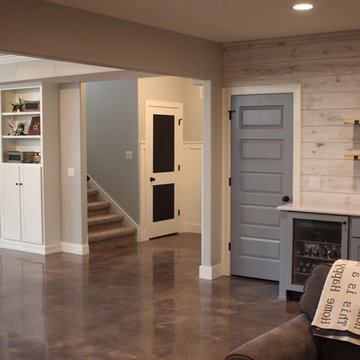
This client came to us looking for a space that would allow their children a place to hang out while still feeling at home. The versatility of finished concrete flooring works well to adapt to a variety of home styles, and works seamlessly with this Craftsman-style home. We worked with the client to decide that a darker reactive stain would really make the space feel warm, inviting, and comfortable. The look and feel of the floor with this stain selection would be similar to the pictures they provided of the look they were targeting when we started the selection process. The clients really embraced the existing cracks in the concrete, and thought they exhibited the character of the house – and we agree.
When our team works on residential projects, it is imperative that we keep everything as clean and mess-free as possible for the client. For this reason, our first step was to apply RAM Board throughout the house where our equipment would be traveling. Tape and 24″ plastic were also applied to the walls of the basement to protect them. The original floor was rather new concrete with some cracks. Our team started by filling the cracks with a patching product. The grinding process then began, concrete reactive stain was applied in the color Wenge Wood, and then the floor was sealed with our two step concrete densification and stain-guard process. The 5 step polishing process was finished by bringing the floor to a 800-grit level. We were excited to see how the space came together after the rest of construction, which was overseen by the contractor Arbor Homes, was complete. View the gallery below to take a look!
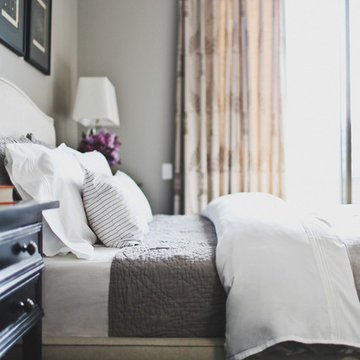


Bedroom - mid-sized modern master light wood floor, beige floor and wall paneling bedroom idea in DC Metro with blue walls and a standard fireplace
 Daher Interior Design
Photo Credit: Michael J. Lee
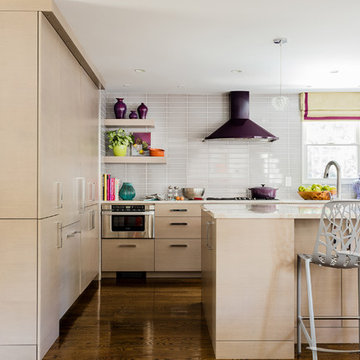
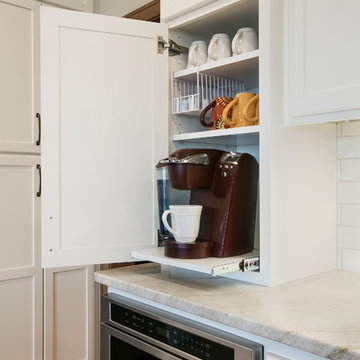
Inspiration for a contemporary kitchen remodel in Boston
Inspiration for a contemporary kitchen remodel in Boston


 Stonebridge Development Group
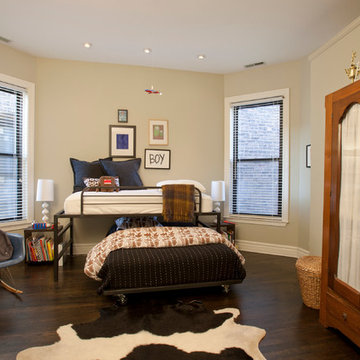
Transitional boy dark wood floor and brown floor kids' room photo in Chicago with beige walls


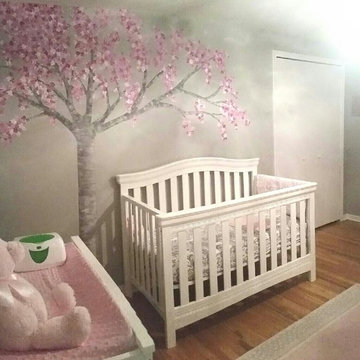
 Denise Mannisto Applied Artistry, LLC
The client wanted a delicate pink cherry blossom tree mural to adorn the walls for their baby girls nursery. Something that was sweet and timeless. The petals are traced with iridescent accents.
 GF Woodworks
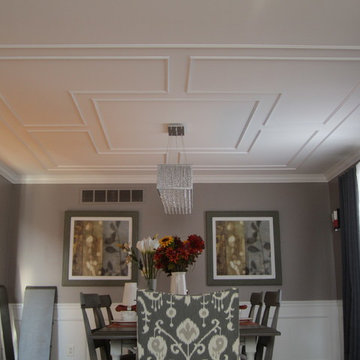
Applied molding ceiling.
Inspiration for a small timeless kitchen/dining room combo remodel in Detroit
Inspiration for a small timeless kitchen/dining room combo remodel in Detroit
 Stephanie Stroud Interiors
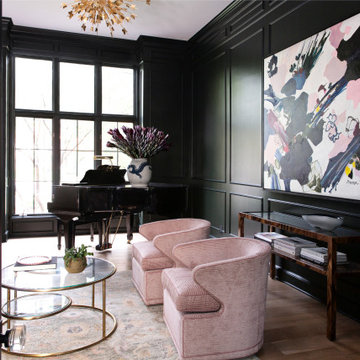
Inspiration for a transitional enclosed medium tone wood floor, brown floor and wall paneling living room remodel in Kansas City with black walls and no tv

 Cole Harris Associates LLC
Example of a large country backyard concrete and rectangular lap pool design in New York

 Steve Masley Consulting and Design
'Carmello' tomatoes growing in a large terra-cotta pot. Photo by Steve Masley
Photo of an eclectic landscaping in San Francisco.
Photo of an eclectic landscaping in San Francisco.
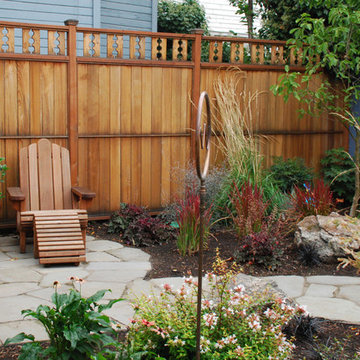
 User
UserThis backyard is dense, inner city neighborhood. The trellises are mounted in front of cement wall belonging to business. An apartment flanks another side.
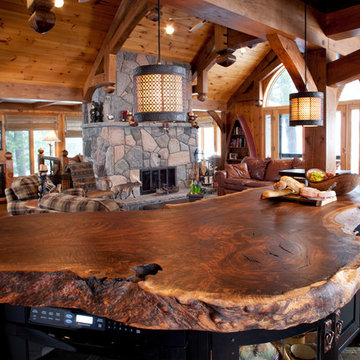
 Chervin Kitchen & Bath Inc.
When our clients fell in love with this stunning slab of walnut for the island top, we designed curved cabinet sections with leaded glass doors to mirror the natural flow of the wood.
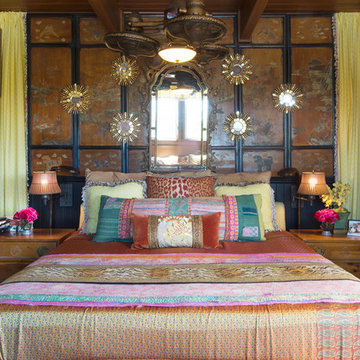
 Carolyn Reyes
Photo: Carolyn Reyes © 2016 Houzz
Design: Kelly Mack Home
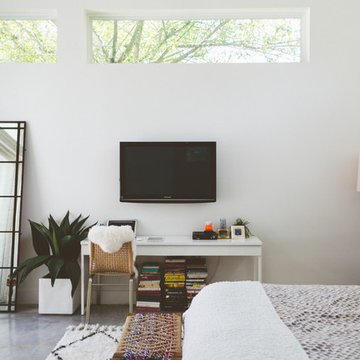
Inspiration for an eclectic bedroom remodel in Los Angeles
Inspiration for an eclectic bedroom remodel in Los Angeles
13