
Search results for "Attachment" in Home Design Ideas
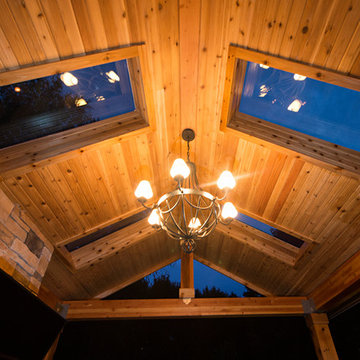
 Paradise Restored Landscaping & Exterior Design
adding french doors, Architectural slabs by mutual material, attached covered structure, covered "A" Frame attached to home, covered outdoor living, covered patio, french door, gazebo, outdoor fireplace, outdoor TV, pavers, TV above fireplace, seatwalls, skylights, ourdoor chandelier, grill island, outdoor dining, outdoor game room
Be Burke Photography
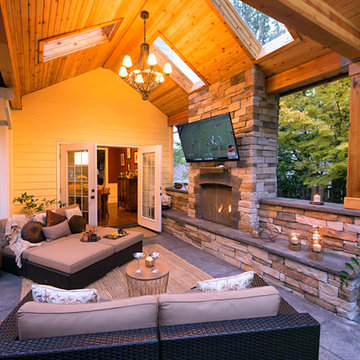 Paradise Restored Landscaping & Exterior Design
adding french doors, Architectural slabs by mutual material, attached covered structure, covered "A" Frame attached to home, covered outdoor living, covered patio, french door, gazebo, outdoor fireplace, outdoor TV, pavers, TV above fireplace, seatwalls, skylights, ourdoor chandelier, grill island, outdoor dining, outdoor game room
Be Burke Photography
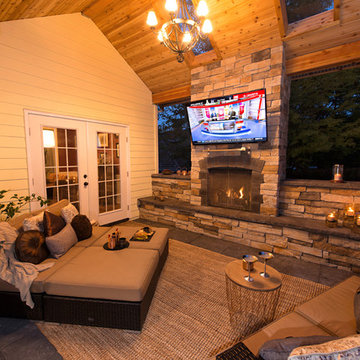 Paradise Restored Landscaping & Exterior Design
adding french doors, Architectural slabs by mutual material, attached covered structure, covered "A" Frame attached to home, covered outdoor living, covered patio, french door, gazebo, outdoor fireplace, outdoor TV, pavers, TV above fireplace, seatwalls, skylights, ourdoor chandelier, grill island, outdoor dining, outdoor game room
Be Burke Photography
Find the right local pro for your project
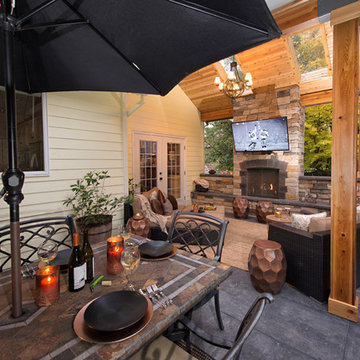 Paradise Restored Landscaping & Exterior Design
adding french doors, Architectural slabs by mutual material, attached covered structure, covered "A" Frame attached to home, covered outdoor living, covered patio, french door, gazebo, outdoor fireplace, outdoor TV, pavers, TV above fireplace, seatwalls, skylights, ourdoor chandelier, grill island, outdoor dining, outdoor game room
Be Burke Photography
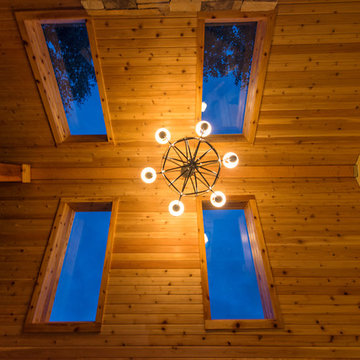 Paradise Restored Landscaping & Exterior Design
adding french doors, Architectural slabs by mutual material, attached covered structure, covered "A" Frame attached to home, covered outdoor living, covered patio, french door, gazebo, outdoor fireplace, outdoor TV, pavers, TV above fireplace, seatwalls, skylights, ourdoor chandelier, grill island, outdoor dining, outdoor game room
Be Burke Photography
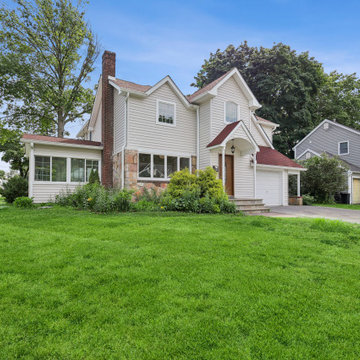
 WA Construct
Front exterior in Fair Lawn, NJ by WA Construct. Two-story home with white siding, stone veneer accents at the chimney and bay window, an attached sunroom with large windows, covered peaked-roof entry, brick chimney, attached garage, and a manicured front lawn.

 Industrial Projects
Creating a comfortable outdoor living space is a priority for many homeowners and DIY enthusiasts. With rising summer temperatures, installing a shade tarp in your backyard offers an affordable and effective solution for sun protection. We’ve developed this detailed, step-by-step guide to help you confidently install a shade tarp that not only shields you from the sun but also adds aesthetic appeal to your outdoor area.
Benefits of Installing a Backyard Shade Tarp
Before diving into the installation process, let’s explore the key benefits of having a backyard shade tarp:
Provides UV Protection: Keeps your family and guests safe from harmful sun exposure.
Reduces Outdoor Temperatures: Creates a cooler, more enjoyable outdoor space.
Protects Outdoor Furniture: Extends the life of patio furniture by reducing sun damage.
Enhances Outdoor Aesthetics: Adds a modern, stylish look to your yard.
Budget-Friendly: More affordable compared to permanent structures like pergolas.
Materials and Tools You’ll Need
To begin your DIY backyard shade project, gather the following materials and tools:
Materials:
Shade tarp (UV-resistant and breathable)
Sturdy posts or existing structures (trees, fences, walls)
Mounting hardware (eye bolts, D-rings, turnbuckles, snap hooks)
Nylon or polyester rope, or stainless-steel wire
Concrete (if installing new posts)
Tools:
Power drill
Measuring tape
Level
Ladder
Wrench or adjustable spanner
Post hole digger (if installing new posts)
Step 1: Plan Your Shade Tarp Layout
The first step in installing your backyard shade tarp is careful planning. Take time to assess your outdoor area and answer these key questions:
Where is the sun’s path throughout the day?
What size and shape of tarp best suits your space?
Will you anchor the tarp to existing structures or install new posts?
What height do you want the tarp to sit at for maximum shade and airflow?
Pro Tip: Use string or garden hoses to visualize the tarp layout on the ground before making permanent decisions.
Step 2: Measure and Mark Anchor Points
Once you’ve determined the tarp’s location and orientation:
Measure the tarp dimensions.
Mark the exact points where each corner of the tarp will be anchored.
Ensure that the anchor points are at least 5–10% longer than the tarp size to allow for tensioning and slight adjustments.
Consider slope angles for water runoff. Aim for at least a 20-degree angle to prevent water pooling on the tarp.
Step 3: Install Support Posts (If Necessary)
If your backyard lacks existing anchor points like trees or fences, you’ll need to install sturdy support posts:
Dig post holes at least 24 inches deep and 8-12 inches wide for stability.
Set posts in concrete, making sure they remain plumb and level.
Allow the concrete to cure for at least 24–48 hours before applying tension from the tarp.
We recommend using pressure-treated wood, galvanized steel poles, or aluminum posts for longevity and strength.
Step 4: Install Mounting Hardware
With your anchor points ready, it’s time to install the necessary hardware:
Attach eye bolts or pad eyes securely into walls, posts, or other fixed structures.
For added flexibility and adjustability, install turnbuckles or tensioners to fine-tune the tarp’s tightness.
Connect snap hooks, D-rings, or carabiners to make assembly and disassembly easier.
Make sure all hardware is rated for outdoor use to prevent rust and corrosion.
Step 5: Attach and Tension the Shade Tarp
Now it’s time for the most satisfying part—mounting the shade tarp:
Begin by attaching one corner of the tarp to an anchor point.
Gradually attach the remaining corners, moving diagonally for even tension.
Adjust each connection point using your turnbuckles, ropes, or cables.
Pull the tarp tight enough to avoid sagging, but not so tight that it risks tearing.
Check that the tarp maintains the desired slope for rainwater runoff and adjust tension as needed.
Step 6: Final Adjustments and Safety Check
Before enjoying your new shaded area:
Inspect all anchor points and hardware for stability.
Test the tarp’s tension and make adjustments for even distribution.
Ensure that no sharp edges or loose connections remain that could damage the tarp or pose a safety hazard.
Confirm that the tarp is secure in windy conditions by giving it a gentle tug.
If you live in an area with frequent high winds, consider removing the tarp during storms to prevent damage.
Step 7: Enjoy Your Shaded Backyard Oasis
Once installed, your backyard shade tarp provides a comfortable and protective space for outdoor gatherings, relaxation, or family activities. You can decorate underneath with outdoor furniture, string lights, or potted plants to create a personalized outdoor retreat.
Maintenance Tips for Long-Lasting Shade Tarp Performance
To extend the life of your shade tarp, follow these maintenance guidelines:
Regularly check for wear and tear, especially around anchor points and seams.
Clean the tarp periodically with mild soap and water to prevent mildew buildup.
Store the tarp indoors during harsh weather seasons if it's not designed for year-round use.
Tighten hardware as needed to maintain proper tension and avoid sagging.
By following these simple care steps, your shade tarp will continue to deliver years of sun protection and outdoor comfort.
Conclusion: Upgrade Your Outdoor Space with a DIY Shade Tarp
Installing a shade tarp in your backyard is a cost-effective and rewarding DIY project. With careful planning, quality materials, and proper installation techniques, you’ll enjoy cool, shaded outdoor living all season long. This step-by-step guide ensures your project goes smoothly from start to finish.
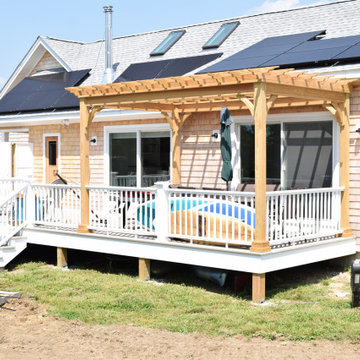
 Baystate Outdoor Personia
Custom unfinished wood pergola attached to a deck with rails attached to the square posts!
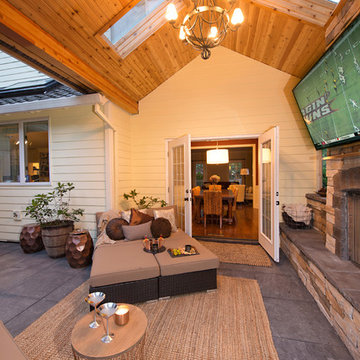 Paradise Restored Landscaping & Exterior Design
adding french doors, Architectural slabs by mutual material, attached covered structure, covered "A" Frame attached to home, covered outdoor living, covered patio, french door, gazebo, outdoor fireplace, outdoor TV, pavers, TV above fireplace, seatwalls, skylights, ourdoor chandelier, grill island, outdoor dining, outdoor game room
Be Burke Photography
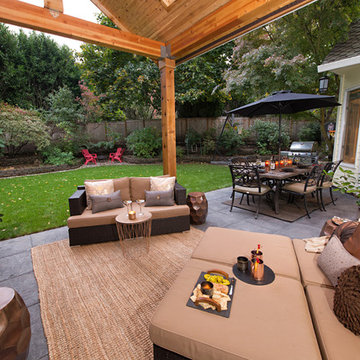 Paradise Restored Landscaping & Exterior Design
adding french doors, Architectural slabs by mutual material, attached covered structure, covered "A" Frame attached to home, covered outdoor living, covered patio, french door, gazebo, outdoor fireplace, outdoor TV, pavers, TV above fireplace, seatwalls, skylights, ourdoor chandelier, grill island, outdoor dining, outdoor game room
Be Burke Photography
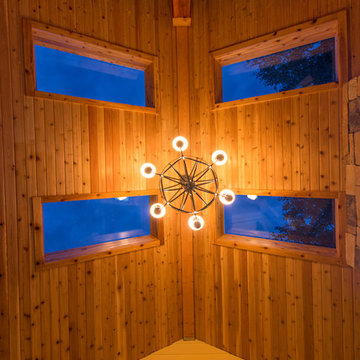 Paradise Restored Landscaping & Exterior Design
adding french doors, Architectural slabs by mutual material, attached covered structure, covered "A" Frame attached to home, covered outdoor living, covered patio, french door, gazebo, outdoor fireplace, outdoor TV, pavers, TV above fireplace, seatwalls, skylights, ourdoor chandelier, grill island, outdoor dining, outdoor game room
Be Burke Photography
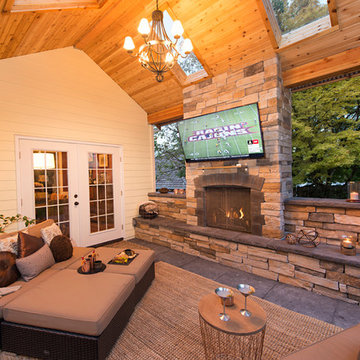 Paradise Restored Landscaping & Exterior Design
adding french doors, Architectural slabs by mutual material, attached covered structure, covered "A" Frame attached to home, covered outdoor living, covered patio, french door, gazebo, outdoor fireplace, outdoor TV, pavers, TV above fireplace, seatwalls, skylights, ourdoor chandelier, grill island, outdoor dining, outdoor game room
Be Burke Photography
 User
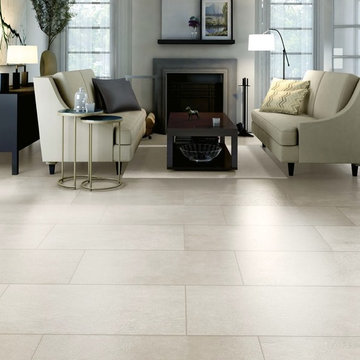
UserDaltile - Slate Attache
Summer 2016 New Series Launch
Inspiration for a contemporary living room remodel in Austin
Inspiration for a contemporary living room remodel in Austin
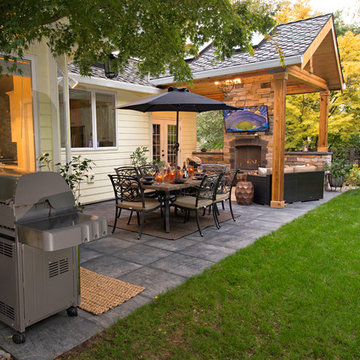 Paradise Restored Landscaping & Exterior Design
adding french doors, Architectural slabs by mutual material, attached covered structure, covered "A" Frame attached to home, covered outdoor living, covered patio, french door, gazebo, outdoor fireplace, outdoor TV, pavers, TV above fireplace, seatwalls, skylights, ourdoor chandelier, grill island, outdoor dining, outdoor game room
Be Burke Photography
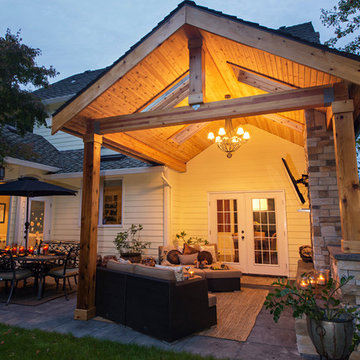 Paradise Restored Landscaping & Exterior Design
adding french doors, Architectural slabs by mutual material, attached covered structure, covered "A" Frame attached to home, covered outdoor living, covered patio, french door, gazebo, outdoor fireplace, outdoor TV, pavers, TV above fireplace, seatwalls, skylights, ourdoor chandelier, grill island, outdoor dining, outdoor game room
Be Burke Photography
 RST Brands
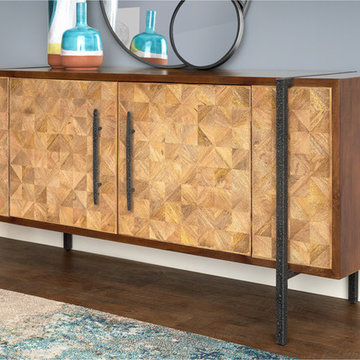
The face of this stunning console is embellished with 384 hand-cut wooden triangles. Their alternating textures create a dynamic surface with glimmering diamond-like facets. Dark iron legs frame the face and are inset on the smooth surface of the top. This geometric piece is a visual palindrome of elegance and modern design.
 Paradise Restored Landscaping & Exterior Design
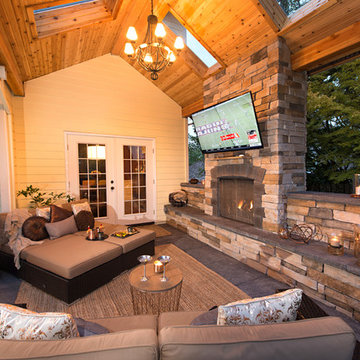
adding french doors, Architectural slabs by mutual material, attached covered structure, covered "A" Frame attached to home, covered outdoor living, covered patio, french door, gazebo, outdoor fireplace, outdoor TV, pavers, TV above fireplace, seatwalls, skylights, ourdoor chandelier, grill island, outdoor dining, outdoor game room
Be Burke Photography
 McMorrow Construction
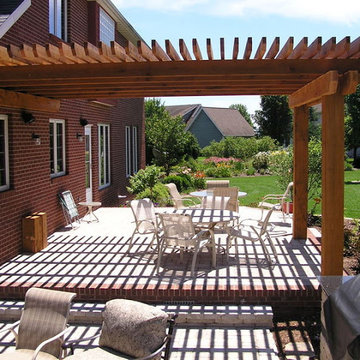
Patio kitchen - large traditional backyard brick patio kitchen idea in Chicago with a pergola
158