
Search results for "Delivered safely" in Home Design Ideas
 Rustic 101
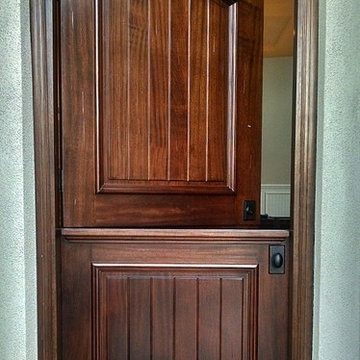
Carlsbad CA (Ponto Beach) Dutch door.
Wood: Mahogany color: early American
Mediterranean exterior home idea in San Diego
Mediterranean exterior home idea in San Diego
 Gate Technologies LLC
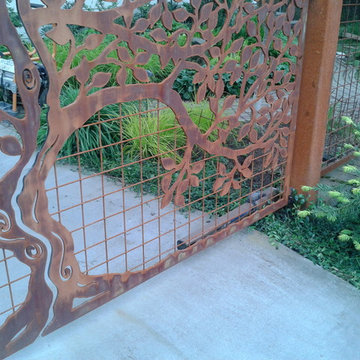
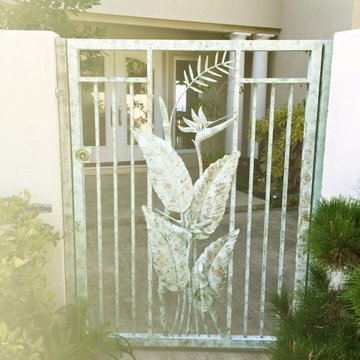
Close up of the artistic gate work and the gate opener.
Home design - craftsman home design idea in Seattle
Home design - craftsman home design idea in Seattle
 Atlantis Plumbing
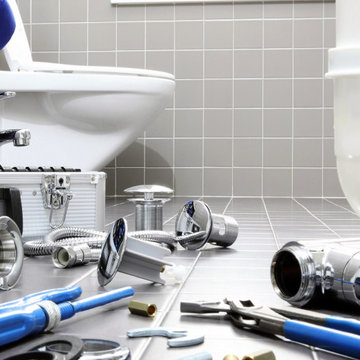
When your pipes burst, a toilet overflows, or you notice suspicious dampness, you need more than a plumber—you need an emergency plumber in Atlanta
you can trust. Meet Atlantis Plumbing, a family-owned, trusted local company serving the greater Atlanta area with fast, friendly, and reliable plumbing services 24/7.
Decades of Experience Rooted in the Community
Established over 60 years ago and now with thousands of satisfied customers, Atlantis Plumbing has built a reputation on steady, dependable service. Their licensed professionals bring years of experience to every job, giving you peace of mind when you're dealing with urgent, unexpected plumbing disasters.
24/7 Availability When You Need It Most
Emergencies don't wait for business hours—and neither does Atlantis. With around-the-clock service, including live operators ready to take your call, they ensure help is just a phone call away. Whether it’s the middle of the night or a busy weekend, Atlantis is on call and on site fast.
Upfront Pricing and Honest Communication
A plumbing emergency shouldn't add financial stress. Atlantis offers transparent, upfront pricing so you're never blindsided. Before any work begins, they'll provide a clear estimate—no hidden fees, no surprises.
Speed Meets Expertise
Emergencies demand swift action—but not at the cost of quality. Atlantis strikes the perfect balance: rapid response paired with the skilled, licensed professionals who understand the complexity of modern plumbing systems.
Fully Equipped to Handle Any Crisis
From burst water lines to sewer backups and leaking water heaters, Atlantis’s team carries the tools and know-how to address your emergency promptly:
• Water leaks: Quick diagnosis and repair, including high water bill analysis.
• Clogged drains and sewer issues: Advanced solutions ranging from snaking to hydro-jetting or camera inspection.
• Sewer repair & replacement: Trenchless methods available to minimize disruption.
• Water heaters: Repair or replacement—gas, electric, or tankless.
• Polybutylene pipes: Experts in identifying and replacing this outdated material.
• Gas leaks: Safe, professional response (after gas company clearance).
Trusted Service with a Personal Touch
Emergencies are stressful. Atlantis eases the burden with professional, courteous technicians who get the job done with respect and care for your home. Their approach is old-fashioned in the best way—friendly, honest, and dedicated to customer satisfaction.
Multiple local voices have recommended them as the one plumber they’d always call. It's that level of trust that assures homeowners and businesses alike in times of crisis.
Comprehensive Coverage Throughout Metro Atlanta
Whether you're in Atlanta proper or surrounding areas—like Marietta, Smyrna, Roswell, or Lawrenceville—Atlantis covers it. Their reach spans Fulton, Cobb, Gwinnett, Dekalb, Cherokee, and more, ensuring emergency plumbing help isn't far when you need it most.
Value Beyond the Emergency
Atlantis doesn’t just put out fires—they help prevent them. With services like free high water bill analysis and long-term maintenance options, they add value that stretches well beyond the immediate fix.
They offer senior and military discounts, plus financing with approved credit—helping ease the financial burden of unavoidable plumbing repairs.
Hiring an Emergency Plumber: Why Atlantis Stands Out
1. 24/7 live support—get help when it counts.
2. Licensed, experienced plumbers—quality you can rely on.
3. Transparent pricing—know what you're paying.
4. Quick, efficient responses—fast relief without sacrificing standards.
5. Wide range of services—from leaks to sewers to water heaters.
6. Easy scheduling and flexible payment options—designed for your convenience.
Sample Emergency Scenarios & How Atlantis Helps
Your Basement Is Flooding at 2 AM
A frozen pipe has burst, sending water everywhere. You call Atlantis. Their team answers immediately, dispatches licensed plumbers within the hour, stops the leak, assesses the damage, and begins cleanup and pipe repair—all before breakfast.
Sewer Backup During Dinner Party
Your main sewer line backs up, and your guests are greeting more than your cooking. Atlantis arrives pronto, uses a camera inspection to pinpoint the blockage, resolves it with hydro-jetting or replacement, and gets everything draining again—without using your yard as a trench.
Unexplained Spike in Your Water Bill
You notice a huge spike in your bill—but no visible leak. Atlantis sends a tech for a free high water bill analysis, finds a small underground leak, and repairs it promptly—saving you money on unnecessary wastage.
Water Heater Fails on a Winter Morning
No hot water on a chilly morning? Atlantis arrives, diagnoses the heater issue, and either repairs it or replaces it with a similarly warranted unit—serving gas, electric, or tankless systems with equal confidence.
Outdated Polybutylene Pipes Start Failing
You suspect your home has older polybutylene piping prone to leaks. Atlantis offers specialized inspection and replacement options, bringing your plumbing system back up to modern safety and reliability standards.
Final Thought
In crisis situations, you don’t want to waste time or money. Atlantis Plumbing delivers fast, knowledgeable, and compassionate emergency plumbing services across Atlanta. With fair pricing, skilled professionals, and full-service capabilities—from leak detection to sewer repair to water heater replacement—you’re not just hiring a plumber. You’re hiring peace of mind.
When plumbing emergencies strike, remember: Atlantis Plumbing is standing by, 24/7, ready to restore order to your home or business.
Find the right local pro for your project

 Industrial Projects
Creating a comfortable outdoor living space is a priority for many homeowners and DIY enthusiasts. With rising summer temperatures, installing a shade tarp in your backyard offers an affordable and effective solution for sun protection. We’ve developed this detailed, step-by-step guide to help you confidently install a shade tarp that not only shields you from the sun but also adds aesthetic appeal to your outdoor area.
Benefits of Installing a Backyard Shade Tarp
Before diving into the installation process, let’s explore the key benefits of having a backyard shade tarp:
Provides UV Protection: Keeps your family and guests safe from harmful sun exposure.
Reduces Outdoor Temperatures: Creates a cooler, more enjoyable outdoor space.
Protects Outdoor Furniture: Extends the life of patio furniture by reducing sun damage.
Enhances Outdoor Aesthetics: Adds a modern, stylish look to your yard.
Budget-Friendly: More affordable compared to permanent structures like pergolas.
Materials and Tools You’ll Need
To begin your DIY backyard shade project, gather the following materials and tools:
Materials:
Shade tarp (UV-resistant and breathable)
Sturdy posts or existing structures (trees, fences, walls)
Mounting hardware (eye bolts, D-rings, turnbuckles, snap hooks)
Nylon or polyester rope, or stainless-steel wire
Concrete (if installing new posts)
Tools:
Power drill
Measuring tape
Level
Ladder
Wrench or adjustable spanner
Post hole digger (if installing new posts)
Step 1: Plan Your Shade Tarp Layout
The first step in installing your backyard shade tarp is careful planning. Take time to assess your outdoor area and answer these key questions:
Where is the sun’s path throughout the day?
What size and shape of tarp best suits your space?
Will you anchor the tarp to existing structures or install new posts?
What height do you want the tarp to sit at for maximum shade and airflow?
Pro Tip: Use string or garden hoses to visualize the tarp layout on the ground before making permanent decisions.
Step 2: Measure and Mark Anchor Points
Once you’ve determined the tarp’s location and orientation:
Measure the tarp dimensions.
Mark the exact points where each corner of the tarp will be anchored.
Ensure that the anchor points are at least 5–10% longer than the tarp size to allow for tensioning and slight adjustments.
Consider slope angles for water runoff. Aim for at least a 20-degree angle to prevent water pooling on the tarp.
Step 3: Install Support Posts (If Necessary)
If your backyard lacks existing anchor points like trees or fences, you’ll need to install sturdy support posts:
Dig post holes at least 24 inches deep and 8-12 inches wide for stability.
Set posts in concrete, making sure they remain plumb and level.
Allow the concrete to cure for at least 24–48 hours before applying tension from the tarp.
We recommend using pressure-treated wood, galvanized steel poles, or aluminum posts for longevity and strength.
Step 4: Install Mounting Hardware
With your anchor points ready, it’s time to install the necessary hardware:
Attach eye bolts or pad eyes securely into walls, posts, or other fixed structures.
For added flexibility and adjustability, install turnbuckles or tensioners to fine-tune the tarp’s tightness.
Connect snap hooks, D-rings, or carabiners to make assembly and disassembly easier.
Make sure all hardware is rated for outdoor use to prevent rust and corrosion.
Step 5: Attach and Tension the Shade Tarp
Now it’s time for the most satisfying part—mounting the shade tarp:
Begin by attaching one corner of the tarp to an anchor point.
Gradually attach the remaining corners, moving diagonally for even tension.
Adjust each connection point using your turnbuckles, ropes, or cables.
Pull the tarp tight enough to avoid sagging, but not so tight that it risks tearing.
Check that the tarp maintains the desired slope for rainwater runoff and adjust tension as needed.
Step 6: Final Adjustments and Safety Check
Before enjoying your new shaded area:
Inspect all anchor points and hardware for stability.
Test the tarp’s tension and make adjustments for even distribution.
Ensure that no sharp edges or loose connections remain that could damage the tarp or pose a safety hazard.
Confirm that the tarp is secure in windy conditions by giving it a gentle tug.
If you live in an area with frequent high winds, consider removing the tarp during storms to prevent damage.
Step 7: Enjoy Your Shaded Backyard Oasis
Once installed, your backyard shade tarp provides a comfortable and protective space for outdoor gatherings, relaxation, or family activities. You can decorate underneath with outdoor furniture, string lights, or potted plants to create a personalized outdoor retreat.
Maintenance Tips for Long-Lasting Shade Tarp Performance
To extend the life of your shade tarp, follow these maintenance guidelines:
Regularly check for wear and tear, especially around anchor points and seams.
Clean the tarp periodically with mild soap and water to prevent mildew buildup.
Store the tarp indoors during harsh weather seasons if it's not designed for year-round use.
Tighten hardware as needed to maintain proper tension and avoid sagging.
By following these simple care steps, your shade tarp will continue to deliver years of sun protection and outdoor comfort.
Conclusion: Upgrade Your Outdoor Space with a DIY Shade Tarp
Installing a shade tarp in your backyard is a cost-effective and rewarding DIY project. With careful planning, quality materials, and proper installation techniques, you’ll enjoy cool, shaded outdoor living all season long. This step-by-step guide ensures your project goes smoothly from start to finish.
 Entrada Iron and Wood Doors
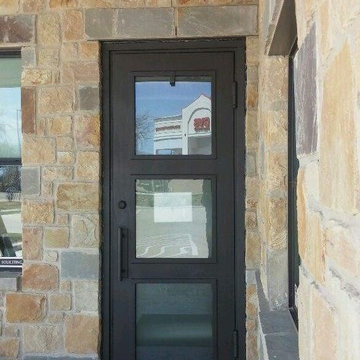
3 Lite Iron Door
with Satin Glass
Front door - modern front door idea in Dallas with a brown front door
Front door - modern front door idea in Dallas with a brown front door

 Build It Right Remodeling
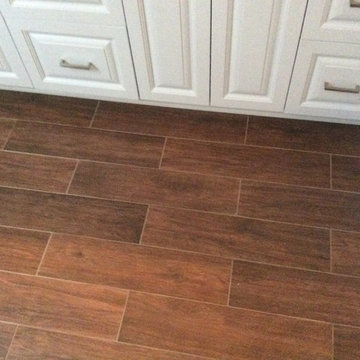
Tile is 6" x 24" Running Bond Lay
Berkshire Hickory with Summer Wheat Grout Color
Inspiration for a mid-sized coastal bathroom remodel in Milwaukee
Inspiration for a mid-sized coastal bathroom remodel in Milwaukee

 Moss Yaw Design studio
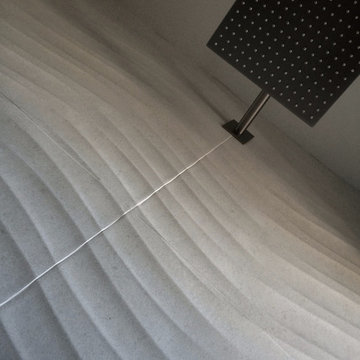
Minimal grout lines at well-aligned fixtures create a sense of continuity at 24x24 rectified wall tiles. The dimensional tiles add a playful design element to the modern geometry of the mid century home.
 Fusion Art 808
Inspiration for a mid-sized timeless beige one-story stone gable roof remodel in Hawaii

 Custom Surface Solutions
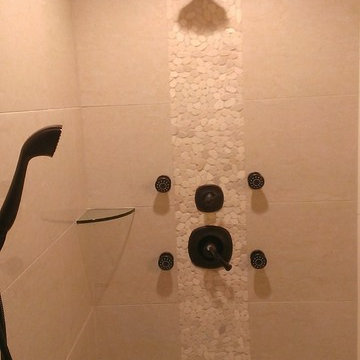
Custom Surface Solutions (www.css-tile.com) - Owner Craig Thompson (512) 430-1215. This project shows the remodel of a master bathroom with before and after pictures of the project. 32" x 16" tile was used on the walls and 32 x 8" tile on the floor. The accent and shower pan tile is flat pebble stones. The faucets are Delta.

 Red Rock Design-Build and Red Rock Pools and Spas
A contemporary roof top pool with grand views of some of AZ most iconic mountains. The outer edge is constructed with large acrylic panels installed by Hammerhead International, and the tile is a Bisazza Blend. Photos are by Michael Duerinckx.
 J&S by STARK
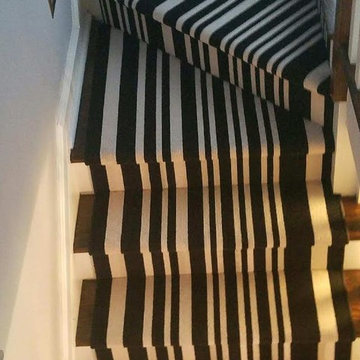
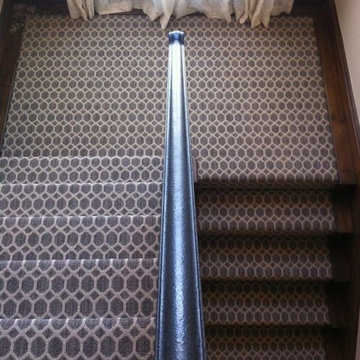
Mid-sized eclectic carpeted straight wood railing staircase photo in New York with carpeted risers
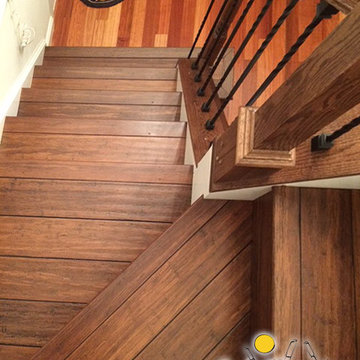
 Cali Floors
The entryway of this Sterling, VA home makes a statement with an elegant staircase featuring Antique Java Fossilized® flooring. The flooring continues onto the second story for a seamless, inviting look and feel.

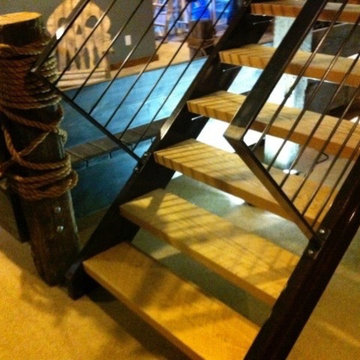
 Splintered Shop
Inspiration for a huge rustic underground carpeted and beige floor staircase remodel in Salt Lake City with gray walls and no fireplace
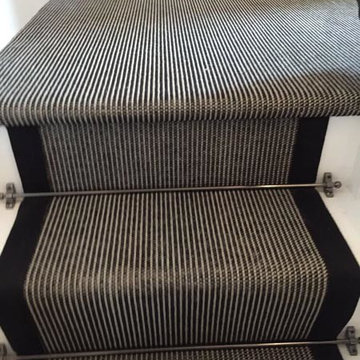
 The Flooring Group Ltd
Client: Private Residence In North London
Brief: To supply & install grey striped carpet to stairs
Transitional carpeted u-shaped staircase photo in London with carpeted risers
Transitional carpeted u-shaped staircase photo in London with carpeted risers
 Modern Fabrication
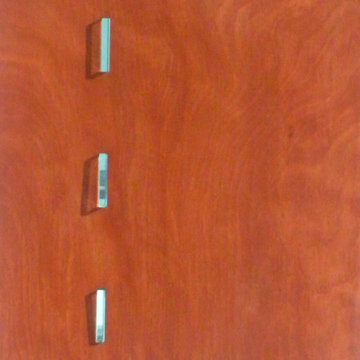
MCM Style with Perpindicular Glass Slivers
Inspiration for a modern front door remodel in Salt Lake City with a medium wood front door
Inspiration for a modern front door remodel in Salt Lake City with a medium wood front door
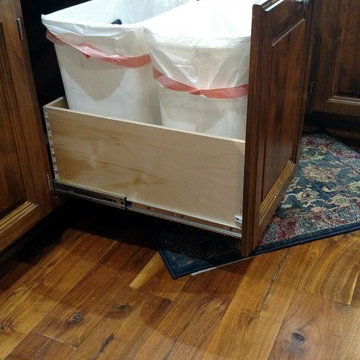
 Harmony Home Concepts | Slide Out Shelf Solutions
Pull out shelf drawers can be made to fit your trash bins so you can throw away and recycle at the same time, but keep your trash containers hidden the rest of the time!
20