
Search results for "Essential step" in Home Design Ideas
 Rudloff Custom Builders
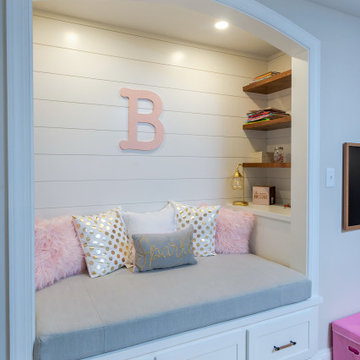
In a corner of the basement we created a play area. The nook has a shiplap wall, and tons of storage, from the reclaimed old heart pine shelves to the drawers beneath the seat.
Welcome to this sports lover’s paradise in West Chester, PA! We started with the completely blank palette of an unfinished basement and created space for everyone in the family by adding a main television watching space, a play area, a bar area, a full bathroom and an exercise room. The floor is COREtek engineered hardwood, which is waterproof and durable, and great for basements and floors that might take a beating. Combining wood, steel, tin and brick, this modern farmhouse looking basement is chic and ready to host family and friends to watch sporting events!
Rudloff Custom Builders has won Best of Houzz for Customer Service in 2014, 2015 2016, 2017 and 2019. We also were voted Best of Design in 2016, 2017, 2018, 2019 which only 2% of professionals receive. Rudloff Custom Builders has been featured on Houzz in their Kitchen of the Week, What to Know About Using Reclaimed Wood in the Kitchen as well as included in their Bathroom WorkBook article. We are a full service, certified remodeling company that covers all of the Philadelphia suburban area. This business, like most others, developed from a friendship of young entrepreneurs who wanted to make a difference in their clients’ lives, one household at a time. This relationship between partners is much more than a friendship. Edward and Stephen Rudloff are brothers who have renovated and built custom homes together paying close attention to detail. They are carpenters by trade and understand concept and execution. Rudloff Custom Builders will provide services for you with the highest level of professionalism, quality, detail, punctuality and craftsmanship, every step of the way along our journey together.
Specializing in residential construction allows us to connect with our clients early in the design phase to ensure that every detail is captured as you imagined. One stop shopping is essentially what you will receive with Rudloff Custom Builders from design of your project to the construction of your dreams, executed by on-site project managers and skilled craftsmen. Our concept: envision our client’s ideas and make them a reality. Our mission: CREATING LIFETIME RELATIONSHIPS BUILT ON TRUST AND INTEGRITY.
Photo Credit: Linda McManus Images
 Gettliffe Architecture
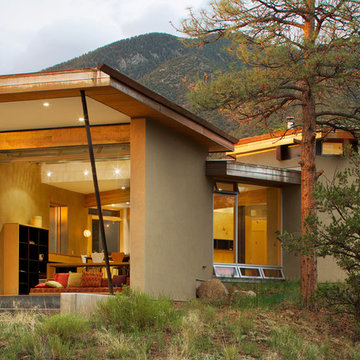
This custom green vacation home designed by Colorado architect Dominique Gettliffe features a stucco exterior, straw bale insulation, solar hot water and other sustainable features. A large rolling glass door opens onto an open patio and a beautiful view of the valley.
Find the right local pro for your project
 Rudloff Custom Builders
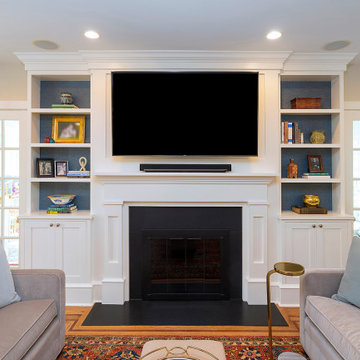
This inviting family room was part of the addition to the home. The focal point of the room is the custom-made white built-ins. Accented with a blue back, the built-ins provide storage and perfectly frame the fireplace and mounted television. The fireplace has a white shaker-style surround and mantle and honed black slate floor. The rest of the flooring in the room is red oak with mahogany inlays. The French doors lead outside to the patio.
What started as an addition project turned into a full house remodel in this Modern Craftsman home in Narberth, PA. The addition included the creation of a sitting room, family room, mudroom and third floor. As we moved to the rest of the home, we designed and built a custom staircase to connect the family room to the existing kitchen. We laid red oak flooring with a mahogany inlay throughout house. Another central feature of this is home is all the built-in storage. We used or created every nook for seating and storage throughout the house, as you can see in the family room, dining area, staircase landing, bedroom and bathrooms. Custom wainscoting and trim are everywhere you look, and gives a clean, polished look to this warm house.
Rudloff Custom Builders has won Best of Houzz for Customer Service in 2014, 2015 2016, 2017 and 2019. We also were voted Best of Design in 2016, 2017, 2018, 2019 which only 2% of professionals receive. Rudloff Custom Builders has been featured on Houzz in their Kitchen of the Week, What to Know About Using Reclaimed Wood in the Kitchen as well as included in their Bathroom WorkBook article. We are a full service, certified remodeling company that covers all of the Philadelphia suburban area. This business, like most others, developed from a friendship of young entrepreneurs who wanted to make a difference in their clients’ lives, one household at a time. This relationship between partners is much more than a friendship. Edward and Stephen Rudloff are brothers who have renovated and built custom homes together paying close attention to detail. They are carpenters by trade and understand concept and execution. Rudloff Custom Builders will provide services for you with the highest level of professionalism, quality, detail, punctuality and craftsmanship, every step of the way along our journey together.
Specializing in residential construction allows us to connect with our clients early in the design phase to ensure that every detail is captured as you imagined. One stop shopping is essentially what you will receive with Rudloff Custom Builders from design of your project to the construction of your dreams, executed by on-site project managers and skilled craftsmen. Our concept: envision our client’s ideas and make them a reality. Our mission: CREATING LIFETIME RELATIONSHIPS BUILT ON TRUST AND INTEGRITY.
Photo Credit: Linda McManus Images
 M&D Lawn & Landscape
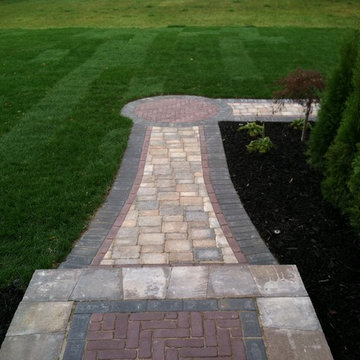
Inspiration for a contemporary courtyard stone landscaping in Detroit with a fire pit.
 Paskevich & Associates
Scott Pease Photography
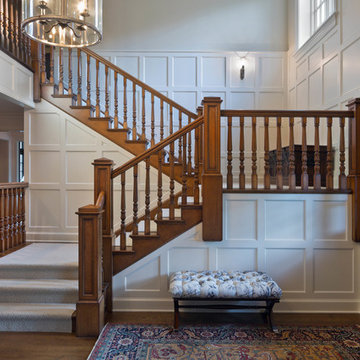
Example of a classic wooden u-shaped wood railing staircase design in Cleveland with wooden risers
Example of a classic wooden u-shaped wood railing staircase design in Cleveland with wooden risers
 Rudloff Custom Builders
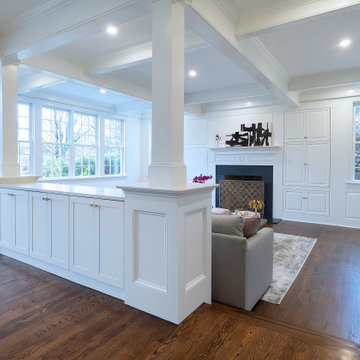
In the divide between the kitchen and family room, we built storage into the buffet. We applied moulding to the columns for an updated and clean look.
Sleek and contemporary, this beautiful home is located in Villanova, PA. Blue, white and gold are the palette of this transitional design. With custom touches and an emphasis on flow and an open floor plan, the renovation included the kitchen, family room, butler’s pantry, mudroom, two powder rooms and floors.
Rudloff Custom Builders has won Best of Houzz for Customer Service in 2014, 2015 2016, 2017 and 2019. We also were voted Best of Design in 2016, 2017, 2018, 2019 which only 2% of professionals receive. Rudloff Custom Builders has been featured on Houzz in their Kitchen of the Week, What to Know About Using Reclaimed Wood in the Kitchen as well as included in their Bathroom WorkBook article. We are a full service, certified remodeling company that covers all of the Philadelphia suburban area. This business, like most others, developed from a friendship of young entrepreneurs who wanted to make a difference in their clients’ lives, one household at a time. This relationship between partners is much more than a friendship. Edward and Stephen Rudloff are brothers who have renovated and built custom homes together paying close attention to detail. They are carpenters by trade and understand concept and execution. Rudloff Custom Builders will provide services for you with the highest level of professionalism, quality, detail, punctuality and craftsmanship, every step of the way along our journey together.
Specializing in residential construction allows us to connect with our clients early in the design phase to ensure that every detail is captured as you imagined. One stop shopping is essentially what you will receive with Rudloff Custom Builders from design of your project to the construction of your dreams, executed by on-site project managers and skilled craftsmen. Our concept: envision our client’s ideas and make them a reality. Our mission: CREATING LIFETIME RELATIONSHIPS BUILT ON TRUST AND INTEGRITY.
Photo Credit: Linda McManus Images

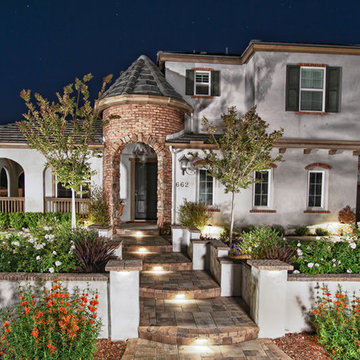
 Western Outdoor Designs
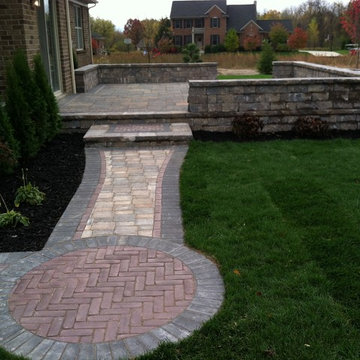
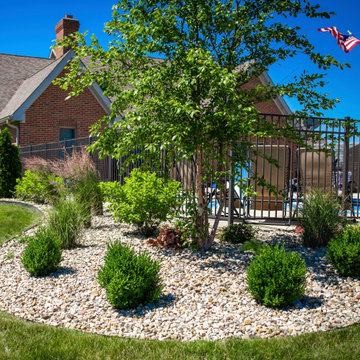
The hardscape is the backbone of your home’s exterior design. Over the years your plants will bloom, die, and be replaced, but your hardscape will outlive it all. The essential hardscape features, such as your concrete, pavers, retaining walls, and walkways provide the foundation for all other aspects of your outdoor living.
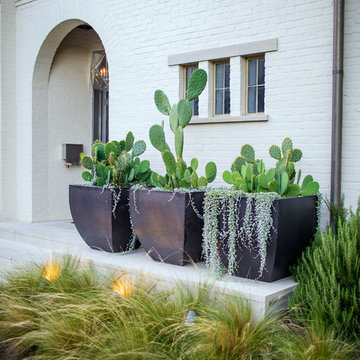
 AquaTerra Outdoors
Daniel Driensky
Photo of a small transitional partial sun front yard landscaping in Dallas for summer.
Photo of a small transitional partial sun front yard landscaping in Dallas for summer.
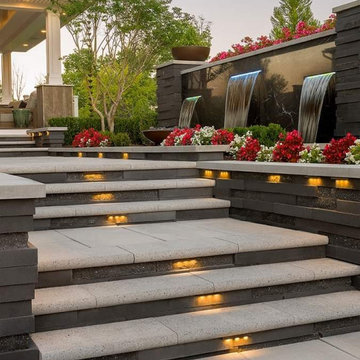
 A & B Kearns & Stone
Lighting is essential to help light your steps and pathways. we offer a variety of products and have catalogs for the different products

 Rudloff Custom Builders
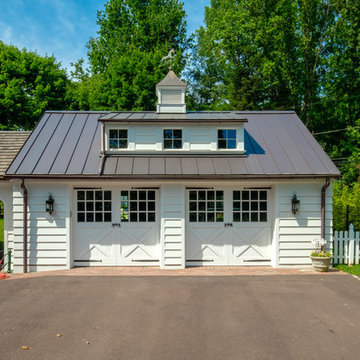
We renovated the exterior and the 4-car garage of this colonial, New England-style estate in Haverford, PA. The 3-story main house has white, western red cedar siding and a green roof. The detached, 4-car garage also functions as a gentleman’s workshop. Originally, that building was two separate structures. The challenge was to create one building with a cohesive look that fit with the main house’s New England style. Challenge accepted! We started by building a breezeway to connect the two structures. The new building’s exterior mimics that of the main house’s siding, stone and roof, and has copper downspouts and gutters. The stone exterior has a German shmear finish to make the stone look as old as the stone on the house. The workshop portion features mahogany, carriage style doors. The workshop floors are reclaimed Belgian block brick.
RUDLOFF Custom Builders has won Best of Houzz for Customer Service in 2014, 2015 2016 and 2017. We also were voted Best of Design in 2016, 2017 and 2018, which only 2% of professionals receive. Rudloff Custom Builders has been featured on Houzz in their Kitchen of the Week, What to Know About Using Reclaimed Wood in the Kitchen as well as included in their Bathroom WorkBook article. We are a full service, certified remodeling company that covers all of the Philadelphia suburban area. This business, like most others, developed from a friendship of young entrepreneurs who wanted to make a difference in their clients’ lives, one household at a time. This relationship between partners is much more than a friendship. Edward and Stephen Rudloff are brothers who have renovated and built custom homes together paying close attention to detail. They are carpenters by trade and understand concept and execution. RUDLOFF CUSTOM BUILDERS will provide services for you with the highest level of professionalism, quality, detail, punctuality and craftsmanship, every step of the way along our journey together.
Specializing in residential construction allows us to connect with our clients early in the design phase to ensure that every detail is captured as you imagined. One stop shopping is essentially what you will receive with RUDLOFF CUSTOM BUILDERS from design of your project to the construction of your dreams, executed by on-site project managers and skilled craftsmen. Our concept: envision our client’s ideas and make them a reality. Our mission: CREATING LIFETIME RELATIONSHIPS BUILT ON TRUST AND INTEGRITY.
Photo Credit: JMB Photoworks
 Jenny Madden Design
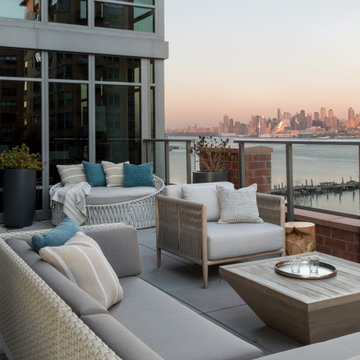
Step outside to a breathtaking terrace with all the essentials - cozy seating, plenty of pillows, and a stunning view!ter
Trendy exterior home photo in New York
Trendy exterior home photo in New York
Sponsored
Columbus, OH
Free consultation for landscape design!

Peabody Landscape Group
Columbus' Reliable Landscape Design & Contracting
 The Whole Blooming Landscape, Inc.
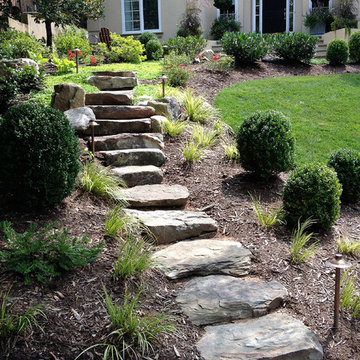
Design ideas for a mid-sized transitional partial sun front yard stone formal garden in Charlotte.
 Designed Roofing & Essential Exteriors
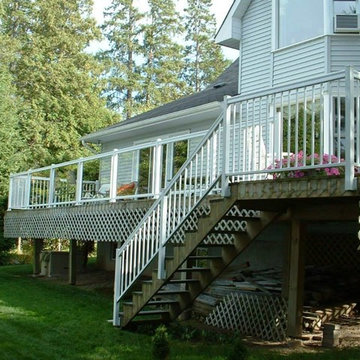
Inspiration for a mid-sized timeless back porch remodel in Toronto
 Rudloff Custom Builders
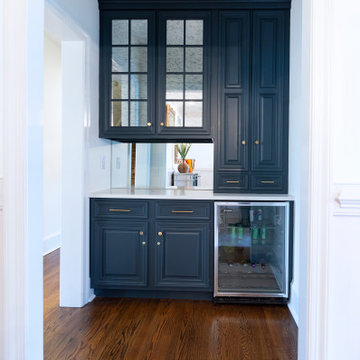
Right off the kitchen is a butler’s pantry. The dark blue raised panel cabinets with satin gold pulls and the white quartz counter correspond with the kitchen. We used mirrors for the backsplash and on the upper cabinets. And, of course, no beverage center is complete with a wine refrigerator!
Sleek and contemporary, this beautiful home is located in Villanova, PA. Blue, white and gold are the palette of this transitional design. With custom touches and an emphasis on flow and an open floor plan, the renovation included the kitchen, family room, butler’s pantry, mudroom, two powder rooms and floors.
Rudloff Custom Builders has won Best of Houzz for Customer Service in 2014, 2015 2016, 2017 and 2019. We also were voted Best of Design in 2016, 2017, 2018, 2019 which only 2% of professionals receive. Rudloff Custom Builders has been featured on Houzz in their Kitchen of the Week, What to Know About Using Reclaimed Wood in the Kitchen as well as included in their Bathroom WorkBook article. We are a full service, certified remodeling company that covers all of the Philadelphia suburban area. This business, like most others, developed from a friendship of young entrepreneurs who wanted to make a difference in their clients’ lives, one household at a time. This relationship between partners is much more than a friendship. Edward and Stephen Rudloff are brothers who have renovated and built custom homes together paying close attention to detail. They are carpenters by trade and understand concept and execution. Rudloff Custom Builders will provide services for you with the highest level of professionalism, quality, detail, punctuality and craftsmanship, every step of the way along our journey together.
Specializing in residential construction allows us to connect with our clients early in the design phase to ensure that every detail is captured as you imagined. One stop shopping is essentially what you will receive with Rudloff Custom Builders from design of your project to the construction of your dreams, executed by on-site project managers and skilled craftsmen. Our concept: envision our client’s ideas and make them a reality. Our mission: CREATING LIFETIME RELATIONSHIPS BUILT ON TRUST AND INTEGRITY.
Photo Credit: Linda McManus Images
 Hamilton Architects
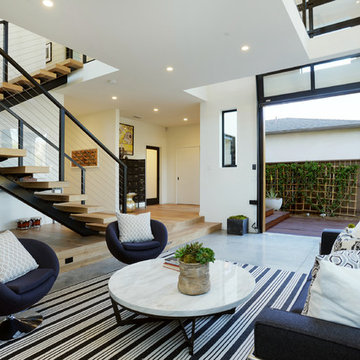
Inspiration for a contemporary concrete floor living room remodel in Los Angeles with white walls
Sponsored
Westerville, OH

Custom Home Works
Franklin County's Award-Winning Design, Build and Remodeling Expert
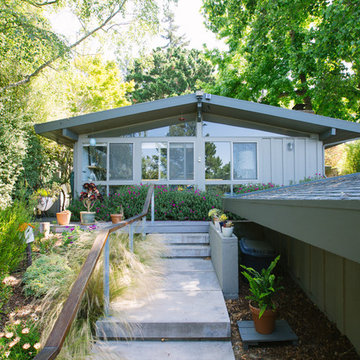
 Nanette Wong
Photo: Nanette Wong © 2014 Houzz
1950s gray one-story exterior home photo in San Francisco
1950s gray one-story exterior home photo in San Francisco
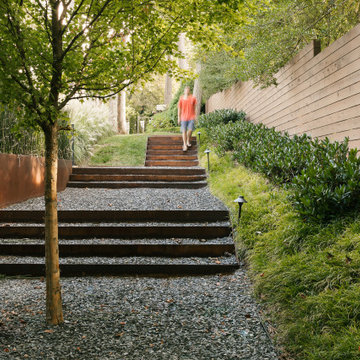
 CORE Landscape
Corten steel and gravel walkway behind fireplace to access play area and back of house.
This is an example of a mid-century modern landscaping in Atlanta.
This is an example of a mid-century modern landscaping in Atlanta.
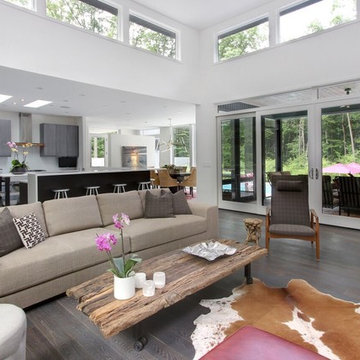
 RS Design Studio
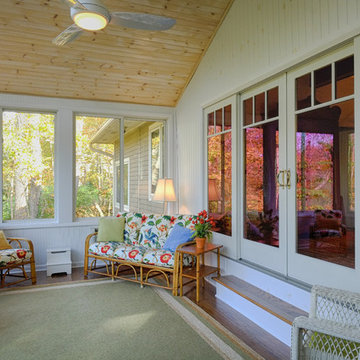
Living Room which opens to screened porch, Dining Room and Kitchen flowing into one large space, but separated enough to define the use for each space.
8