
Search results for "High return" in Home Design Ideas
 Tile Doctor Ltd
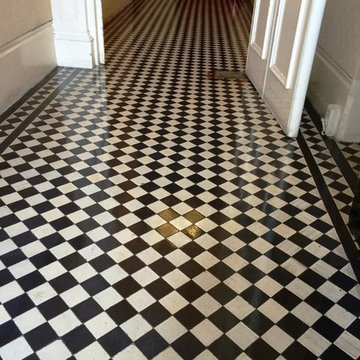
Recently, I was asked to do some Tile Doctoring at Palmeira Square, in the seaside city of Brighton and Hove, to restore the Victorian tiled floor of one of the downstairs offices. Palmeira Square is a residential area which was first developed in the mid-19th century during the reign of Queen Victoria, so many of the buildings feature some fantastic original Victorian tile floors. Although there are many large terraced houses and even mansions in the area, some of the buildings have been converted into offices for commercial use. My client, who leased the downstairs office, managed to persuade the other tenants to employ professional help to restore the tiles, and so I was asked to come in to clean and seal the floor to get it back to looking its best.
With Palmeira Square being quite a lively area, I made sure to fence off the front door area from the wandering public. My first job was to apply Tile Doctor Remove & Go to the floor, a heavy duty stripper, multi-purpose stripper that was able to remove the stubborn marks, stains and ingrained dirt on and between the tiles. In particular, Remove & Go helped to remove some rust stains I found near the door hinges.
I left the product to sit and work its magic for twenty minutes, and during this time I began cleaning the floor using a buffing pad, which is suitable for use on all types of floor (except polished stone), and a solution of Tile Doctor Pro-Clean diluted with water. The combination of a buffing pad and Pro-Clean helped to remove the general dirt and grime that had built up over time in this high traffic area of the office. After the cleaning was complete, the black tiles appeared grey because any remaining sealer had been removed. However, the colour would return after resealing the tiles, which was my next job.
I returned to the office after two days to seal the Victorian tile floor. To do this, I needed to use Tile Doctor Seal & Go, which meant I had to ask the office workers to keep off the floor for most of the day. This is because I needed to apply six coats of Seal & Go to the floor, and each coat takes roughly fourty minutes to dry. Seal & Go provides a stain-resistant surface seal and a durable low-sheen finish, which will help keep this floor looking great for a long time, even with a high traffic of workers coming in and out of the office.
Luckily, it was a warm day outside, and the floor dried quickly, leaving a shiny, deep black surface. Both my client and I were very happy with the result. The client was also pleasantly surprised to see that I had been able to remove the rust stains near the door.
 SabaRehman Abdulrehman
Bathrooms are no longer just functional spaces; they’re mini sanctuaries where we unwind, reset, and start or end the day. One of the biggest trends driving modern bathroom design is the move towards open, spacious layouts – and at the centre of that look is the wet room shower screen.
At BathroomNation, we’ve helped countless homeowners transform traditional bathrooms into sleek, practical wet rooms using high-quality wet room shower screens. In this blog, we’ll explain what a wet room shower screen is, why it’s such a smart choice, how to plan and style it, and what to look for when choosing the perfect one for your home.
What Is a Wet Room Shower Screen?
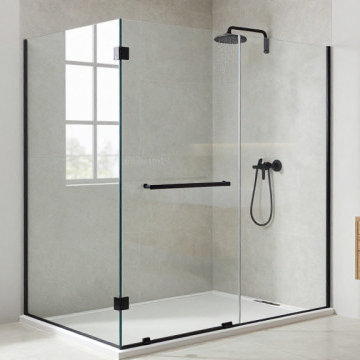
A wet room shower screen is a fixed or semi-fixed glass panel designed to separate your shower area from the rest of the bathroom floor, without enclosing it like a traditional cubicle. Instead of a full tray and door, you have:
- A level or gently sloped floor (often fully tiled)
- A walk-in, open shower space
- One or more glass panels providing splash protection
- Small bathrooms that feel cramped
- Rooms with limited or no natural light
- Long, narrow spaces where every inch counts
- Ideal for people with limited mobility
- Safer for older users and children
- More comfortable for everyday use
- Almost invisible glass boundaries
- Minimal metal hardware and framing
- A seamless link between shower and non-shower areas
- Quick to wipe down after a shower
- Simple to clean with standard glass cleaner
- Less prone to discoloured seals and hard-to-reach dirt
- The shower head is positioned sensibly to minimise overspray
- Your bathroom is medium or large in size
- You want an ultra‑open, walk‑in feel
- Extends coverage
- Helps keep more water inside the shower area
- Still keeps the openness of a walk‑in design
- Increase the effective width of protection during showering
- Fold the panel away slightly when not in use to open up the space
- 8mm toughened safety glass as standard
- 10mm toughened glass for an even more solid, premium feel
- Prevent water spots and mineral build-up
- Make daily and weekly cleaning quicker
- Keep your wet room shower screen looking clear and new for longer
- Taller screens (often 1900mm or more) provide better splash control
- Various widths let you create both compact and expansive walk-in areas
- Enhance rigidity and safety
- Are typically mounted at the top, near the ceiling or wall
- Can be designed in finishes that match your brassware (chrome, black, brass, etc.)
- Chrome
- Brushed nickel
- Matt black
- Brushed brass or gold tone
- Where the shower head will be placed (ceiling, wall‑mounted, or both)
- How water will naturally fall and drain
- How much splash you’re comfortable with elsewhere in the room
- The floor needs a gentle, even fall towards the drain
- You can use a central drain or linear (channel) drain
- Waterproofing (tanking) is essential beneath tiles or flooring
- Catch most of the spray from your shower head
- Shield the main walkway and dry areas
- Clear, frameless-style glass panel
- Large-format light grey or stone‑effect tiles
- Wall‑mounted rainfall shower head with matching controls
- Floating vanity and wall-hung toilet
- Wet room shower screen with black profile and support bar
- Concrete or stone-look tiles on floor and walls
- Black rainfall shower and matching mixer valve
- Simple timber stool or bench for warmth
- Ultra-clear glass wet room shower screen
- Natural stone or stone‑effect tiles in warm tones
- Brushed brass shower fittings
- Niche shelving built into the wall for toiletries
- Open, walk-in design
- Easier access, especially for mobility needs
- More airy look, less visual clutter
- Simpler to clean (fewer frames and corners)
- Fully enclosed, more contained water
- Usually involves a tray and door
- Can feel more “boxed in” in smaller rooms
 VISTA TILES
PLEASE NOTE THAT , in case of return there would be 25% Re stocking fee would apply to the order amount and Returning shipping cost would be pay by the customer .
. Since the bar front corrugated Tile ceramic products are produced by hand workmanship, it is normal for the products to have color tones.
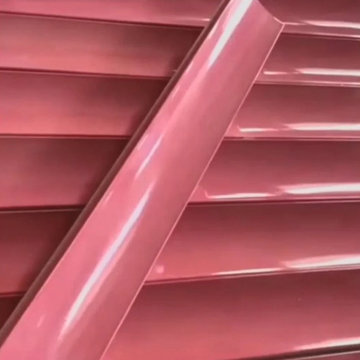
. WOW TILE The back side of the corrugated tiles has a matte ceramic base and serrated, the front side is glazed and glossy polished.
. Our product, which is shown in the front of the bar ceramic picture, is made with a mixture of ceramic tiles and its upper structure is made with tile paint SIR.
. Wow tile bar front tile Bench front, counter front, bench forehead bar front ceramics are glazed and preserve its appearance for many years. No loss of color and pattern
Bar Design tile Handmade Bar front tiles are baked at 1050 degrees (oven). For this reason, it is resistant to weather conditions such as sun, wind, etc.
. The bar front ceramics are water and moisture proof thanks to the glossy glazed finish. For this reason, it does not hold water on its surface, prevents the formation of bacteria
and mold.
. The cafe bar model, which has special design tile colors, is covered with ceramic tiles in front of the bar, and its upper structure is covered with a special tile secret crackle and
its surface is cracked. These cracks remain under the secret.
. Cafe bar restaurant decoration for cafes
. Our under-counter tile products are preferred in your interior and exterior architectural decoration and designs, and in cafe patisserie projects.
Specifications :
Width : 10 cm
Height : 50 cm
Thickness : 2,5 cm
1 m2 Weight : 25,00 kg.
1 m2 Piece : 20
Additional info
PRODUCT DESCRIPTION :
– Production is made with a digital glass printing machine.
– UV printing technology and paint are used.
– It is baked at 980 degrees.
– It adds a visual meaning to the space used.
– Does not release moisture, does not form bacteria and mold.
– There are absolutely no problems such as pattern loss, flying etc. on the interior and exterior.
– Colors remain as vivid as the first day
– We can print all your high resolution images.
Find the right local pro for your project
 VISTA TILES
PLEASE NOTE THAT , in case of return there would be 25% Re stocking fee would apply to the order amount and Returning shipping cost would be pay by the customer .
. Since the bar front corrugated Tile ceramic products are produced by hand workmanship, it is normal for the products to have color tones.
. WOW TILE The back side of the corrugated tiles has a matte ceramic base and serrated, the front side is glazed and glossy polished.
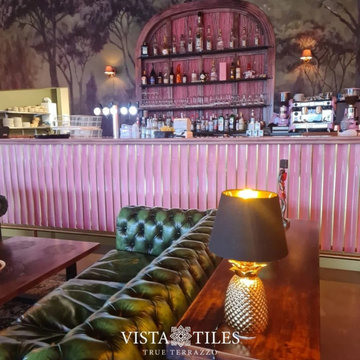
. Our product, which is shown in the front of the bar ceramic picture, is made with a mixture of ceramic tiles and its upper structure is made with tile paint SIR.
. Wow tile bar front tile Bench front, counter front, bench forehead bar front ceramics are glazed and preserve its appearance for many years. No loss of color and pattern
Bar Design tile Handmade Bar front tiles are baked at 1050 degrees (oven). For this reason, it is resistant to weather conditions such as sun, wind, etc.
. The bar front ceramics are water and moisture proof thanks to the glossy glazed finish. For this reason, it does not hold water on its surface, prevents the formation of bacteria
and mold.
. The cafe bar model, which has special design tile colors, is covered with ceramic tiles in front of the bar, and its upper structure is covered with a special tile secret crackle and
its surface is cracked. These cracks remain under the secret.
. Cafe bar restaurant decoration for cafes
. Our under-counter tile products are preferred in your interior and exterior architectural decoration and designs, and in cafe patisserie projects.
Specifications :
Width : 10 cm
Height : 50 cm
Thickness : 2,5 cm
1 m2 Weight : 25,00 kg.
1 m2 Piece : 20
Additional info
PRODUCT DESCRIPTION :
– Production is made with a digital glass printing machine.
– UV printing technology and paint are used.
– It is baked at 980 degrees.
– It adds a visual meaning to the space used.
– Does not release moisture, does not form bacteria and mold.
– There are absolutely no problems such as pattern loss, flying etc. on the interior and exterior.
– Colors remain as vivid as the first day
– We can print all your high resolution images.
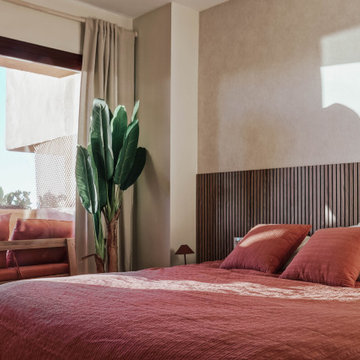
 Costa del Sol Interiors | Interior Designer
This project involved a complete renovation of a 40-year-old apartment in Costa del Sol, overlooking the Mediterranean Sea. The aim was to modernize the space with a Mediterranean style, creating a vibrant and comfortable environment suitable for personal use and high rental returns. Changes included new flooring, wall painting, Mediterranean-themed wallpapers, wooden paneling, a fully renovated kitchen and bathroom, furniture selection, and decorative styling. The result is a stylish and inviting coastal retreat perfect for relaxation and socializing, offering both a personal haven and a lucrative rental opportunity.
Este proyecto consistió en una renovación integral de un piso con más de 40 años en la Costa del Sol, con vistas maravillosas al Mar Mediterráneo. El objetivo fue modernizar el espacio con un estilo mediterráneo, creando un ambiente vibrante y confortable ideal para el disfrute personal y con gran rentabilidad para alquiler. Se realizaron cambios como el cambio de suelos, pintura de paredes, papeles pintados con motivos mediterráneos, paneles de madera, reforma completa de la cocina y el baño, selección de mobiliario y decoración. El resultado es un retiro costero elegante y acogedor perfecto para la relajación y la convivencia, ofreciendo tanto un refugio personal como una oportunidad de alquiler lucrativa.
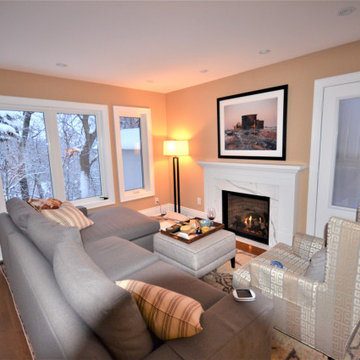
 LaRey Homes
6 years after completion of home renovation, we returned back to this High Park area gem to project manage underpinning of the entire two-storey home. Then we continued with finished basement, added main floor family room as well as second level master bedroom with ensuite.
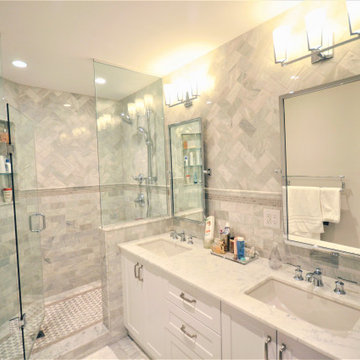 LaRey Homes
6 years after completion of home renovation, we returned back to this High Park area gem to project manage underpinning of the entire two-storey home. Then we continued with finished basement, added main floor family room as well as second level master bedroom with ensuite.
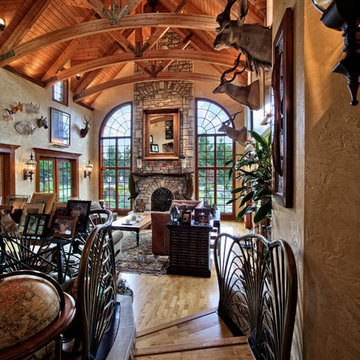
Sponsored
Columbus, OH

Structural Remodeling
Franklin County's Heavy Timber Specialists | Best of Houzz 2020!
 LaRey Homes
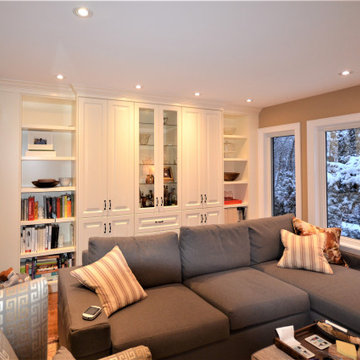
6 years after completion of home renovation, we returned back to this High Park area gem to project manage underpinning of the entire two-storey home. Then we continued with finished basement, added main floor family room as well as second level master bedroom with ensuite.
 LaRey Homes
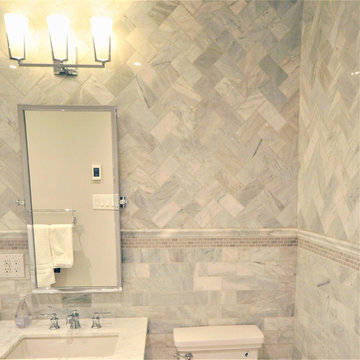
6 years after completion of home renovation, we returned back to this High Park area gem to project manage underpinning of the entire two-storey home. Then we continued with finished basement, added main floor family room as well as second level master bedroom with ensuite.
 Tile Doctor Ltd
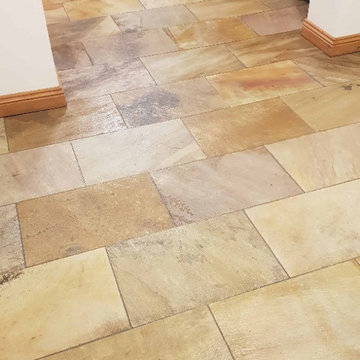
The photos on this page are of a Sandstone Kitchen floor at a house in the High Green suburb of Sheffield. The Sandstone tiles looked grubby and needed some love and attention. Our client was getting fed up trying to keep the stone clean, particularly around the kitchen area where cleaning didn’t seem to make much. You can see how dirty it had become on the before picture below, this is stark contrast to the middle of the of the kitchen where the portable kitchen island normally sits.
I went to the property to get a better look at the problem floor and carried out a small test clean to see which products and methods would have the best impact. The patch came up really clean without much difficulty, so I was confident on being able to restore its appearance.
It was clear to me the original protective sealer had worn off and dirt had become ingrained in the pores of the stone where it was proving difficult to remove. My client was very encouraged by the test clean initial result and agreed to go ahead with the quote. We arranged a suitable time to carry out the work on a day when the family would be out of the way.
I started by taping up the area to make sure the skirting and woodwork were protected from splashing. Once done a strong dilution of Tile Doctor Pro-Clean was sprayed onto Sandstone tile and grout. It was left to dwell for approximately ten minutes to help break down all the grime and dirt and was then worked into the stone using a rotary floor machine fitted with a stiff bristled brush.
This method totally transformed the dull sandstone, the stunning sandstone colours started to leap out and I could see the stone was well on its way to being transformed. The floor was then rinsed several times with water and the now soiled cleaning solution carefully removed with an industrial wet vacuum.
With the floor clean I inspected all the tiles and repeated the process until I was happy the floor was total clean. I should mention It’s not always this easy to clean a stone floor and quite often I find myself having to utilise all sorts of products and methods before I’m totally satisfied it’s as clean as it could possibly be.
With the cleaning done I left the floor to dry out overnight aided with heaters and air blowers.
I returned to seal the floor the next day checking first that the stone was dry with a damp meter. Leaving the blowers on overnight had helped and the readings I took from the floor confirmed it was now ready for sealing.
Earlier I had discussed the different types of sealer available with my clients and they had chosen to have the floor sealed with Tile Doctor Seal & Go. This works really well on Sandstone, enhancing its appearance, improving colour and of course adding protection to the stone to prevent grime and dirt stuck in the pores of the stone. Several coats were applied until I could see if was fully sealed and the right level of finish had been achieved. Sealing a floor can take some time as you need to allow each coat to dry before applying the next.
Once done the floor looked meticulously clean and the new sealer had added a lovely subtle sheen to the stone. My client was very please with the transformation and left the following feedback.
‘Very professional approach, friendly, and offered great advice throughout the job. Very pleased with the finish Cheers Matt we will see you again’
One of the problems we find with many homeowners is that for cleaning they use strong bleach-based cleaning product on their sealed tiles, and this actually strips off the sealer leaving the stone vulnerable to ingrained dirt. As a result, Tile Doctor has developed Tile Doctor Neutral Tile Cleaner, it is pH neutral and gentle enough for everyday use without affecting the sealer.
Matthew Lovett
South Yorkshire Tile Doctor
 LaRey Homes
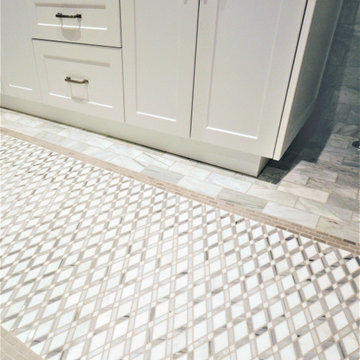
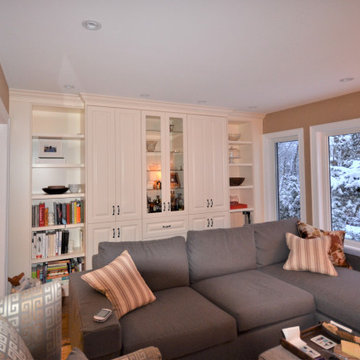
6 years after completion of home renovation, we returned back to this High Park area gem to project manage underpinning of the entire two-storey home. Then we continued with finished basement, added main floor family room as well as second level master bedroom with ensuite.
 LaRey Homes
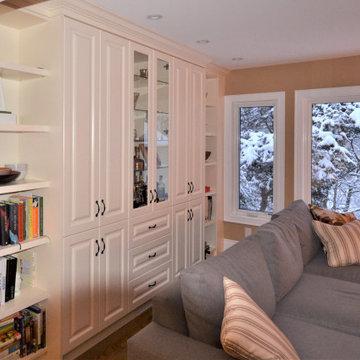
6 years after completion of home renovation, we returned back to this High Park area gem to project manage underpinning of the entire two-storey home. Then we continued with finished basement, added main floor family room as well as second level master bedroom with ensuite.
 LaRey Homes
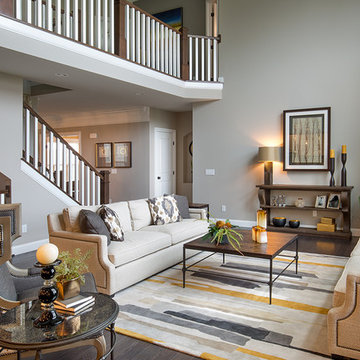
6 years after completion of home renovation, we returned back to this High Park area gem to project manage underpinning of the entire two-storey home. Then we continued with finished basement, added main floor family room as well as second level master bedroom with ensuite.

 LaRey Homes
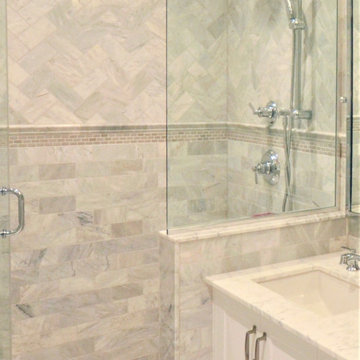
6 years after completion of home renovation, we returned back to this High Park area gem to project manage underpinning of the entire two-storey home. Then we continued with finished basement, added main floor family room as well as second level master bedroom with ensuite.
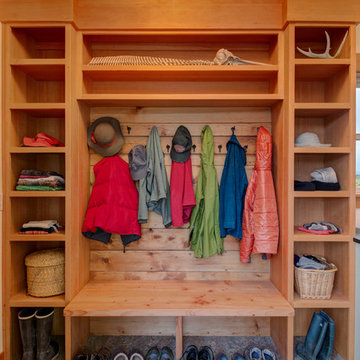
 Bellingham Bay Builders
Blanchard Mountain Farm, a small certified organic vegetable farm, sits in an idyllic location; where the Chuckanut Mountains come down to meet the Samish river basin. The owners found and fell in love with the land, knew it was the right place to start their farm, but realized the existing farmhouse was riddled with water damage, poor energy efficiency, and ill-conceived additions. Our remodel team focused their efforts on returning the farmhouse to its craftsman roots, while addressing the structure’s issues, salvaging building materials, and upgrading the home’s performance. Despite removing the roof and taking the entire home down to the studs, we were able to preserve the original fir floors and repurpose much of the original roof framing as rustic wainscoting and paneling. The indoor air quality and heating efficiency were vastly improved with the additions of a heat recovery ventilator and ductless heat pump. The building envelope was upgraded with focused air-sealing, new insulation, and the installation of a ventilation cavity behind the cedar siding. All of these details work together to create an efficient, highly durable home that preserves all the charms a century old farmhouse.
Design by Deborah Todd Building Design Services
Photography by C9 Photography
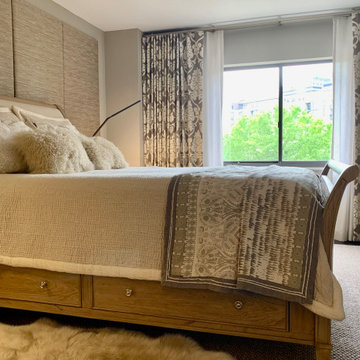
 LINEA Design Build Remodel
LINEA Design Build Remodel was engaged over several years to completely remodel every space in this Rosslyn high-rise condominium. The transformation was dramatic, providing a massive return on investment for our dedicated LINEA clients.
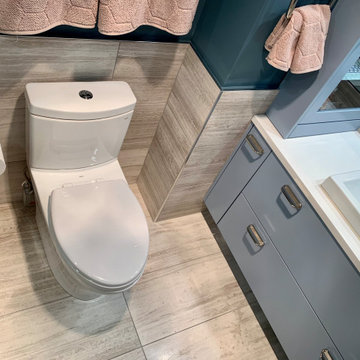 LINEA Design Build Remodel
LINEA Design Build Remodel was engaged over several years to completely remodel every space in this Rosslyn high-rise condominium. The transformation was dramatic, providing a massive return on investment for our dedicated LINEA clients.
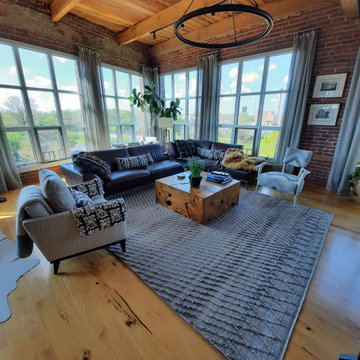

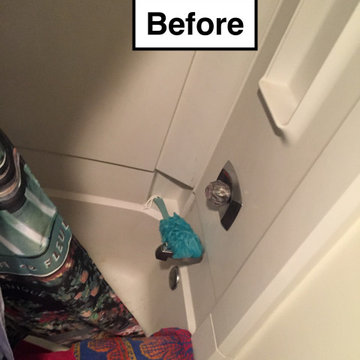 LINEA Design Build Remodel
LINEA Design Build Remodel was engaged over several years to completely remodel every space in this Rosslyn high-rise condominium. The transformation was dramatic, providing a massive return on investment for our dedicated LINEA clients.
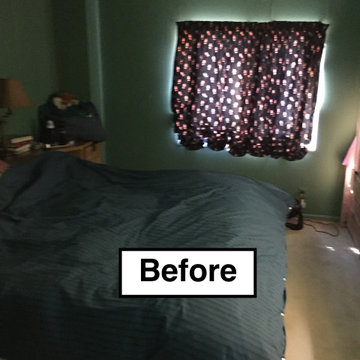 LINEA Design Build Remodel
LINEA Design Build Remodel was engaged over several years to completely remodel every space in this Rosslyn high-rise condominium. The transformation was dramatic, providing a massive return on investment for our dedicated LINEA clients.
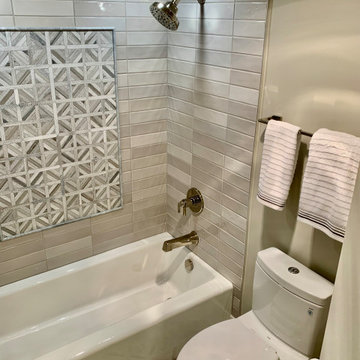 LINEA Design Build Remodel
LINEA Design Build Remodel was engaged over several years to completely remodel every space in this Rosslyn high-rise condominium. The transformation was dramatic, providing a massive return on investment for our dedicated LINEA clients.
15