
Search results for "Inspected" in Home Design Ideas


 ML Electric Incorporated
Great room - mid-sized contemporary gray floor great room idea in Los Angeles with gray walls and no fireplace

Find the right local pro for your project


 AP Remodeling Inc.
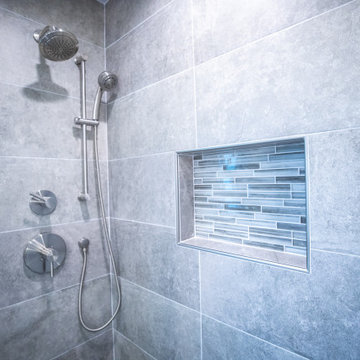
Bathroom Remodel in 3 Weeks:
Week 1: Demolition, Rough work and Inspection.
Week 2: Hot Mop, Hot Mop and Lath Inspection, Drywall and plaster, Painting and Vanity Install.
Week 3: Tiling, Countertop install, Plumbling Fixtures install and Final inspection.

 Solar Earth Choice
10 solar panels of Jinko Solar 365 watts with solar edge inverter and optimizers.
the solar installation was done on the garage roof and that is why we trenched from the garage to the main house in order to connect the solar system to the main panel on the house itself.
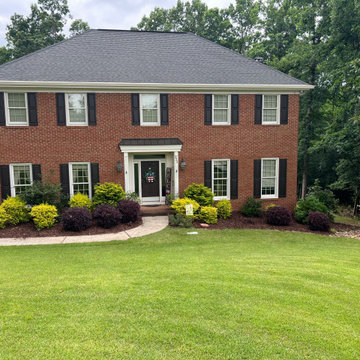
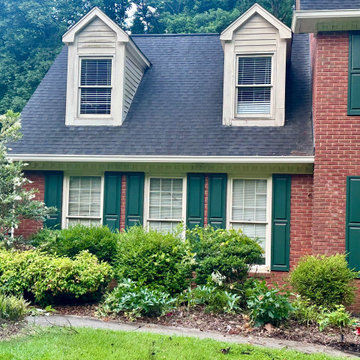
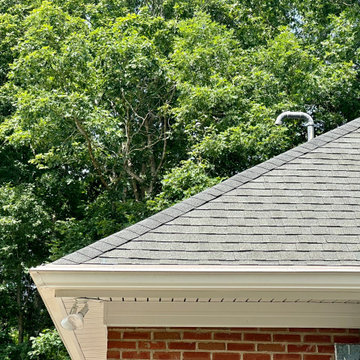
roof top is shingles with Iron Ridge racking.
beautiful and clean installation
we had 2 inspections , 1. rough inspection for the trenching and stand offs 2. final inspection .
the inspector was very pleased with our work..
the solar system is up and running and producing.

 LUX Quality Homes
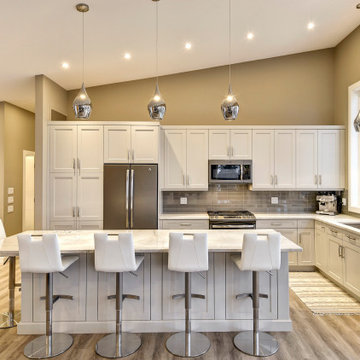
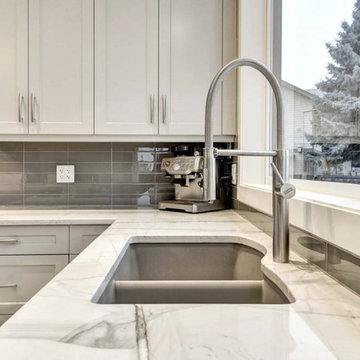
Inspiration for a craftsman l-shaped open concept kitchen remodel in Vancouver with a double-bowl sink, shaker cabinets, white cabinets, marble countertops, gray backsplash, glass tile backsplash, stainless steel appliances, an island and multicolored countertops
 STB Remodeling Group
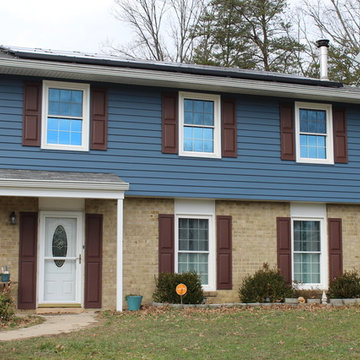
Example of a mid-sized arts and crafts two-story mixed siding exterior home design in DC Metro with a shingle roof
 Phinney Ridge Painting
Dan Farmer of Seattle Home Tours
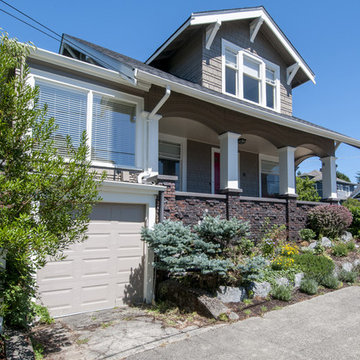
Mid-sized craftsman gray two-story mixed siding exterior home idea in Seattle with a shingle roof
Mid-sized craftsman gray two-story mixed siding exterior home idea in Seattle with a shingle roof

 Tile Doctor Ltd
During an inspection for alteration work, this customer from Cheshunt discovered what appeared to be an original encaustic tiled floor under the hallway carpet. Keen to work out what it was, and have it restored, I was asked to pop round and look.
I went over as requested to survey the hallway floor and confirm their suspicions. The carpet had been secured with gripper rods glued onto the floor and that came away easily enough. Underneath, the tiles had been covered with self-levelling cement which had to be carefully scraped away to reveal the tiles.
I ran a test to see if the cement leveller could be easily removed and using a combination of a scraper with Tile Doctor Pro-Clean, I was able to confirm the tiled floor was indeed salvageable. The house was Edwardian, and the tiles had been laid in a classic black and white geometric pattern typical of the period so I suspect the floor was indeed original.
I worked out a quote to restore the whole floor including the removal of the cement, deep cleaning and then sealing the tiles. Without removing all the cement, it would be difficult to price for replacing broken tiles, but I suspected there may be a few as its quite usual for a floor of this age. Keen to have the floor restored we were given the go-ahead and a date scheduled for the work to start.
The first step was to remove all the carpet and gripper rod so we could see the full extent of the self-levelling screed. Once done it was a case of carefully chipping and scraping away to break up the cement until the tiled floor had been fully revealed. Its slow and detailed work but quite rewarding when the tiled floor is finally revealed. The tiles had survived well under the carpet and cement but as suspected a few repairs and replacement would be needed.
With all the cement brushed away work moved onto cleaning which started with a strong dilution of Tile Doctor Pro-Clean applied to the floor and left to soak in for fifteen minutes the scrubbed in with a rotary machine fitted with a Black pad. A lot of soiling is generated from this which is rinsed off with water and extracted with a wet vacuum. The floor was then inspected and the process repeated where required.
The next step was to treat the tiles to an acid wash using Tile Doctor Grout Clean-up. This is applied as before and has several benefits including dissolving the remaining cement residue and neutralising the pH of the floor after the use of Tile Doctor Pro-Clean which is a strong alkaline.
The floor was then inspected and the broken tiles carefully removed so they could be replaced. This is delicate work as lifting a tile can sometimes upset its neighbour and before you know it the size of the work has tripled. Replacement tiles were then cut to fit the existing geometric pattern and secured into place with a rapid set adhesive and grouted in.
Once the replacement tile and grout had set, the floor was given a light clean using Tile Doctor Neutral Tile Cleaner and then left to dry out overnight.
The next day the tiles were sealed using a single coat of Tile Doctor Colour Grow and the followed up with give coats of Tile Doctor Seal & Go. Colour Grow is an impregnator that soaks into the pores of the tile protecting it from within and improving colour, where as Seal and Go adds a nice subtle sheen to the tiles. Both products are breathable which is an important feature with old floors that don’t have a damp proof membrane.
For aftercare I recommended Neutral Tile Cleaner which is a gentle but effective tile cleaning product that won’t damage the sealer.
Robert Voyce
Hertfordshire TIle Doctor



27