
Search results for "Lubricating" in Home Design Ideas

 Budget Blinds of Harrisburg, Hershey & Carlisle
Nick Herb
Inspiration for a large industrial home office remodel
Inspiration for a large industrial home office remodel



Find the right local pro for your project


 Dengfeng City Yuke Glass Technology Co.,LTD.
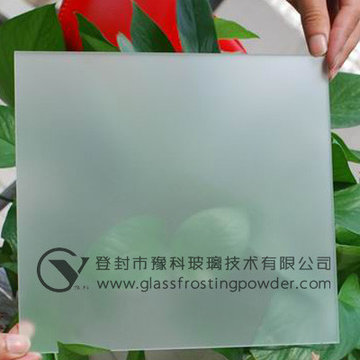
1.Appearance:White powder
2.The frosted surface feels smooth with small tinys spreading evenly,the dim white frosted surface is bright and lubricous as jade.
3.Mainly used as sliding door and partition wall in official and home decoration.
 Garage Door Repair Naperville IL
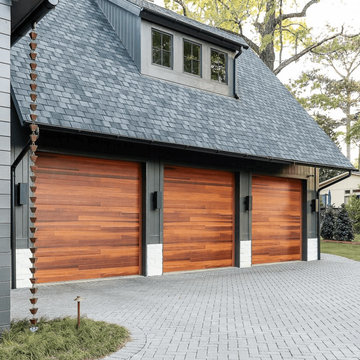
This project features a complete garage door maintenance service, including lubrication, tightening hardware, balancing the door, adjusting tracks, and performing a full safety inspection. The goal was to extend the door’s lifespan and prevent future breakdowns.

 KitchensNClosets of Charleston
when we add our Glideout, and attach your door, there's no need to move the knob due to the heavy duty, smooth glide rail. The rail is full extension, zinc coated cold rolled steel with self lubricating ball bearings and holds over 100 lbs.
 Garage Door Repair Evanston IL
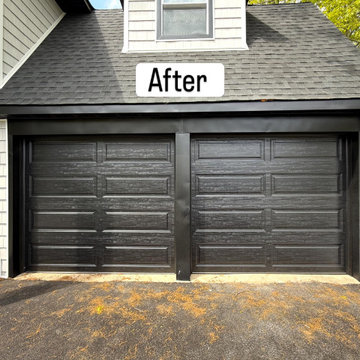
This project involved replacing a broken torsion spring for a homeowner in Evanston IL. The garage door was stuck and unsafe to operate, so we installed a high‑cycle spring, balanced the door, lubricated all moving parts, and performed a full safety inspection. The repair was completed the same day, restoring smooth and reliable door operation.
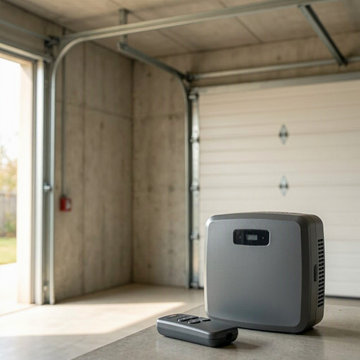
 Skokie IL Garage Door
This project involved adjusting misaligned garage door tracks for a homeowner in Skokie, IL. The door was dragging and creating noise due to uneven track positioning. Our technician realigned the tracks, tightened all hardware, lubricated the rollers, and performed a full system check. The adjustment restored smooth, quiet, and safe door movement.

 Door Works, Inc.
( 27 ) STEEL NON INSULATED STEEL CLOPAY DOOR, 8' X 7' & 8' X 6'6"
PERFORM TOTAL REBUILD ON EACH OF THE ( 27 ) GARAGE DOORS. THE REBUILD WILL INCLUDE THE FOLLOWING:
SECURE THE WOOD PADS TO THE BRICK WALL WITH SHIELDS & LAGS
REPLACE ALL EXTENSION SPRINGS
INSTALL SAFETY CABLES
REPLACE ALL LIFTING CABLES
REPLACE ALL 2" ROLLERS
REPLACE ALL PULLEYS
TIGHTEN ALL SURFACE HARDWARE
SECURE THE TRACKS TO THE WOOD PADS, AND CHECK FOR
ROPER SPACING
LUBRICATE ALL HARDWARE AND TRACKS
ADJUST THE LOCK ASSEMBLY FOR PROPER OP
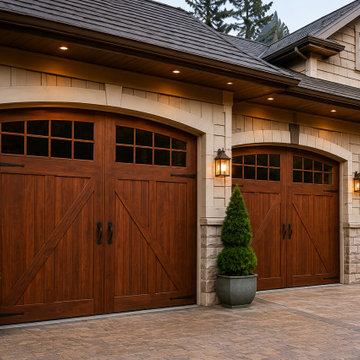
 Garage Door Naperville
This project showcases a complete garage door spring replacement for a homeowner in Naperville, IL. The door was stuck due to a broken torsion spring, causing the system to become unsafe and non‑functional. Our certified technician inspected the entire door system, replaced the damaged spring with a high‑cycle, heavy‑duty spring, lubricated all moving parts, and performed a full balance and safety test. The repair restored smooth, quiet, and reliable operation for the homeowner on the same day.
 Garage Door Parts
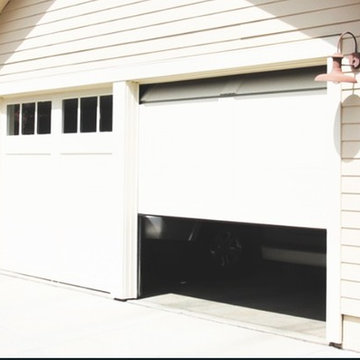
hese days, garage doors are becoming fundamental in every household. The benefit of getting yourself into the garage with an automated door makes life uncomplicated. Garage doors are among the things that are being noticed first by people arriving at our place. That being said, these kinds of doors will need regularly daily sustenance so that you can function properly on a longer time frame and there are a few problems that people encounter with these. Among the most common troubles and garage doors may be the deficiency of greasing This could cause strained operation regarding component, disturbance as well as eventually damage. When your front door yields troubles, make sure you request an expert to handle the rails along with rollers. It may just need some lubrication to be able to work much better. A fantastic lubrication process done by an authority can function wonders.
Our company has been leading this industry since the day we opened. The garage door experts working for our company are skilled and have the abilities in dealing with different task. We assure you that you will obtain the best service that you would ever need.
Garage Door Parts Dodgertown CA
Garage Door Opener Remote Los Angeles CA
Garage Door Installation Dodgertown CA
Garage Door Replacement Los Angeles CA
Garage Door Insulation Dodgertown CA
Garage Door Repair Parts Los Angeles CA
Custom Garage Doors Dodgertown CA
Garage Door Opener Repair Los Angeles CA
Garage Door Opener Installation Dodgertown CA
Garage Door Spring Replacement Los Angeles CA
Garage Door Spring Repair Dodgertown CA
Call Us: (213) 536-0622
Visit Us: http://213sectionalgaragedoors.com/garage-door-opener-remote
 Garage Door Parts
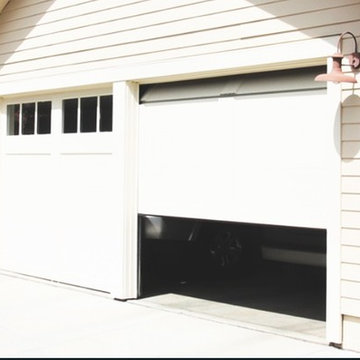
hese days, garage doors are becoming fundamental in every household. The benefit of getting yourself into the garage with an automated door makes life uncomplicated. Garage doors are among the things that are being noticed first by people arriving at our place. That being said, these kinds of doors will need regularly daily sustenance so that you can function properly on a longer time frame and there are a few problems that people encounter with these. Among the most common troubles and garage doors may be the deficiency of greasing This could cause strained operation regarding component, disturbance as well as eventually damage. When your front door yields troubles, make sure you request an expert to handle the rails along with rollers. It may just need some lubrication to be able to work much better. A fantastic lubrication process done by an authority can function wonders.
Our company has been leading this industry since the day we opened. The garage door experts working for our company are skilled and have the abilities in dealing with different task. We assure you that you will obtain the best service that you would ever need.
Garage Door Parts Dodgertown CA
Garage Door Opener Remote Los Angeles CA
Garage Door Installation Dodgertown CA
Garage Door Replacement Los Angeles CA
Garage Door Insulation Dodgertown CA
Garage Door Repair Parts Los Angeles CA
Custom Garage Doors Dodgertown CA
Garage Door Opener Repair Los Angeles CA
Garage Door Opener Installation Dodgertown CA
Garage Door Spring Replacement Los Angeles CA
Garage Door Spring Repair Dodgertown CA
Call Us: (213) 536-0622
Visit Us: http://213sectionalgaragedoors.com/garage-door-repair-parts

 MN Builders
Photography by: James Carrière
Large elegant medium tone wood floor foyer photo in San Francisco with white walls
Large elegant medium tone wood floor foyer photo in San Francisco with white walls
 Evanston Garage Door
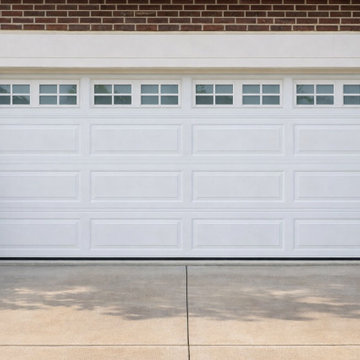
This project involved replacing a worn and damaged garage door spring for a homeowner in Evanston, IL. The door had become heavy, noisy, and difficult to lift, creating a safety concern for the family. Our team inspected the system, identified the failing spring, and installed a new high‑cycle torsion spring designed for long‑term durability.
We also performed a full system balance, tightened all hardware, and lubricated the moving components to ensure smooth and quiet operation. The result was a safer, easier‑to‑use garage door with improved performance and reliability.
Projects like this highlight the importance of proper garage door maintenance and professional installation. Our goal is always to provide homeowners with safe, dependable, and long‑lasting solutions.

 Kaitlyn Wolfe
Trendy black and white tile gray floor and single-sink bathroom photo in Phoenix with gray walls, an integrated sink and gray countertops
 Tile Doctor Ltd
If you want a polished stone floor to keep its appearance, then it will need a regular maintenance plan in place, without it the stone will lose its polish and start to look dull and un-inviting which was the story with this Travertine tiled floor installed throughout much of the grout floor of this house in the village of Great Wilbraham near Cambridge.
I was able to find out from the owner that the floor was last treated six years ago with Lithofin Stain Stop which is a solvent based impregnating sealer which like all sealers will wear off after a few years. Naturally this depends on the amount of wear the floor receives and what tends to happen is this process occurs more rapidly in the high traffic areas leading to an uneven appearance.
The best course of action now would be to remove what was left of the sealer and re-polish and seal the floor.
During my inspection of the floor I had noticed a number of irregular holes in one of the Travertine tiles which needed filling with a colour matching filler; this worked out quite well and as you can see from the photographs below the result looked entirely natural.
After protecting the clients skirting boards with protective film we proceeded to burnish the floor through with a set of Tile Doctor Diamond encrusted honing pads.
During the application of the first coarse pad we also added a strong dilution of Tile Doctor Pro-Clean combined with NanoTech Ultra-Clean to aid the removal of sealer residues from the pores of the Travertine. The floor was then rinsed and the soiled solution extracted using a wet vacuum.
With the sealer remove we were now able to concentrate on building up the polish on the stone by applying the remaining pads from Medium, Fine through to Very Fine, each lubricated with a little water and ensuring to rinse in-between the application of each pad.
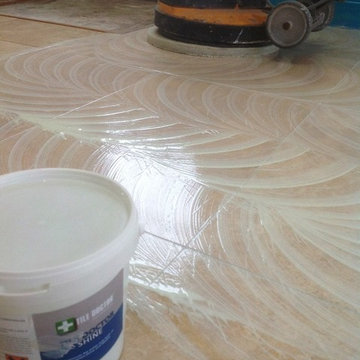
With the floor now clean and the polish restored the last step was to protect it so it would keep its appearance for as long as possible. There are a number of solutions for this but for a long durable shine I opted to work Tile Doctor Shine Powder into the Travertine.
The powder is applied liberally to the floor and then ground in using a slow speed floor rotary machine fitted with a white or tan buffing pad lubricated with water.
The shine on the floor has now been restored and the client has a beautiful and durable finish to their Travertine tiles.
Mick Conlon
Cambridge Tile Doctor
 Elite Country Build
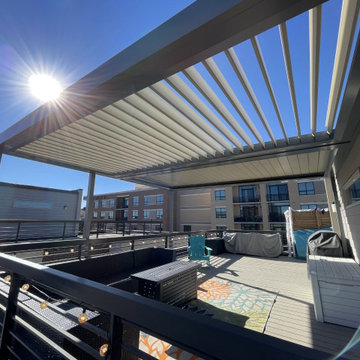
Introducing the groundbreaking retractable option, providing an unobstructed view of the sky above. Louvretec’s innovative designs elevate outdoor spaces, transforming them into versatile and enjoyable environments. Powered by cutting-edge technology, the Louvretec Opening Roof system features an award-winning Spiral Pivot system. With full 180-degree pivot capabilities at the touch of a button, this system offers unparalleled flexibility and control.
The hidden “Down-under” gear system, featuring a tubular motor and self-lubricating brass gearbox, ensures smooth and quiet operation. The high-quality extruded aluminum blades allow for impressive spans, providing optimum coverage without the need for mid-beams or exposed rod shafts.

 Yiwu Wuxie WPC Building Material Co.,Ltd May-Decking Supplier
WPC(Wood Plastic Composite)is mainly made of natural fibers and plastic. Added with some necessary chemical additive, such as antioxidant, UV stabilizer, lubricants, pigments etc, and produced by professional WPC extruded under the high temperature and pressure, so it is perfectly integrated the advantages of wood with the strong point of plastic.
May:
The Eco-friendly wood plastic composite we produced is made of:30%-35%HDPE,60%-65%wood powder and 10%chemical additivesThis material is extruded by professional wood-plastic extruding machine under high temperature and pressure,so our WPC has good capacity of UV-resistance and low property of thermal expansion and cool contraction.The WPC outdoor decking we made is much more preferred for outdoor park public places,beauty spot,tourists attractions even indoor stair steps etc.There are lots of types of composite decking,like square hollow decking, round hollow decking and solid decking with different width and thickness, which is good for personal use or commercial use. Please feel free to contact usMayWhatsapp/wechat:+8613823963964Email: maydeckingsupplier@gmail.comSkype:May2018

 Highland Builders LLC
Powder room with glam geometric wallpaper complimented with a vessel sink rustic vanity with riveted hardware. Counter top is quartz Viatera - Truffle. Mirror framed wall mirror.
Ryan Hainey
1