
Search results for "Preventing damage" in Home Design Ideas
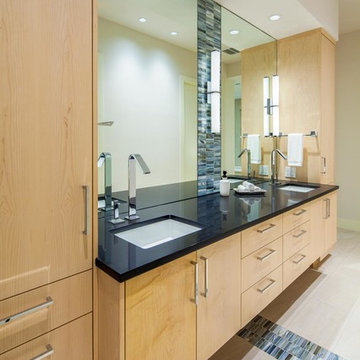
 CG&S Design-Build
Photography by Tre Dunham | Interior Design by Carolyn Albert-Kincl Design
Trendy bathroom photo in Austin with an undermount sink, flat-panel cabinets, light wood cabinets and beige walls
Trendy bathroom photo in Austin with an undermount sink, flat-panel cabinets, light wood cabinets and beige walls
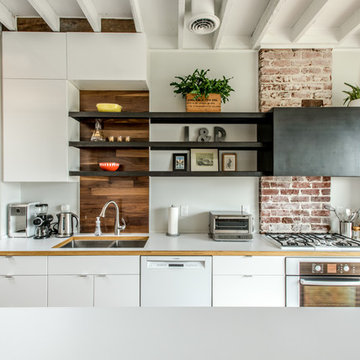
 510_Architects
Example of a trendy kitchen design in Richmond with a double-bowl sink, flat-panel cabinets, white cabinets and white appliances
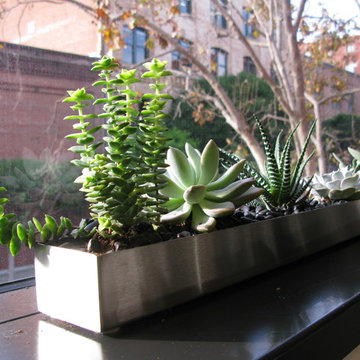
 Hey Nice Garden
Easy indoor container garden.
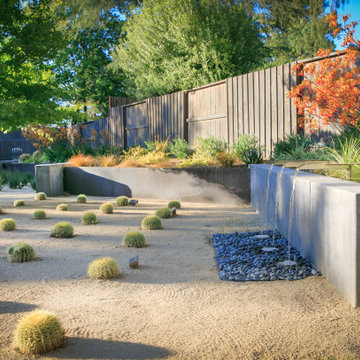
Inspiration for a small contemporary drought-tolerant landscaping in San Francisco.
Inspiration for a small contemporary drought-tolerant landscaping in San Francisco.
Find the right local pro for your project



 M+A Architecture Studio
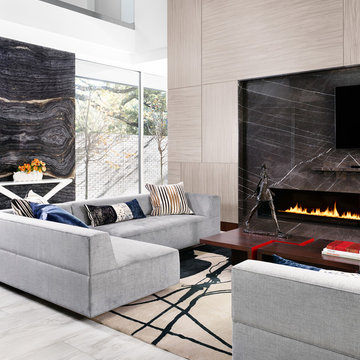
Example of a trendy open concept gray floor living room design in Houston with a wall-mounted tv
 Clean Design
Photo by Donna Dotan Photography Inc.
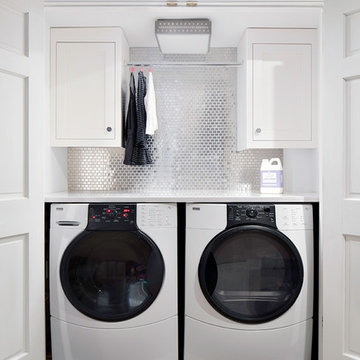
Transitional laundry room photo in New York with white cabinets, a side-by-side washer/dryer and white countertops
Transitional laundry room photo in New York with white cabinets, a side-by-side washer/dryer and white countertops

 Aesthetic Content
ACDC Aesthetic Content Low Ceramic & Cork Serving Bowl.
Trendy home design photo in Dallas
Trendy home design photo in Dallas
 R. P. Marzilli & Company Landscape Contractor
Marianne Lee Photography
Reed Hilderbrand Landscape Architects
Parker Construction
TheBlueGarden.org
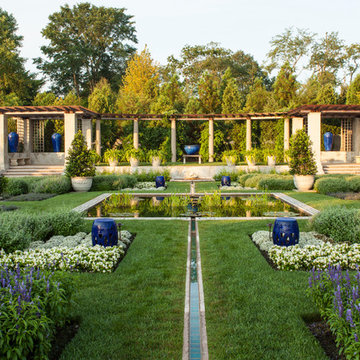
This is an example of a huge traditional formal garden in Boston for summer.
This is an example of a huge traditional formal garden in Boston for summer.

 Industrial Projects
Creating a comfortable outdoor living space is a priority for many homeowners and DIY enthusiasts. With rising summer temperatures, installing a shade tarp in your backyard offers an affordable and effective solution for sun protection. We’ve developed this detailed, step-by-step guide to help you confidently install a shade tarp that not only shields you from the sun but also adds aesthetic appeal to your outdoor area.
Benefits of Installing a Backyard Shade Tarp
Before diving into the installation process, let’s explore the key benefits of having a backyard shade tarp:
Provides UV Protection: Keeps your family and guests safe from harmful sun exposure.
Reduces Outdoor Temperatures: Creates a cooler, more enjoyable outdoor space.
Protects Outdoor Furniture: Extends the life of patio furniture by reducing sun damage.
Enhances Outdoor Aesthetics: Adds a modern, stylish look to your yard.
Budget-Friendly: More affordable compared to permanent structures like pergolas.
Materials and Tools You’ll Need
To begin your DIY backyard shade project, gather the following materials and tools:
Materials:
Shade tarp (UV-resistant and breathable)
Sturdy posts or existing structures (trees, fences, walls)
Mounting hardware (eye bolts, D-rings, turnbuckles, snap hooks)
Nylon or polyester rope, or stainless-steel wire
Concrete (if installing new posts)
Tools:
Power drill
Measuring tape
Level
Ladder
Wrench or adjustable spanner
Post hole digger (if installing new posts)
Step 1: Plan Your Shade Tarp Layout
The first step in installing your backyard shade tarp is careful planning. Take time to assess your outdoor area and answer these key questions:
Where is the sun’s path throughout the day?
What size and shape of tarp best suits your space?
Will you anchor the tarp to existing structures or install new posts?
What height do you want the tarp to sit at for maximum shade and airflow?
Pro Tip: Use string or garden hoses to visualize the tarp layout on the ground before making permanent decisions.
Step 2: Measure and Mark Anchor Points
Once you’ve determined the tarp’s location and orientation:
Measure the tarp dimensions.
Mark the exact points where each corner of the tarp will be anchored.
Ensure that the anchor points are at least 5–10% longer than the tarp size to allow for tensioning and slight adjustments.
Consider slope angles for water runoff. Aim for at least a 20-degree angle to prevent water pooling on the tarp.
Step 3: Install Support Posts (If Necessary)
If your backyard lacks existing anchor points like trees or fences, you’ll need to install sturdy support posts:
Dig post holes at least 24 inches deep and 8-12 inches wide for stability.
Set posts in concrete, making sure they remain plumb and level.
Allow the concrete to cure for at least 24–48 hours before applying tension from the tarp.
We recommend using pressure-treated wood, galvanized steel poles, or aluminum posts for longevity and strength.
Step 4: Install Mounting Hardware
With your anchor points ready, it’s time to install the necessary hardware:
Attach eye bolts or pad eyes securely into walls, posts, or other fixed structures.
For added flexibility and adjustability, install turnbuckles or tensioners to fine-tune the tarp’s tightness.
Connect snap hooks, D-rings, or carabiners to make assembly and disassembly easier.
Make sure all hardware is rated for outdoor use to prevent rust and corrosion.
Step 5: Attach and Tension the Shade Tarp
Now it’s time for the most satisfying part—mounting the shade tarp:
Begin by attaching one corner of the tarp to an anchor point.
Gradually attach the remaining corners, moving diagonally for even tension.
Adjust each connection point using your turnbuckles, ropes, or cables.
Pull the tarp tight enough to avoid sagging, but not so tight that it risks tearing.
Check that the tarp maintains the desired slope for rainwater runoff and adjust tension as needed.
Step 6: Final Adjustments and Safety Check
Before enjoying your new shaded area:
Inspect all anchor points and hardware for stability.
Test the tarp’s tension and make adjustments for even distribution.
Ensure that no sharp edges or loose connections remain that could damage the tarp or pose a safety hazard.
Confirm that the tarp is secure in windy conditions by giving it a gentle tug.
If you live in an area with frequent high winds, consider removing the tarp during storms to prevent damage.
Step 7: Enjoy Your Shaded Backyard Oasis
Once installed, your backyard shade tarp provides a comfortable and protective space for outdoor gatherings, relaxation, or family activities. You can decorate underneath with outdoor furniture, string lights, or potted plants to create a personalized outdoor retreat.
Maintenance Tips for Long-Lasting Shade Tarp Performance
To extend the life of your shade tarp, follow these maintenance guidelines:
Regularly check for wear and tear, especially around anchor points and seams.
Clean the tarp periodically with mild soap and water to prevent mildew buildup.
Store the tarp indoors during harsh weather seasons if it's not designed for year-round use.
Tighten hardware as needed to maintain proper tension and avoid sagging.
By following these simple care steps, your shade tarp will continue to deliver years of sun protection and outdoor comfort.
Conclusion: Upgrade Your Outdoor Space with a DIY Shade Tarp
Installing a shade tarp in your backyard is a cost-effective and rewarding DIY project. With careful planning, quality materials, and proper installation techniques, you’ll enjoy cool, shaded outdoor living all season long. This step-by-step guide ensures your project goes smoothly from start to finish.
 O’Hara Interiors
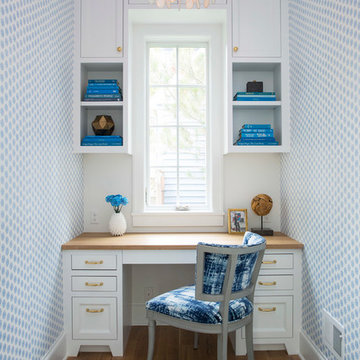
Martha O’Hara Interiors, Interior Design & Photo Styling | John Kraemer & Sons, Builder | Troy Thies, Photography | Ben Nelson, Designer | Please Note: All “related,” “similar,” and “sponsored” products tagged or listed by Houzz are not actual products pictured. They have not been approved by Martha O’Hara Interiors nor any of the professionals credited. For info about our work: design@oharainteriors.com
 About Space Studios
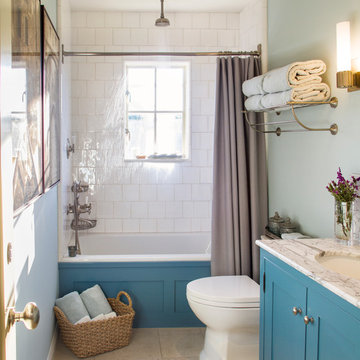
Photo Credit: Nicole Leone / Designed by: Aboutspace Studios
Alcove bathtub - farmhouse white tile and subway tile limestone floor and beige floor alcove bathtub idea in Los Angeles with shaker cabinets, blue cabinets, a two-piece toilet, an undermount sink, marble countertops, blue walls and white countertops
Alcove bathtub - farmhouse white tile and subway tile limestone floor and beige floor alcove bathtub idea in Los Angeles with shaker cabinets, blue cabinets, a two-piece toilet, an undermount sink, marble countertops, blue walls and white countertops



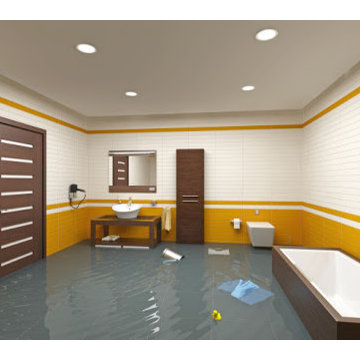
 Robert
Water damage generates mold inside the home which has serious implications on health. Starting from minor to moderate and to serious damage, mold can cause health weakness if not removed at the earliest. Read the complete blog for detailed information.
https://plus.google.com/+Restorationprokala/posts/1KsDTFjG59d
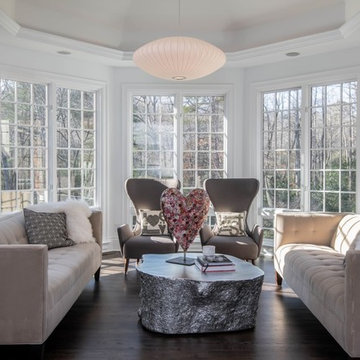
 Judd Builders
Inspiration for a large transitional open concept dark wood floor and brown floor sunroom remodel with white walls, no fireplace and a standard ceiling

 Urrutia Design
Photography by Matt Sartain
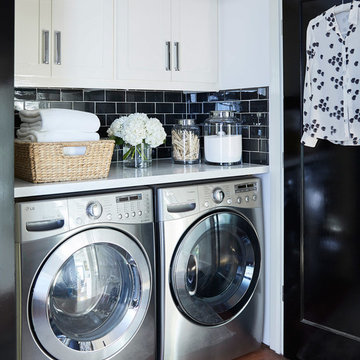
Small transitional single-wall dark wood floor and brown floor laundry closet photo in San Francisco with white cabinets, marble countertops, a side-by-side washer/dryer, shaker cabinets, white countertops and white walls
Small transitional single-wall dark wood floor and brown floor laundry closet photo in San Francisco with white cabinets, marble countertops, a side-by-side washer/dryer, shaker cabinets, white countertops and white walls
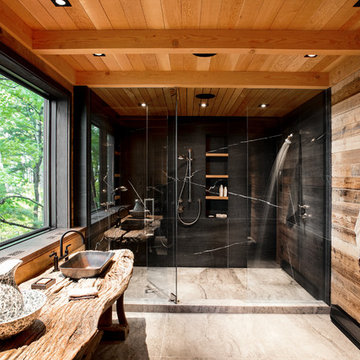
 ARCHITEM Wolff Shapiro Kuskowski Architectes
ARCHITEM Wolff Shapiro Kuskowski architectes, photo by Drew Hadley
Example of a mountain style black tile gray floor alcove shower design in Montreal with a vessel sink, wood countertops and a hinged shower door
Example of a mountain style black tile gray floor alcove shower design in Montreal with a vessel sink, wood countertops and a hinged shower door
2