
Search results for "Testing" in Home Design Ideas


 Northland Design & Build
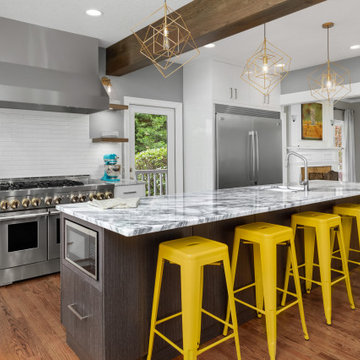
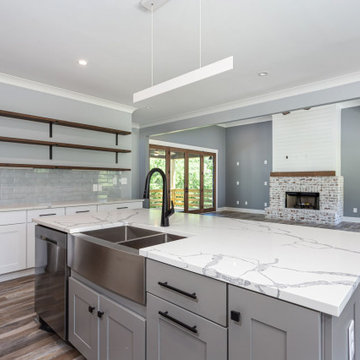
Eat-in kitchen - large contemporary l-shaped medium tone wood floor, brown floor and exposed beam eat-in kitchen idea in Portland with an undermount sink, flat-panel cabinets, white cabinets, white backsplash, ceramic backsplash, stainless steel appliances, an island and white countertops
Find the right local pro for your project
 Just Builders Inc.
We work through all the details with clients to make sure their home is just what they're looking for, so all the right elements come together to create a design fit for their personality.

 Living with Lolo
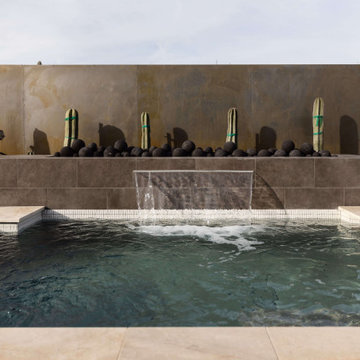
Pool House in Bronco | Key Feature: A Scottsdale new-build rooted in sculptural modernism, Bronco Revival balances bold black-and-white contrast with organic textures, natural wood elements, and statement lighting. As a groundbreaking “Live Lab” designer residence, it’s a first-of-its-kind space where luxury furnishings are tested in real-world conditions before being introduced into high-profile client homes.
Challenge: Because Bronco Revival was the designer’s personal residence, the project carried a unique level of pressure and intention. The challenge was creating a Scottsdale new-build that felt elevated and editorial while still functioning as a true family home. Every selection had to balance bold sculptural modernism (high contrast, statement lighting, architectural furnishings) with durability, comfort, and day-to-day livability. In addition, the home served as a “Live Lab,” meaning new vendors, materials, and luxury furnishings needed to be tested in real-life conditions before being trusted for future high-profile client projects.
Solution: We approached the project with a highly curated, test-and-refine design strategy, treating each space as both a finished interior and a real-world evaluation environment. Key furnishings, textiles, and materials were selected to support the modern organic vision while also standing up to the demands of everyday family life. We worked through selections intentionally, layering in bold contrast, natural woods, and sculptural statement pieces, while prioritizing performance materials, pet-friendly durability, and timeless foundational elements. By using the home as a lived-in showroom, we were able to validate what truly performs beautifully, refine our vendor relationships, and confidently carry those proven selections into future client designs.
Materials: MadeGoods: Sculptural Davion coffee tables |
Loloi: Custom performance rug collection |
Schumacher: Bespoke drapery fabrication |
Aesthetic Wall Coverings: Pioneering wallpaper application on ceiling beams |
Zac + Fox: Exclusive textile collaboration via Made Resource Group |
Budget ($ Range): $300K |
Timeline (Duration): 4 MONTHS
 Living with Lolo
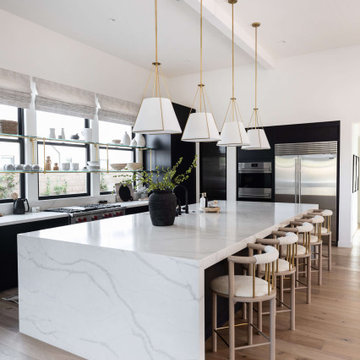
Kitchen in Bronco | Key Feature: A Scottsdale new-build rooted in sculptural modernism, Bronco Revival balances bold black-and-white contrast with organic textures, natural wood elements, and statement lighting. As a groundbreaking “Live Lab” designer residence, it’s a first-of-its-kind space where luxury furnishings are tested in real-world conditions before being introduced into high-profile client homes.
Challenge: Because Bronco Revival was the designer’s personal residence, the project carried a unique level of pressure and intention. The challenge was creating a Scottsdale new-build that felt elevated and editorial while still functioning as a true family home. Every selection had to balance bold sculptural modernism (high contrast, statement lighting, architectural furnishings) with durability, comfort, and day-to-day livability. In addition, the home served as a “Live Lab,” meaning new vendors, materials, and luxury furnishings needed to be tested in real-life conditions before being trusted for future high-profile client projects.
Solution: We approached the project with a highly curated, test-and-refine design strategy, treating each space as both a finished interior and a real-world evaluation environment. Key furnishings, textiles, and materials were selected to support the modern organic vision while also standing up to the demands of everyday family life. We worked through selections intentionally, layering in bold contrast, natural woods, and sculptural statement pieces, while prioritizing performance materials, pet-friendly durability, and timeless foundational elements. By using the home as a lived-in showroom, we were able to validate what truly performs beautifully, refine our vendor relationships, and confidently carry those proven selections into future client designs.
Materials: MadeGoods: Sculptural Davion coffee tables |
Loloi: Custom performance rug collection |
Schumacher: Bespoke drapery fabrication |
Aesthetic Wall Coverings: Pioneering wallpaper application on ceiling beams |
Zac + Fox: Exclusive textile collaboration via Made Resource Group |
Budget ($ Range): $300K |
Timeline (Duration): 4 MONTHS
 Brinker Remodeling
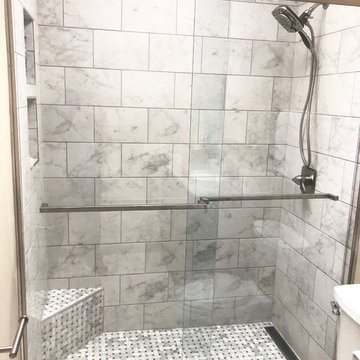
Mid-sized trendy master white tile and ceramic tile porcelain tile and gray floor bathroom photo in Columbus with furniture-like cabinets, brown cabinets, a two-piece toilet, gray walls, an undermount sink, quartz countertops and white countertops


 Bercum Builders Inc.
photo credit: Prime•Light Media
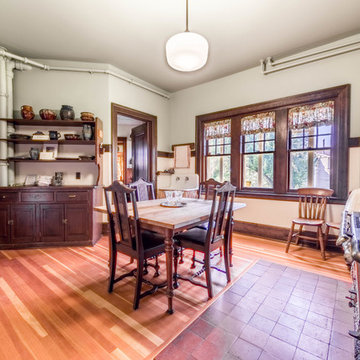
Example of a mid-sized classic medium tone wood floor and brown floor eat-in kitchen design in Vancouver with a farmhouse sink, dark wood cabinets, wood countertops, black appliances and no island
Example of a mid-sized classic medium tone wood floor and brown floor eat-in kitchen design in Vancouver with a farmhouse sink, dark wood cabinets, wood countertops, black appliances and no island
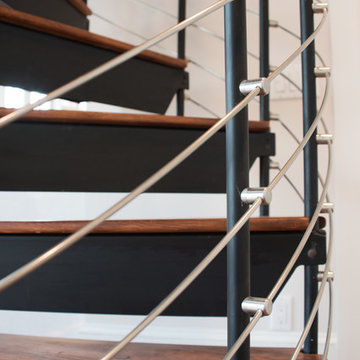
 Paragon Stairs
........
Staircase - mid-sized transitional wooden spiral metal railing staircase idea in New Orleans with metal risers
Staircase - mid-sized transitional wooden spiral metal railing staircase idea in New Orleans with metal risers



 User
UserRetail - $8,015
Our Price - $6,799 (includes curbside shipping)
Sales tax charged in CA & MO
New, Open Box! There is light discoloration on the top oven handle and a scratch on the stainless of the bottom oven above the left handle post.
Comes with 1 year warranty from Wolf
Call our Sales Team at 888.444.1424 ext 1
Send us a message for more info
![[TEST] ignore delete me](https://st.hzcdn.com/fimgs/3ad141150a32f903_5446-w360-h360-b0-p0--.jpg)

 Tile Doctor Ltd
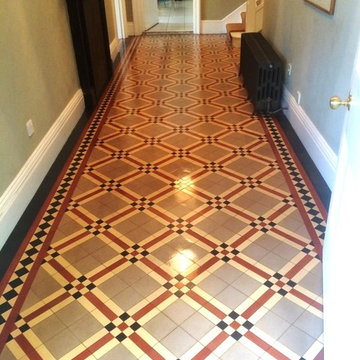
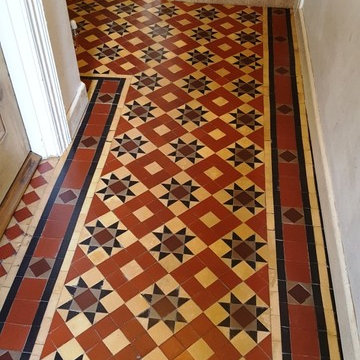
A client from the village of Heytesbury contacted me to see whether we could improve the look of her Victorian tiled hallway floor. It turns out that a competitor had previously cleaned and sealed it two years prior but she was disappointed with the result once she realised that the floor still had dirt ingrained in the tile. As per our normal practice we ran a test clean and she booked us in immediately.
We started by wetting the floor using a strong solution of Tile Doctor Pro-Clean and left it dwell for ten minutes. We then attached a black stripping pad to a rotary machine and slowly covered the whole area to remove ingrained dirt and any existing seals that may be evident. The dirty slurry was then removed with a wet vacuum and then floor rinsed with the aid of a deck brush and a wet vacuum.
Next we used a heavy duty scraper to remove paint splashes around the edges from years of decorating. Once we were satisfied we’d removed all evident dirt, seal and paint we rinsed the floor thoroughly several times to make sure all contaminants are removed again using the wet vacuum to remove the water.
We returned five days later to let the floor dry out thoroughly. Upon our return we tested with a damp meter which tested fine so we proceeded to seal the floor using six coats of Tile Doctor Seal & Go to provide protection and add a nice sheen to the floor which I think you will agree now looks amazing.
Stuart Ford
Wiltshire Tile Doctor
 Tile Doctor Ltd
Pontcanna is a popular residential area in the western district of Cardiff, in South East Wales. Known for its rather large houses and spectacular foliage, interestingly enough roughly a quarter of the population are English folk.
I was called down to a property in the area to take a look at a Victorian tiled floor which was in quite poor condition. Along with the typical amount of dirt and muck seen on poorly maintained tiles, there were a number of missing tiles and a fair bit of cement caked on the surface of the floor.
It would require a robust clean, fresh seal, and several repairs to get this floor back into optimum condition.
To begin, I checked for excess moisture problems using a damp meter in various places of the hallway floor and, thankfully, it was showing dry results. Any dampness could have potentially caused problems later on in the restoration process, so it was s good idea to run tests before starting.
Next, I manually scraped as much of the dry paint and cement off the tiles as possible, with no lubrication necessary. I then proceeded to clean the floor with a solution I mixed early, consisting of equal parts Tile Doctor NanoTech HBU and Tile Doctor Pro Clean, rinsing as I went. Both products are designed to tackle heavy soil build-up, with the former uniquely using nano-sized particles (as the product name suggests) to penetrate deep into difficult to reach areas in the tiles in order to lift out ingrained muck.
Following the initial clean, I removed all of the loose tiles and those heavily affected by cement, before retiling as necessary with fresh Victorian tiles, and grouting the whole floor. Of course, these replacement tiles were carefully sourced to ensure consistency, as far as possible, with the original pattern of the floor.
The next day, I went over the whole floor with an application of the acid-based Tile Doctor Grout Clean Up, diluted with a little alkaline Pro Clean to form a cleaning solution. I then used a black pad to scrub the cleaner into the tiles, similarly to the previous day’s cleaning. This was followed by a through rinse with water to neutralise the floor.
It was at this point that I noticed some stubborn cement stains remained so I set about breaking them down using a 60 grade hand held diamond polishing block, and this technique proved successful.
After completing the clean, I left the floor to dry out for roughly 24 hours. Upon my return to the property to seal the tiles, I tested again for moisture. It is recommended to run damp tests before sealing, as excess moisture can cloud the sealer, affecting its performance in the long run.
Fortunately, no dampness was detected and I was proceeded to seal the floor with seven coats of Tile Doctor Seal & Go, which enhances the natural colours in the stone and provides a nice satin gloss appearance, as requested by the customer.
I was extremely pleased with the results of this restoration, as was the customer. The extent of the soil build up and damage was such before the restoration that, after completion, the floor looked like it had been newly laid!
Julian Iancono
South East Wales Tile Doctor
33