

Waterfall structure with or without spillway
19 years ago
Featured Answer
Sort by:Oldest
Comments (8)
 19 years ago
- 19 years ago
Related Professionals
Louisville Landscape Architects & Landscape Designers · Zanesville Landscape Architects & Landscape Designers · Florence Landscape Architects & Landscape Designers · Albany Landscape Contractors · Macon Landscape Contractors · Webster Landscape Contractors · Syracuse Landscape Contractors · Las Cruces Landscape Contractors · San Angelo Landscape Contractors · Kennewick Landscape Contractors · Longview Design-Build Firms · Allentown Design-Build Firms · Las Vegas Design-Build Firms · Pierre Design-Build Firms · Spokane Design-Build Firms- 19 years ago
- 19 years ago
- 19 years ago
- 18 years ago
- 5 years ago
Related Stories
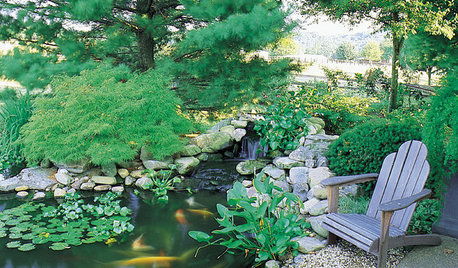
GARDENING AND LANDSCAPINGHow to Make a Pond
You can make an outdoor fish paradise of your own, for less than you might think. But you'll need this expert design wisdom
Full Story
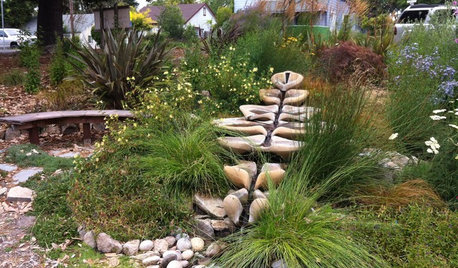
LANDSCAPE DESIGNNew Ways to Design With Water
Go beyond 3-tiered fountains and faux waterfalls to discover water's architectural possibilities
Full Story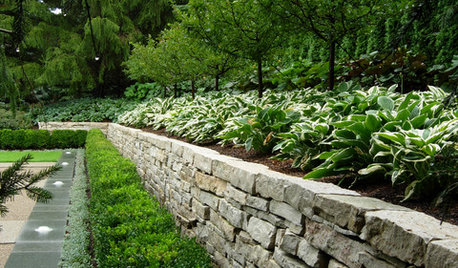
LANDSCAPE DESIGNGarden Walls: Dry-Stacked Stone Walls Keep Their Place in the Garden
See an ancient building technique that’s held stone walls together without mortar for centuries
Full Story
HOUZZ TOURSHouzz Tour: Visit a Forward Thinking Family Complex
Four planned structures on a double lot smartly make room for the whole family or future renters
Full Story
GARDENING AND LANDSCAPINGLay of the Landscape: Modern Garden Style
Bold, graphic design elements create a sense of calmness in the garden to match the serenity of contemporary homes
Full Story
BATHROOM DESIGNThe No-Threshold Shower: Accessibility With Style
Go curbless between main bath and shower for an elegant addition to any home
Full Story
FRANK LLOYD WRIGHTMust-Know Modern Homes: Frank Lloyd Wright's Fallingwater
Celebrate legendary Frank Lloyd Wright masterpiece with an enchanted evening
Full Story
LANDSCAPE DESIGNBeautiful Noise: How to Create a Symphony in Your Garden
Take your surroundings to another level by introducing the element of sound with ground covers, water features and wind catchers
Full Story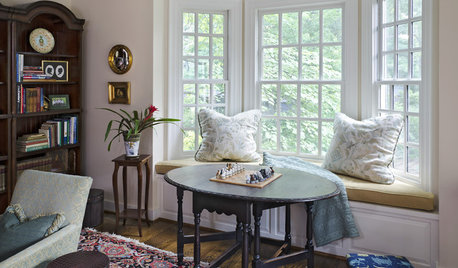
GREAT HOME PROJECTSHow to Add a Window Seat
Get a comfy, cozy spot with a view — and maybe even extra storage too
Full Story
queensizeponder