

Our Summer Project
19 years ago
Sort by:Oldest
Comments (11)
Related Stories
DECORATING GUIDES9 Decorating Projects for Lazy Summer Days
Have fun and redecorate with chalkboard "wallpaper," giant washi tape, photos, scrap wood and more
Full Story
DECORATING GUIDES10 Craft Ideas for Lazy Summer Days
Put those beach finds and extra time to good use — even the kids can do some of these creative projects
Full Story
DECORATING GUIDES5 Easy Ways to Summer-ize Your Home
Tips to Brighten and Lighten Your Home for Summer
Full Story
MOST POPULARSimple Pleasures: Savor Summer’s Last Hurrah
Choose from 3 easy celebrations to close summer out in a soul-satisfying way
Full Story
GARDENING AND LANDSCAPING12 Ways to Prep the Porch for Summer
Small Floor-to-Ceiling Projects for Your Front-Yard Perch
Full Story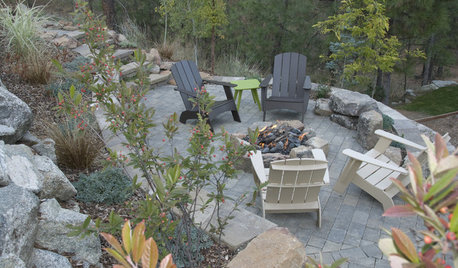
FURNITUREClassic Summer Furniture: The Adirondack Chair
Kick back in a chair designed more than a hundred years ago but updated (or not) for modern tastes
Full Story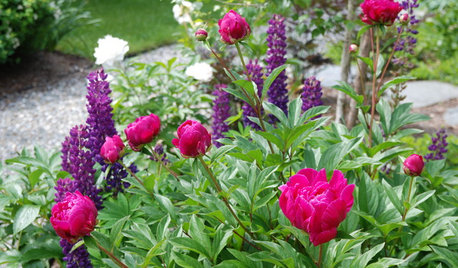
REGIONAL GARDEN GUIDESDelight in Summer’s Garden Glories — Here’s What to Do in June
Wherever you live in the United States, these guides can help you make the most of your summer garden
Full Story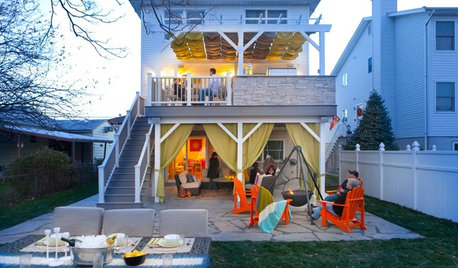
LIFEHouzz Call: What Does Summer Look Like at Your Home?
Kids, water, sunshine, backyards, cold drinks — share photos of what summer at home means to you
Full Story
LIFEThe Family Home: 8 Summer-Prep Sanity Savers
A bit of organizing here, a little storing there, and when summer arrives you'll be kicking back with the kids
Full Story
DECORATING GUIDESSummer Style: 20 Fresh Ways to Bring in the Season
From surfboards and seashells to mason jars and hammocks, keep that laid-back vibe going through summer and beyond
Full Story
Sponsored
jasper_60103
gottagarden
Related Professionals
Springfield Landscape Architects & Landscape Designers · Dayton Landscape Architects & Landscape Designers · Waco Landscape Architects & Landscape Designers · Elmira Landscape Architects & Landscape Designers · Phoenix Landscape Architects & Landscape Designers · Atlantic City Landscape Contractors · Marinette Landscape Contractors · San Jose Landscape Contractors · Queens Landscape Contractors · Selma General Contractors · Baton Rouge General Contractors · New Braunfels General Contractors · Victorville General Contractors · Colorado Springs General Contractors · Leamington General Contractorsjugglerguy
emmagloria
emmagloria
sandykkOriginal Author
humster
sandykkOriginal Author
justadncr
easttnsusan
sandykkOriginal Author