

My Dining Room in progress... Part 1
17 years ago
Sort by:Oldest
Comments (16)
Related Stories
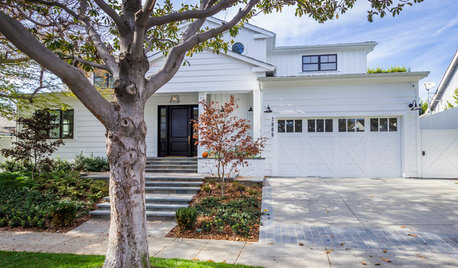
TRANSITIONAL HOMESHouzz Tour: Part Traditional, Part Modern and All Family Friendly
With clean lines, vintage touches and durable surfaces everywhere, this Los Angeles home balances tastes and needs beautifully
Full Story
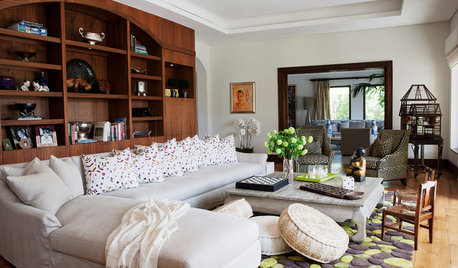
HOLIDAYSHoliday Party Prep: Add Sneaky Seating
Worry no more about where guests will sit. These 10 seating options can hide in plain sight
Full Story
MORE ROOMSGetting the Room Right: Part II
Great spaces show how to avoid the Top 10 decorating mistakes
Full Story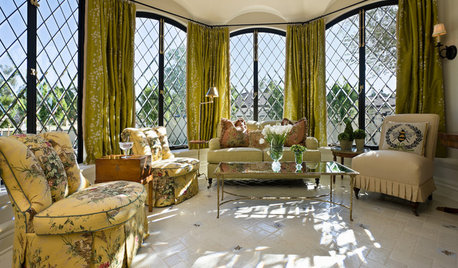
DECORATING GUIDESGetting the Room Right: Part I
Great Spaces Show How to Avoid the Top 10 Decorating Mistakes
Full Story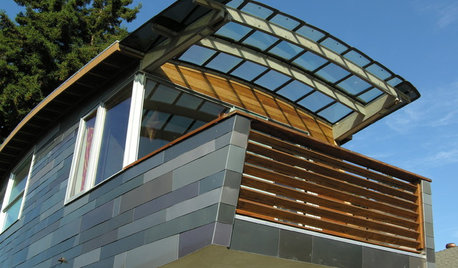
HOME INNOVATIONSHouzz Tour: Meet a Home Made With Minivan Parts
Sawn-off car roofs for the siding, windows popped out of van doors ... this California home is as resourceful as it is beautiful
Full Story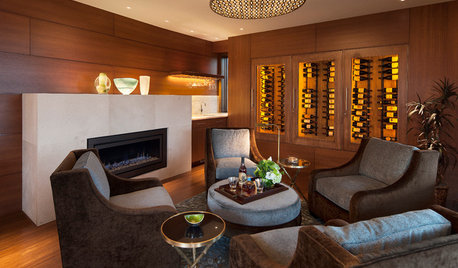
WINE CELLARSKey Measurements for a Wine Cellar, Part 2
Wine connoisseurs: A wine cellar can add a spectacular feature to your home
Full Story
KITCHEN DESIGNKitchen of the Week: A Part-Time Space Fully Satisfies
A scaled-down approach doesn't mean sacrificing, in this heavenly white kitchen with all the modern conveniences
Full Story
LIFETime Travel to Houzzers' Childhood Homes, Part 3
See postwar homes built by family members, rural farmsteads, cold-water flats and much more
Full Story
HOW TO PHOTOGRAPH YOUR HOUSETake Better Photos of Your House in a Snap: Part 2
Think like a professional photographer and learn to capture stunning images of your home
Full Story
oceanna
debo_2006
Related Professionals
Daytona Beach Interior Designers & Decorators · Madison Interior Designers & Decorators · Montréal Interior Designers & Decorators · Orangeburg Kitchen & Bathroom Designers · Murfreesboro Kitchen & Bathroom Designers · Beaumont Kitchen & Bathroom Designers · Brainerd Kitchen & Bathroom Designers · Newark Kitchen & Bathroom Designers · Lagrange Kitchen & Bathroom Designers · Miami Furniture & Accessories · Saint Joseph Furniture & Accessories · Lynchburg Furniture & Accessories · Chillicothe Furniture & Accessories · Waterloo Furniture & Accessories · Sierra Vista Furniture & Accessoriesjane__ny
dilly_dally
bodiCA
artlover13060
cooperbailey
angelcub
gracie01 zone5 SW of ChicagoOriginal Author
twizzis
pancake77
gracie01 zone5 SW of ChicagoOriginal Author
prairiegirlz5
liz_h
pbrisjar
teeda_2006