

sewing circle---help
20 years ago
Sort by:Oldest
Comments (8)
Related Stories
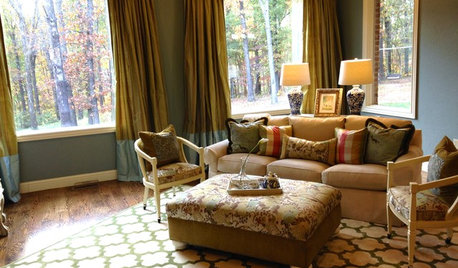
LIVING ROOMSA Living Room Miracle With $1,000 and a Little Help From Houzzers
Frustrated with competing focal points, Kimberlee Dray took her dilemma to the people and got her problem solved
Full Story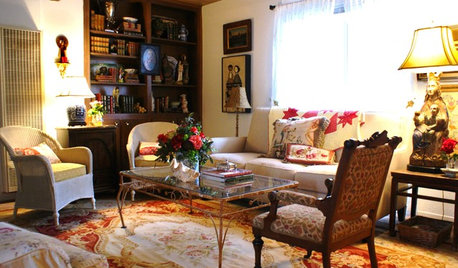
DECLUTTERINGDownsizing Help: Choosing What Furniture to Leave Behind
What to take, what to buy, how to make your favorite furniture fit ... get some answers from a homeowner who scaled way down
Full Story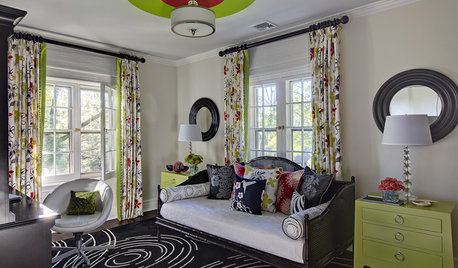
DECORATING GUIDESHow Repetition Helps Rooms Shape Up
To give your interior designs a satisfying sense of rhythm, just add circles, squares or rectangles and repeat
Full Story
HOUZZ TOURSMy Houzz: A Circle of Friends Turns a Dallas House Into a Home
Homeowners enlist help from friends to remodel, build an addition and decorate their home
Full Story
ORGANIZINGDo It for the Kids! A Few Routines Help a Home Run More Smoothly
Not a Naturally Organized person? These tips can help you tackle the onslaught of papers, meals, laundry — and even help you find your keys
Full Story
SMALL SPACESDownsizing Help: Think ‘Double Duty’ for Small Spaces
Put your rooms and furnishings to work in multiple ways to get the most out of your downsized spaces
Full Story
HOME TECHTurn 'Obsolete' Tech Into Fun Home Help
Here's how to put your old Mac, Atari or Newton to work around the house
Full Story
KITCHEN DESIGNKey Measurements for Your Kitchen Design
Get the ideal kitchen setup by understanding spatial relationships, dimensions and work zones
Full Story
BATHROOM WORKBOOKStandard Dimensions and Measurements for a Primary Bath
Create a luxe bathroom that functions well with these key fixture dimensions and layout tips
Full Story
SELLING YOUR HOUSEHelp for Selling Your Home Faster — and Maybe for More
Prep your home properly before you put it on the market. Learn what tasks are worth the money and the best pros for the jobs
Full Story
Sponsored

kathi_mdgd
joansews4u
Related Professionals
Athens Furniture & Accessories · Sugar Land Furniture & Accessories · Auburn Furniture & Accessories · Dubuque Furniture & Accessories · Medford Furniture & Accessories · Longview Furniture & Accessories · Vancouver Furniture & Accessories · Bronx Furniture & Accessories · Madison Interior Designers & Decorators · Manchester Interior Designers & Decorators · Allentown Interior Designers & Decorators · Green Bay Interior Designers & Decorators · Salisbury Furniture & Accessories · Hilton Head Island Furniture & Accessories · Modesto Furniture & Accessoriesgw:juju-2
chelone
gw:juju-2
chelone
chelone
carolb_w_fl_coastal_9/10