


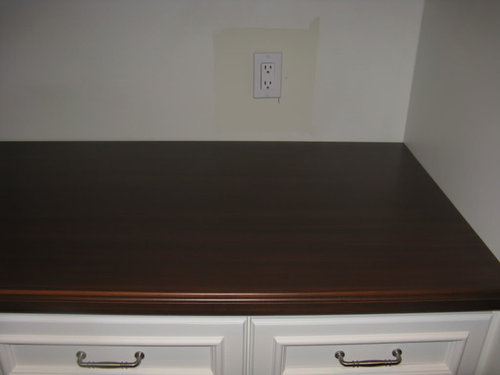
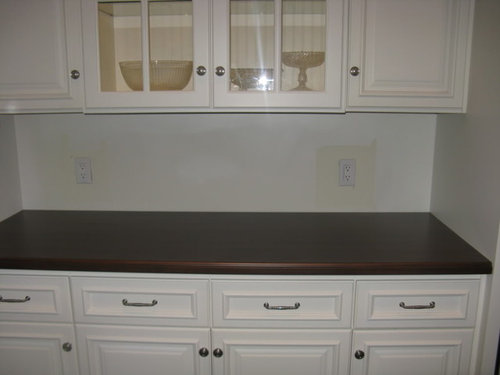
Dark Numerar Countertop from IKEA
reshal
14 years ago
Sort by:Oldest
Comments (35)
Related Stories
WHITE KITCHENS4 Dreamy White-and-Wood Kitchens to Learn From
White too bright in your kitchen? Introduce wood beams, countertops, furniture and more
Full Story
KITCHEN DESIGNStandouts From the 2014 Kitchen & Bath Industry Show
Check out the latest and greatest in sinks, ovens, countertop materials and more
Full Story
KITCHEN DESIGNSweet Ideas and a Truffle Recipe from a Chocolatier's Test Kitchen
A $2,100 budget didn't mean a half-baked kitchen redo; this confectioner just rolled up her sleeves and rolled out the improvements
Full Story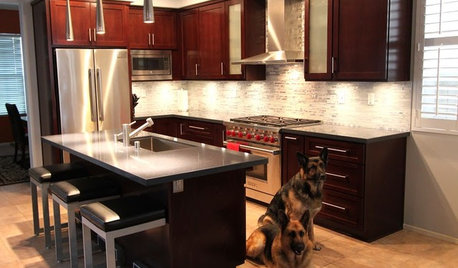
BEFORE AND AFTERSReader Project: California Kitchen Joins the Dark Side
Dark cabinets and countertops replace peeling and cracking all-white versions in this sleek update
Full Story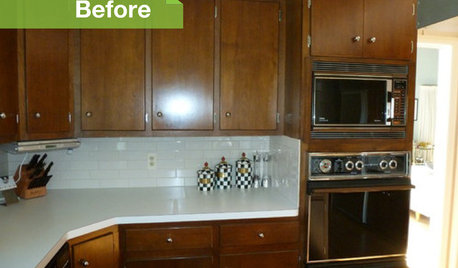
KITCHEN DESIGN3 Dark Kitchens, 6 Affordable Updates
Color advice: Three Houzzers get budget-friendly ideas to spruce up their kitchens with new paint, backsplashes and countertops
Full Story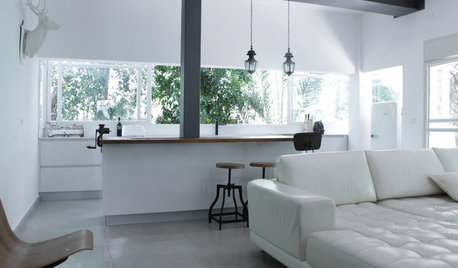
HOUZZ TOURSMy Houzz: From Drab Apartment to Airy Oasis
Cloistered rooms give way to bright, open spaces and sweeping views of the trees in a gut remodel by the architect owner
Full Story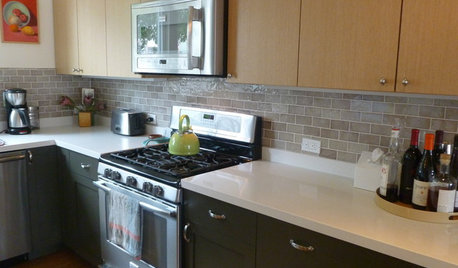
KITCHEN DESIGNPearls of Wisdom From a Real-Life Kitchen Remodel
What your best friend would tell you if you were embarking on a renovation and she'd been there, done that
Full Story
DECORATING GUIDES10 Design Tips Learned From the Worst Advice Ever
If these Houzzers’ tales don’t bolster the courage of your design convictions, nothing will
Full Story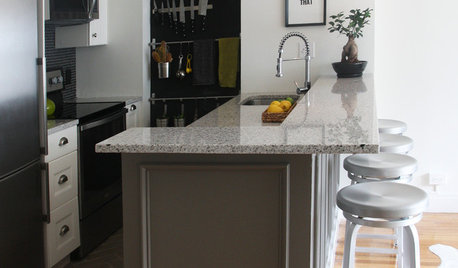
BEFORE AND AFTERSA Boston Kitchen and Bath Go From Dreary to Darling
See how a $25,000 renovation budget gave 2 outdated spaces in a small Massachusetts apartment a brand-new look
Full Story
KITCHEN DESIGNGet Ideas from 10 Kitchen Makeovers
Share your thoughts on gorgeous kitchen transformations from Boston to Bristol. Which is your favorite?
Full StoryMore Discussions

momfromthenorth
scrappy25
Related Professionals
Carlisle Kitchen & Bathroom Designers · Piedmont Kitchen & Bathroom Designers · Riviera Beach Kitchen & Bathroom Designers · Fairland Kitchen & Bathroom Remodelers · Gardner Kitchen & Bathroom Remodelers · Republic Kitchen & Bathroom Remodelers · Rochester Kitchen & Bathroom Remodelers · Saint Augustine Kitchen & Bathroom Remodelers · Burr Ridge Cabinets & Cabinetry · Black Forest Cabinets & Cabinetry · Wells Branch Cabinets & Cabinetry · Bellwood Cabinets & Cabinetry · Hermiston Tile and Stone Contractors · Lake Butler Design-Build Firms · Shady Hills Design-Build Firmsscrappy25
donka
kimiko232
reshalOriginal Author
writersblock (9b/10a)
rnest44
chihuahua6
shelayne
scrappy25
heathermisme
malhgold
reshalOriginal Author
scrappy25
writersblock (9b/10a)
kateskouros
kateskouros
jakkom
reshalOriginal Author
jeri
reshalOriginal Author
rubyfig
jeri
reshalOriginal Author
malhgold
annie.zz
reshalOriginal Author
honorbiltkit
mhuber_gmx_com
kperki
Joseph Corlett, LLC
kperki
Joseph Corlett, LLC
kperki