

How I Simplified My Seed Starting
11 years ago
Comment
Related Stories
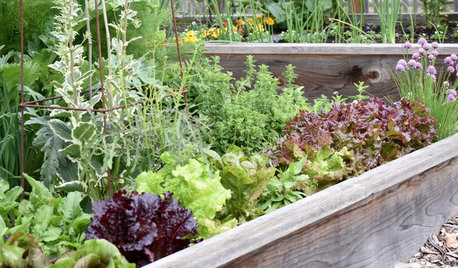
GARDENING GUIDESSeeds or Seedlings? How to Get Your Garden Started
Growing delicious herbs and vegetables starts with knowing your goals and when you want to plant
Full Story
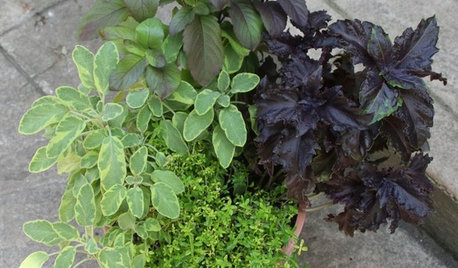
CONTAINER GARDENS8 Easy Container Plants to Grow From Seed
Get beautiful blooms and herbs in summer by starting these choice garden picks from seed in spring
Full Story
GARDENING GUIDESHow to Plant a New Lawn From Seed
Choose from more grass varieties and save money over sod by starting your lawn from seed
Full Story
DECORATING GUIDESSmall Changes to Simplify Your Long-Term Storage
Conquer your attic and basement storage in more than a day, with these easy, bite-size steps for sorting, storing and protecting your stuff
Full Story
HOUSEPLANTSHow to Grow Orchids Indoors
Orchids are the exotic aristocrats of the flower world and can make themselves comfortable in almost any home
Full Story
HOUZZ TOURSMy Houzz: Empty Nesters Simplify in a Portland Loft
Chucking two-thirds of their stuff and heading to the city, a couple discovers the freedom of downsizing
Full Story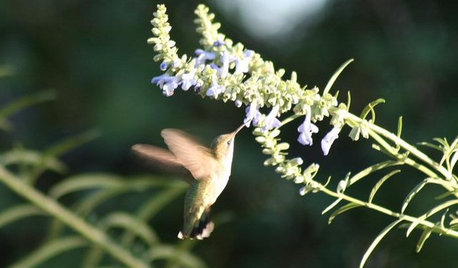
GARDENING FOR BUTTERFLIESA Quick-Start Guide to Bird-Watching for Fun and Learning
Set out some seed and grab your field guide. Bird-watching is an easy, entertaining and educational activity for the whole family
Full Story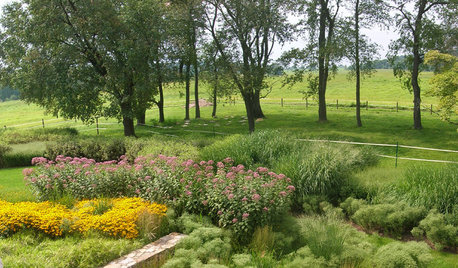
GARDENING GUIDESHow to Stop Worrying and Start Loving Clay Soil
Clay has many more benefits than you might imagine
Full Story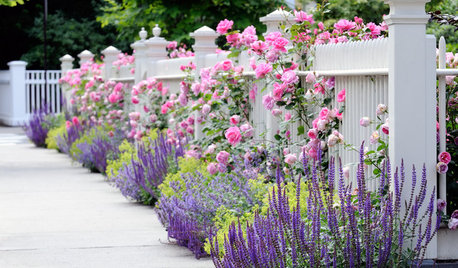
GARDENING GUIDES10 Tips to Start a Garden — Can-Do Ideas for Beginners
Green up your landscape even if you're short on time, money and knowledge, with these manageable steps for first-time gardeners
Full Story
Related Professionals
Greensboro Landscape Architects & Landscape Designers · Jacksonville Landscape Architects & Landscape Designers · Columbia Landscape Architects & Landscape Designers · Grand Rapids Landscape Architects & Landscape Designers · Middletown Landscape Architects & Landscape Designers · Bronx Landscape Architects & Landscape Designers · Greenville Landscape Contractors · Fergus Falls Landscape Contractors · Miami Architects & Building Designers · Salisbury Architects & Building Designers · Clarksdale Architects & Building Designers · North Adams Architects & Building Designers · Portland Architects & Building Designers · Lubbock Architects & Building Designers · Lagrange Architects & Building Designers