Software
Houzz Logo Print
sivalleysteph

Before/During/After - A "Transitional" Journey

11 years ago
last modified: 11 years ago
Hi Garden Web, Thanks as always for the inspiration and ideas. We remodeled our bathroom 3+ years back and it came out great in no small part to all the lurking on the bathroom forum. (The Bathroom) Naturally, when it was time for the kitchen, I spent much time here and on the main Houzz site. I posted asking for some layout advice here since we have an odd width. Naturally, ended up doing something different ... :)

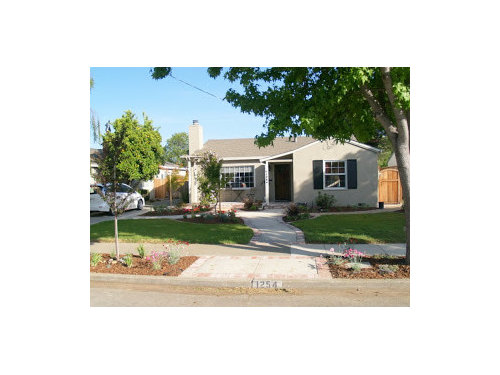
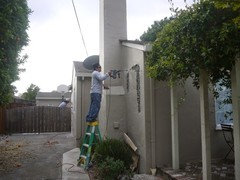
First some background ... this is an almost 70 year old post war bungalow (1947). Originally was a 3-1 and then in 1999 previous owners added on a master suite and reconfigured the floorplan, creating a large great room. Here's the outside in 2009 - looks quite similar but with bigger trees!


Comments (20)

  • 11 years ago
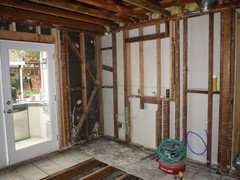
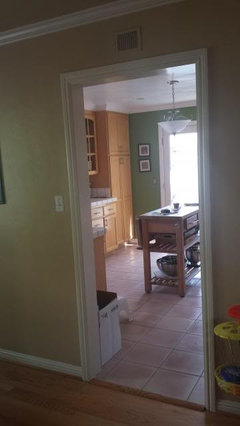
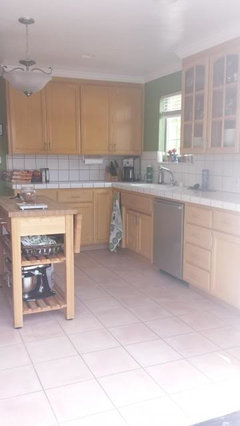
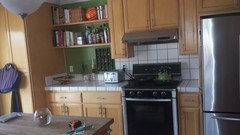
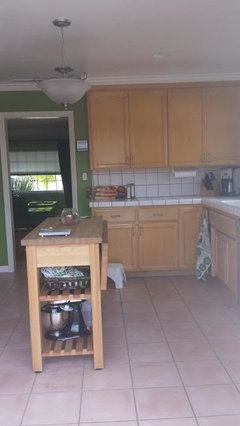
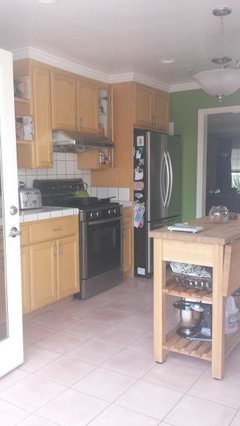
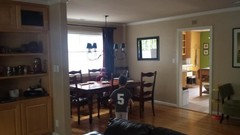
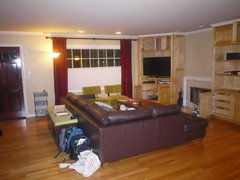
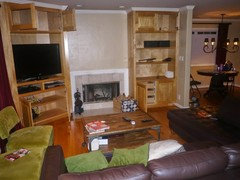
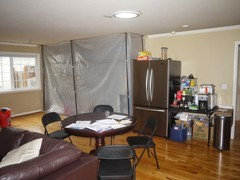
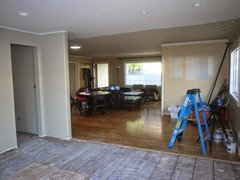
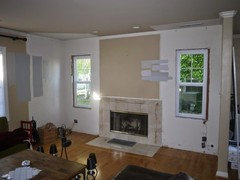
    The "BEFORES"

    Honestly, it really didn't seem so bad, but now looking back ...


  • 11 years ago
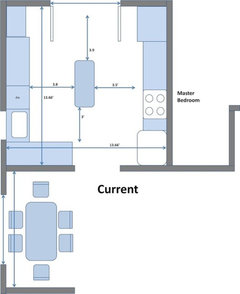
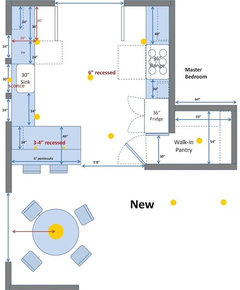
    Floorplans

    BEFORE


    AFTER (at least the initial version, ended up being slightly different on the measurements)


  • 11 years ago
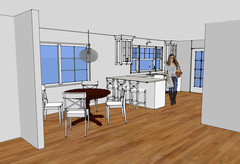
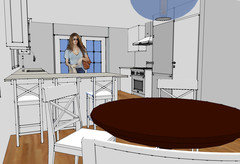
    The potential AFTERs

    Can we match the vision? That's the question!!

    (That's me of course!)


  • 11 years ago
    Can't wait to see the "after" photos!


  • 11 years ago
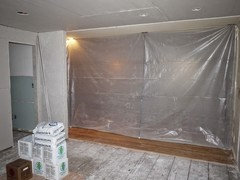
    Demo started at the beginning of March. Naturally this was the fastest part of the remodel. Ha.


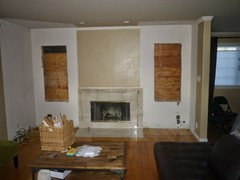
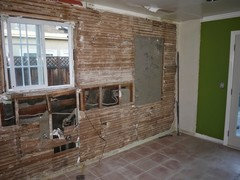
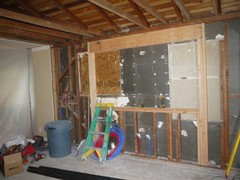
    Once we took out the enormous built-ins we revealed the original window framing. We knew they would be there because many of our street have the same original floorplan. We reused the framing as it was in good condition.


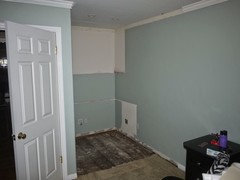
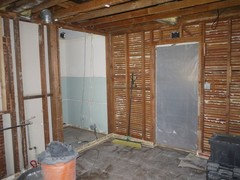
    Soon to be pantry was stolen from the master bedroom. This used to be an office space. I think it was part of the original house, but hard to tell where the addition began.


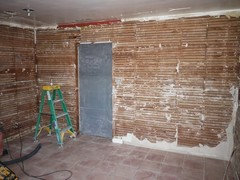
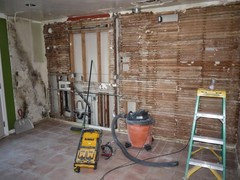
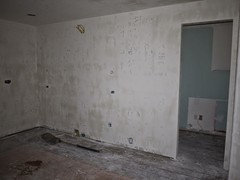
    Tearing off the skin of the wall coming down. The entire kitchen was plaster & lathe, including the ceiling.


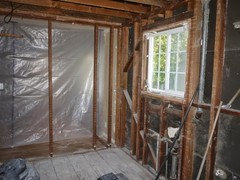
    The stove wall. The original house had a window here, now our MB is on the other side of the wall. The mold was a bit of a surprise! The washer and dryer used to be in the cabinet there (moved by us 1 year previously in preparation), so it wasn't clear if it was from that or maybe a leak in an older door (we put the french doors in a few years back). All dry at the time of remodel.


    The sink wall. Also used to be a window here.


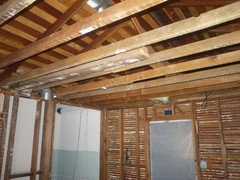
    Once the ceiling and plaster came down, we realized there used to be another wall here. Then I remembered it from one house on my street. Almost everyone had this wall removed at some point. We redid the roof structure in here.


    A closer look at the pantry entry and now the tile part of the floor is gone, too! Still some layers of vinyl and/or linoleum to go.


  • 11 years ago
    I like how you are opening up the house and restoring windows for more light.

    It's always fun when working on older homes - you never know what you will find - both good and bad.


  • 11 years ago
    Wow, Wow and WOW!! Your journalism is wonderful. Are you doing it all DIY?

  • 11 years ago
    There's nothing like instant gratification for all the kitchen groupies here on GW. Steph, thanks for sharing your many photos and the captions. Really interesting. Someone has obviously put in a huge amount of work. Is it diy? With all those windows, you will have a really wonderful kitchen.

  • 11 years ago
    Love that you are discovering some of the original structure! I also live in a neighborhood where the houses were all built at the same time, and it's fun to see what different homeowners did over time to personalize them. Drives me nuts when people cover windows though! So glad you are restoring them!

  • 11 years ago
    last modified: 11 years ago
    I should have clarified, this is *not* DIY. We have a great contractor who does all his own work with one partner. We, however, did not have a designer or anything like that. We like to do all our own plans and design work.

    Continuing the steady PROGRESS mostly forward

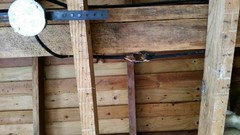
    But first, wait, is that really bare live wires twisted together previously surrounded by newspaper insulation? Why, yes, yes it is. Just one of many, um, interesting wire configurations that had to be cleaned up along the way

    Wall is coming down! Last look at the old window and plumbing

    New post & beam are in! I can't remember the structural impact here - turned out to be much less than anticipated as the wall was not bearing much load. That savings went directly to redoing the truss structure in the kitchen. Of course. Sorry if my technical terms are off.

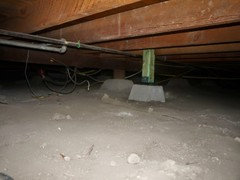
    There was a new footing poured in the foundation

    New window framing is in! Oh, and you can see the start of the new piping. Our contractor uses PEX, which was a bit of a surprise to me. We quickly did some research and decided that was fine.

    Yay! Wall is gone. Hmm, what is that hole looking thing in the bottom left of picture?

    Oh that would be a damaged portion of subfloor that must be replaced. Always something!

    View from the other side ... We were living at home the entire time, so here was our first version of the temporary kitchen. Pretty much the only cooking we did was coffee & frozen breakfast sandwiches for breakfast and making lunches for the kids to take to school. For 3+ loooong months.

  • 11 years ago
    At least it was summer, so you could grill outside. I got pretty good at pizza on the grill.

  • 11 years ago

    Well, the funny thing is that we have a built in bbq right outside the french doors in the kitchen. The gas was disconnected during the remodel. Oh well, no grilling! Lol.

    We have "a guy" who makes dinners a few streets over, so we alternated between that, going out, and Door Dash. Oh, and friends taking pity on us.

  • 11 years ago

    Keep posting...

  • 11 years ago
    last modified: 11 years ago

    So just like that, it seemed things were flying and we had to make decisions FAST. Like, lighting. We had been thinking about pendants over the peninsula, but thanks to the wonder of Google SketchUp, we realized this was too much vertical clutter with the dining room RIGHT THERE, presumably with some dangly light fixture . So frantically, I (we) picked out the most awesome dining room light and we decided to go with recessed lights over the peninsula instead. And then there was the issue of under/inside cabinet lights and electrical outlet placement. Oh my! We had some task lighting angled power strips that our contractor gave us, but we decided not to use them and go with regular outlets. I went low & horizontal, but kind of wish I hadn't. Whatevs. For under cabinet lights, we did more searching and ended up with Armacost LED puck lights both in and under the cabinets. The light over sink went to a light switch/outlet to left, the peninsula lights, main recessed lighting, under/in cabinet lights and dining room light all went to one bank of switches all on dimmers. That was just a lot of things to decide.

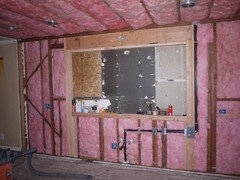
    Here you can see the wiring for the lighting and all the plumbing done, plus the insulation.

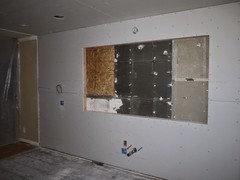
    And then, wow drywall!


    Dry wall and the framing for the pantry entry way

    Texturing was next - we have the old world or skip trowel type of texturing? Not sure what you call it.

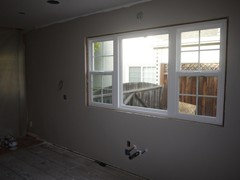
    And then windows were in and the paint went up. After many, many test paints. Who knew it's so hard to pick out a gray? Ok, everyone. In the end, we went with everyone else and got Revere Pewter.

    The windows here came in wrong, the bottom of the single hung were not supposed to have grids. So those got reordered, no biggie.

    Here's the breaking through from the outside to make the windows!

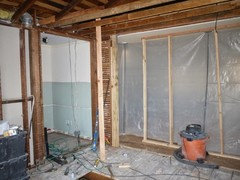
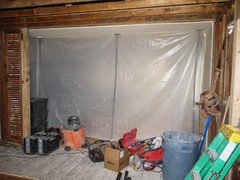
    Finally the wall is open and the plastic is down! And you can see the tons of paint colors we tried.

    Living room windows are also in and more paint samples ... You can see where the GIANT built ins were by the paint. We could not have been more sick of tan at this point. Tan walls and tan ceilings were just a bit overkill.

    And so ends another installment of Kitchen Remodel Saga.

  • 11 years ago

    I sure understand your tiring of all the tan! I used to call our new house "Death by Taupe"!!!

  • 11 years ago

    Wow, that's quite an undertaking! Is it finished?

  • 11 years ago

    It is mostly (98%?) done. Just need to finish up the punch list. Unpacking the last of the boxes and planning to take the "final" pictures tomorrow.

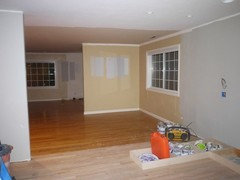
    Let me see, catching up to where we were. Next step was the floors.

    FLOORS

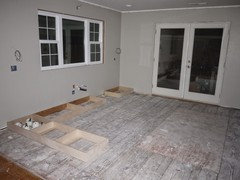
    This was kind of interesting to me. They installed the cabinet toe kicks before doing the floors. The floors were matched to our original oak floors. We then refinished all of the exposed hardwoods (two bedrooms have hardwoods under the carpet). This was done over Easter weekend while we stayed in a hotel.

    Toe kicks installed on top of subfloor


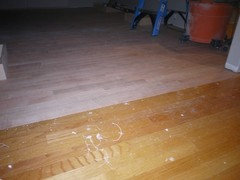
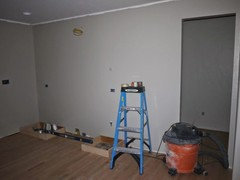
    New floor run up to toe kicks


    The floor was tied in perfectly with the existing floor. Previously the kitchen floor was raised by about 1 to 1-1/2"(tile) so now we had to re-hang our french doors. At extra cost, of course, with stucco and framing rework.


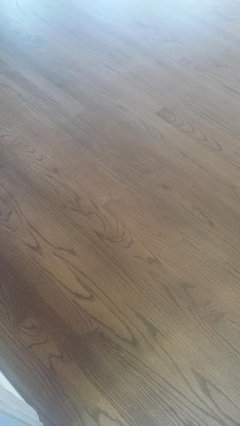
    Not good picture of refinished color. "Mocha" ZAR wood stain. This was the last we would see of it for 1-1/2 months... it was immediately covered with pink paper. :)


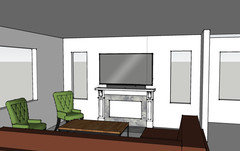
    Then we began a period known as "Waiting on the Cabinet Guy". In the interim we had to come up with a plan for the fireplace design.

  • 11 years ago
    last modified: 11 years ago

    Continuing on...

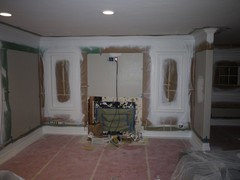
    During the period of "Waiting on the Cabinet Guy", our contractor decided to go ahead and paint all the trim not in the kitchen. It was all BM Simply White in Sheen. This will come back to us later...

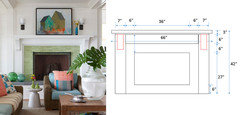
    DH came up with a nice design & spec for the fireplace. Houzz inspiration to the left.


    First steps on the mantel/surround.


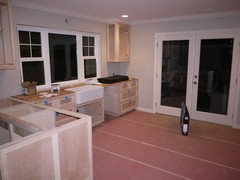
    And then all of a sudden, the cabinets were ready to be installed. Wahoo!

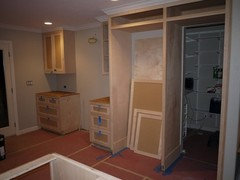
    The slot there on the left is for the microwave. When we went to order, we thought we were going to get the Sharp drawer SMD2470AS. We just weren't sure with the flip down and all ... But we ordered & paid for all the appliances, including this one. Then we panicked and checked it out again. It didn't seem like it would work with inset cabinets. Even if you could mount it as a flush install (which it isn't spec'ed for), you wouldn't be able to access the tab to fold down. Ahhhh!! Cue return to order desk. We cancelled the Sharp and they showed us the Bosch & Thermador and we went with the Bosch. Crisis averted. Designed for a flush install.

  • 11 years ago

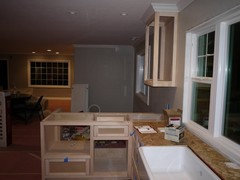
    So things were looking pretty good and we moved on to countertop install. This was probably one of the lowest points because, well, check it out.


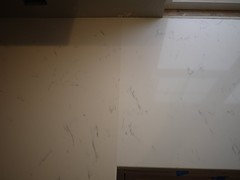
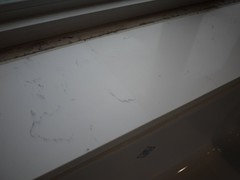
    It didn't match!!!

    The countertops were one of our cost saving measures. These are prefab quartz - it took us 3 pieces: a peninsula piece and two countertop runs. We drove up to San Leandro to the warehouse to pick out the pieces and made sure they were all from the same lot. They were in stacks (and there was only one peninsula piece left at the time) so they were not side by side at all. Silly us assumed that being from the same lot would mean they were the same color. Ahhh! (To add insult, the trip to San Leandro also resulted in a $500 camera ticket for right on red.)

    So this was a HUGE bummer. Major. The countertop place blamed it on the fabricator for not noticing before install, whatever, but did agreed to give us a new piece. However, they only had 2 left up in the warehouse from this lot, so they might not match.

    Our fabricator came up with a better plan, though. He was able to create a new piece for the run between mid sink and the peninsula from the remainder of the peninsula piece (had to fabricate the edge, which was what we were avoiding by using the pre fab), the "cost" being an additional seam behind the sink as it was about 6" too short.

    This wouldn't be fixed for a while, though ...

    PS - the cost for all the prefab pieces was ~ $1800 including tax, which was less than one slab of most quartz (and we needed two slabs). Pental quartz would have been $1200/slab + tax, so that was the other budget friendly option. However, we were saving $1000 on fabrication by doing the pre fab. Jury is still out on how much we saved there, but we did end up getting $250 back for the mismatch problem.


Sponsored
Trish Takacs Design
Average rating: 4.9 out of 5 stars36 Reviews
Award Winning & Highly Skilled Kitchen & Bath Designer in Columbus