

Wood paneling
13 years ago
Featured Answer
Sort by:Oldest
Comments (11)
 13 years ago
 13 years ago
Related Professionals
Middlesboro Interior Designers & Decorators · Texarkana Interior Designers & Decorators · Grand Island Interior Designers & Decorators · Monroe Interior Designers & Decorators · Platteville Interior Designers & Decorators · Pocatello Interior Designers & Decorators · Ithaca Architects & Building Designers · Williamsport Architects & Building Designers · Palm Desert Architects & Building Designers · Marquette Kitchen & Bathroom Designers · Mansfield Kitchen & Bathroom Designers · Sacramento Kitchen & Bathroom Designers · Great Falls Kitchen & Bathroom Designers · Spanish Fork Kitchen & Bathroom Designers · Amherstburg Kitchen & Bathroom Designers- 13 years ago
- 13 years ago
- 13 years ago
- 13 years ago
- 13 years ago
- 13 years ago
 PRO13 years ago
- 13 years ago

Related Stories
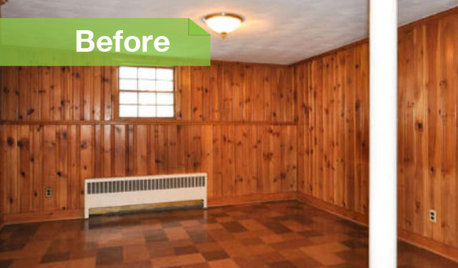
PAINTINGKnotty to Nice: Painted Wood Paneling Lightens a Room's Look
Children ran from the scary dark walls in this spare room, but white paint and new flooring put fears and style travesties to rest
Full Story
How to Update Cozy Wood Paneling
See how to give fresh life to once-retro woodsy wall coverings
Full Story
Fresh Ways With Wood Paneling
Crisp, white surfaces and accessories brighten up the dark wood wall
Full Story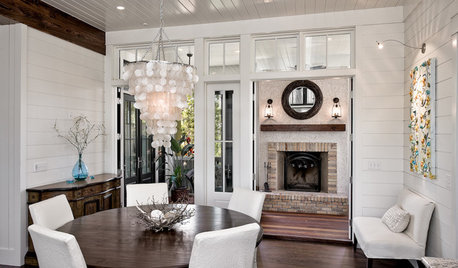
Painted Paneling for Straight-Up Style
Brush away boring wood boards. A color makeover can give your paneling, and your home, new charm and flair
Full Story
REMODELING GUIDESPanelled Walls Dress Up Your Living Space
Versatile Wood Updates and Enriches Rooms of Any Style
Full Story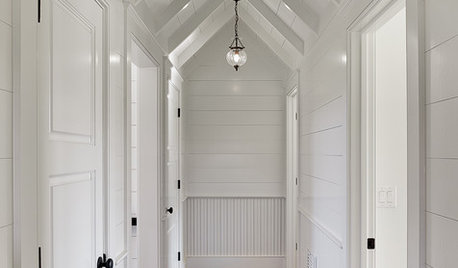
REMODELING GUIDESTongue and Groove Wall Paneling Joins the Comeback Club
Try this smooth architectural move to give your walls a streamlined appearance that conveys quality
Full Story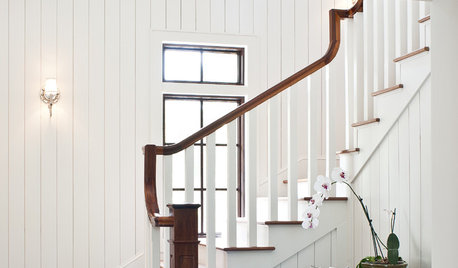
REMODELING GUIDESHeighten a Room With Vertical Tongue and Groove Wall Paneling
Visually increase space while upping architectural interest by giving your walls this texturally rich treatment
Full Story
DECORATING GUIDESBeautiful Details: Wainscoting and Paneled Walls
Paneled Walls Add Substance and Style to Both Modern and Traditional Homes
Full Story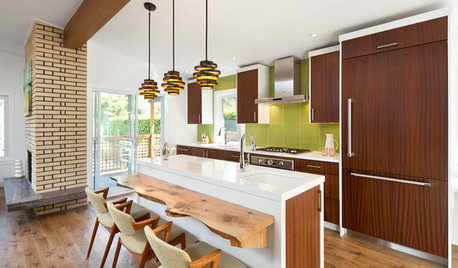
HOUZZ TOURSHouzz Tour: Dancing to the 1970s in an Updated Vancouver Home
The open floor plan and updated appliances have modern moves, but the lime green and wood paneling still do the hustle
Full Story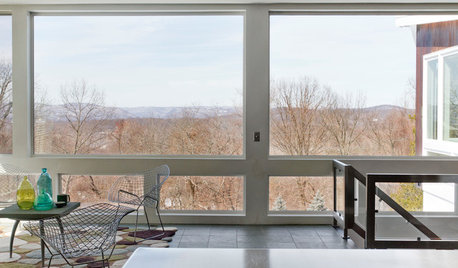
HOUZZ TOURSMy Houzz: A Classic Midcentury Home Wrapped in Windows
A couple's 4-year restoration and renovation results in a bright look for their wood-paneled house in New York
Full Story
fuchtmanm