

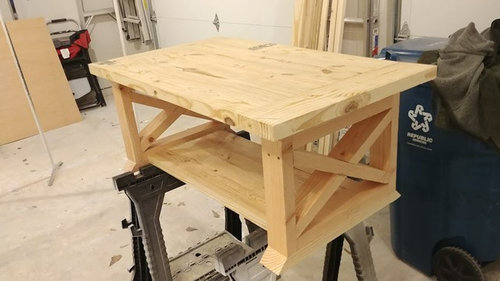
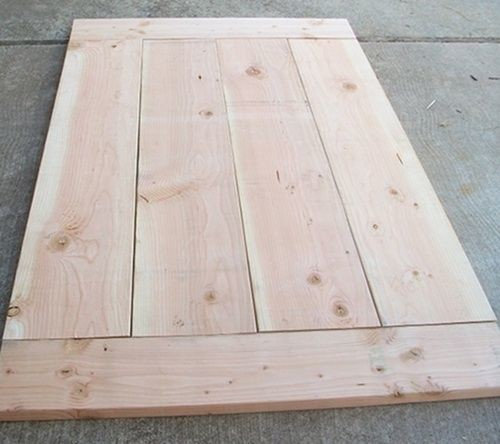
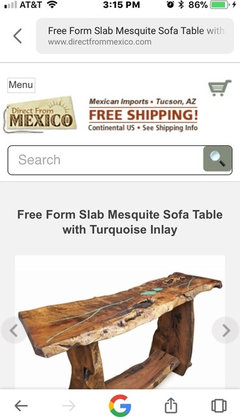
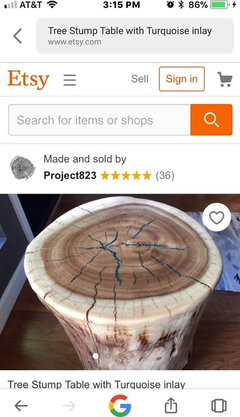
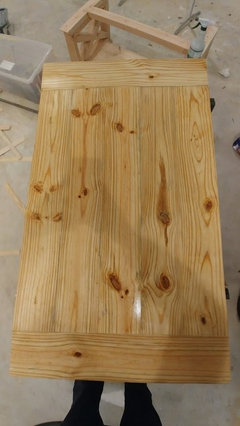
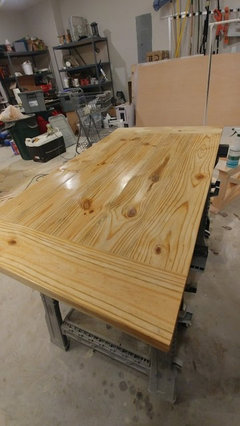
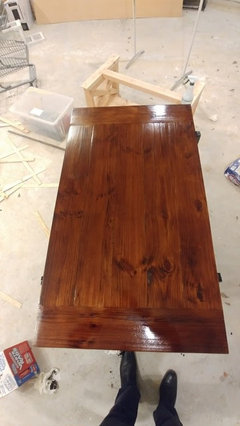
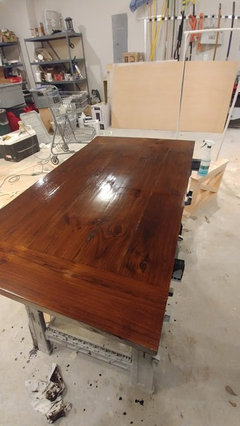
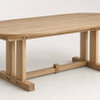
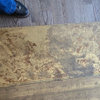
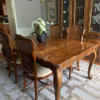
Fill gaps in table!
8 years ago
Featured Answer
Sort by:Oldest
Comments (15)
 8 years ago
Related Professionals
Dover Carpenters · Enfield Carpenters · Annapolis Cabinets & Cabinetry · Saint George Cabinets & Cabinetry · Branson Architects & Building Designers · Idaho Falls Architects & Building Designers · Cody Kitchen & Bathroom Designers · San Bernardino Furniture & Accessories · Pocatello Furniture & Accessories · Columbia Carpenters · Kearney Carpenters · Elkton Custom Closet Designers · Bennington Custom Closet Designers · Lake Havasu City Custom Closet Designers · Bismarck Custom Closet Designers- 8 years ago
- 8 years agolast modified: 8 years ago
- 8 years ago
- 8 years ago
 PRO8 years ago
- 8 years ago
 PRO8 years ago
- 8 years ago
- 8 years ago
- 8 years ago
- 8 years ago
- 8 years ago
- 5 years ago

Related Stories
HOLIDAYSDIY: Shiny Gold Accents to Make Your Hanukkah Table Glow
Wrap glass vessels with metallic yarn and fill them with oil and wicks for a festive and bright holiday look
Full Story
PRODUCT PICKSGuest Picks: Set a Gorgeously Neutral Holiday Table
No need for kitschy holiday ware. These table items are festive enough for special occasions all year round
Full Story
PRODUCT PICKSGuest Picks: 20 Coffee Table Books Beautiful Enough for Mom
Encourage a favorite hobby or ignite a new interest with a coffee table book that makes a thoughtful Mother's Day gift
Full Story
DIY PROJECTSNeat Little Project: Make an All-in-One Stool, Mini Table and Ottoman
One piece, at least 3 uses. Plus, you can vary the measurements of this sturdy wooden stool to make it just the right size for you
Full Story
FURNITUREModern Icons: Florence Knoll Table Desk
Knoll's simplified office furniture design can serve as executive desk or chic dining table
Full Story
BEDROOMS15 Nightstands That Are Not Your Average Bedside Tables
Take another look at that unusual antique or flea market find. It could have a new life next to the bed
Full Story
SHOP HOUZZShop Houzz: Accent Tables With Free Shipping
Handsome and practical tables, up to 65% off
Full Story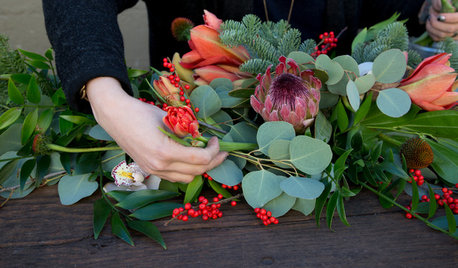
DIY PROJECTSMake a Wild, Organic Floral Table Garland for a Holiday Dinner Party
Flowers, fruit and foliage in reds, pinks, golds and greens form a colorful runner for a special winter celebration
Full Story
DECORATING GUIDESFrom Queasy Colors to Killer Tables: Your Worst Decorating Mistakes
Houzzers spill the beans about buying blunders, painting problems and DIY disasters
Full Story
MY HOUZZMy Houzz: Leafy, Light-Filled Loft in a Historic Former High School
A creative couple lives among the trees in a converted condo that was once filled with students
Full Story
Brian Gannon