

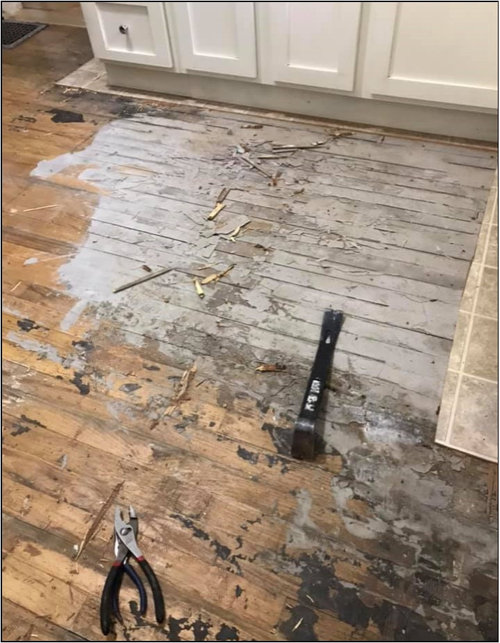
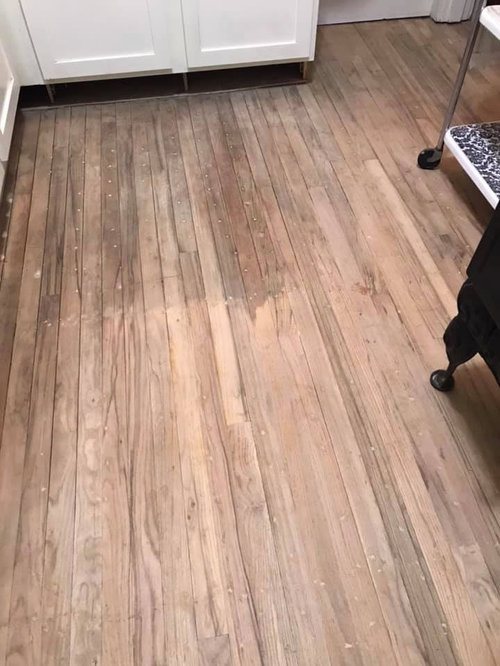
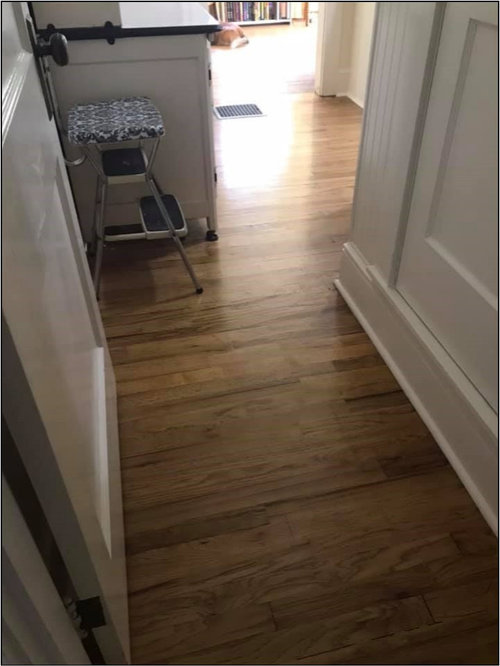
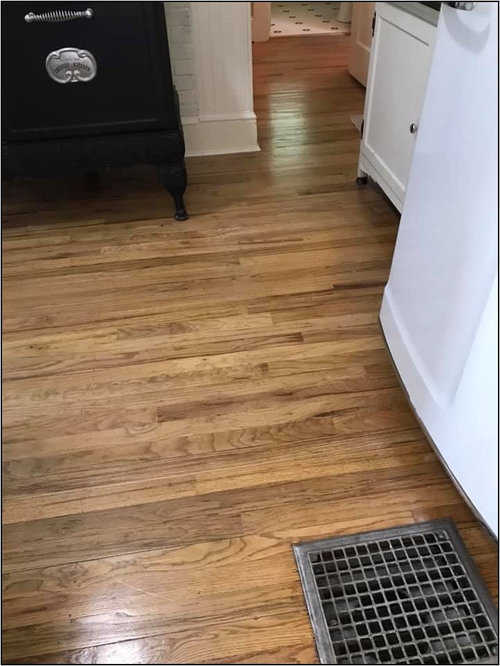
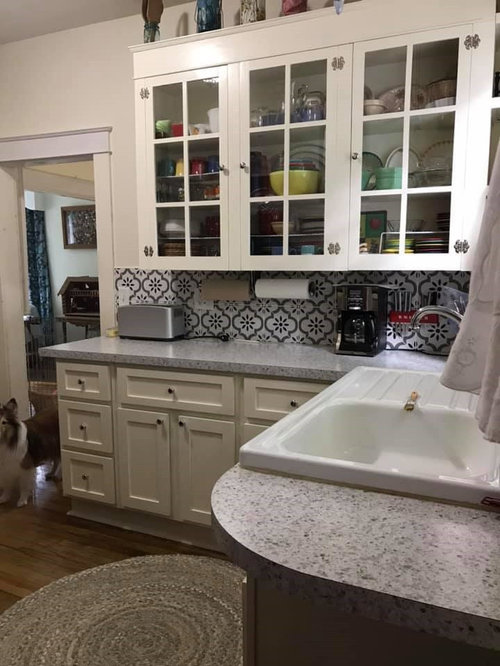
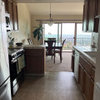
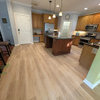
BEFORE AND AFTER KITCHEN REMODEL ON A BUDGET
6 years ago
last modified: 6 years ago
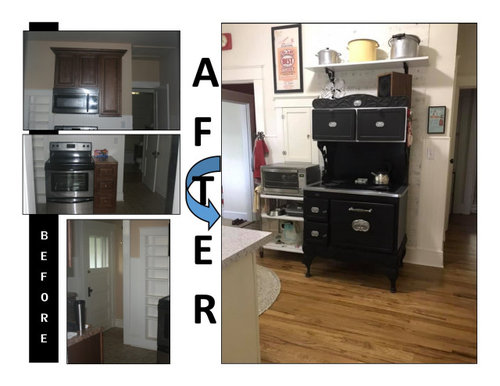
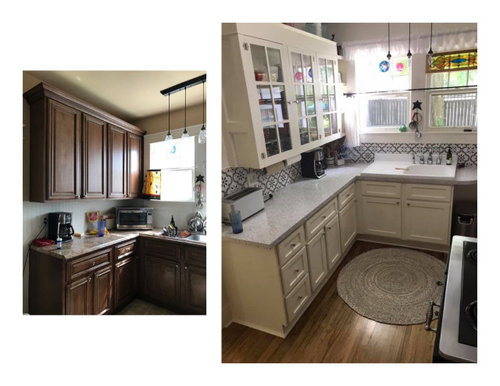
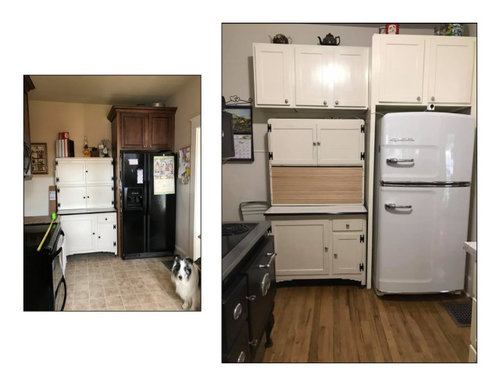
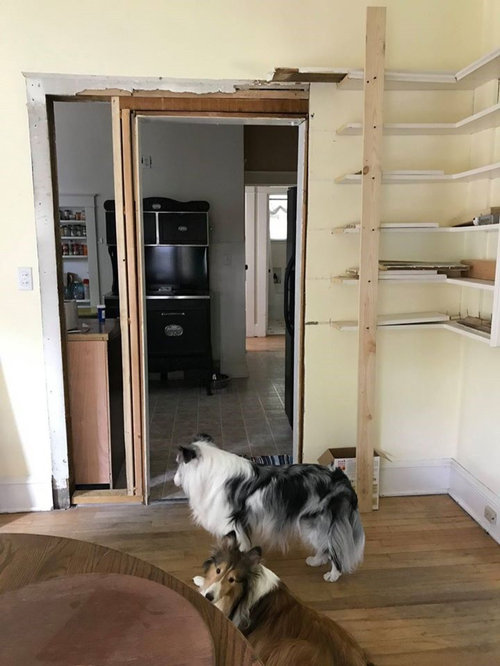


Featured Answer
Sort by:Oldest
Comments (24)
Related Professionals
Yuma Interior Designers & Decorators · Idaho Falls Interior Designers & Decorators · Effingham Architects & Building Designers · Jackson Architects & Building Designers · Burlington Architects & Building Designers · Austin Kitchen & Bathroom Designers · Reno Kitchen Remodelers · Cheyenne Kitchen Remodelers · Ottawa Kitchen Remodelers · Montgomery Custom Countertops · Panama City Custom Countertops · Spring Custom Countertops · Bennington Custom Countertops · Tucson Custom Countertops · Longview Custom Countertops 6 years ago
- 6 years ago
 6 years ago
- 6 years ago
 6 years ago
 6 years ago
- 6 years ago
 6 years ago
- 6 years ago
- 6 years agolast modified: 6 years ago
 6 years ago
- 6 years ago
 6 years ago
 6 years ago
- 6 years ago
- 6 years ago
 6 years ago
 PRO6 years ago
 6 years ago


Related Stories
KITCHEN MAKEOVERSBefore and After: 3 Remodeled Kitchens With a Vintage Vibe
A hand-painted hood, a brick fireplace and patterned porcelain tiles add classic charm to these renovated kitchens
Full Story
KITCHEN MAKEOVERSBefore and After: 5 Kitchen Remodels Under 160 Square Feet
New layouts and lighter palettes help these smaller-than-average kitchens feel more open and bright
Full Story
BEFORE AND AFTERSBefore and After: See a Complete Kitchen Remodel for $35,000
An expanded layout, new maple cabinets and granite countertops breathe new life into this family gathering space
Full Story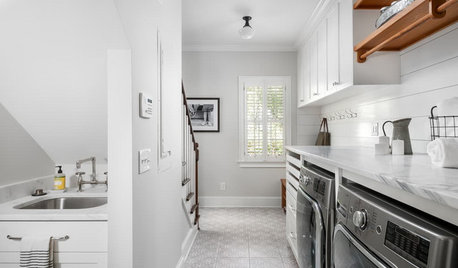
LAUNDRY ROOMSBefore and After: Remodeled Laundry Room Lightens Up
See how shiplap walls, marble countertops and a new glass door brighten this laundry-mudroom combo in Atlanta
Full Story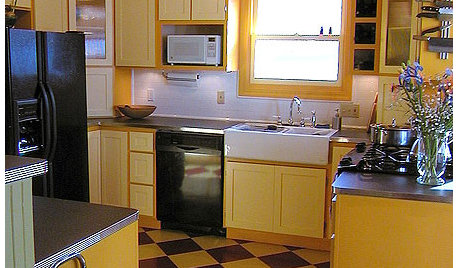
KITCHEN DESIGNKitchen Remodel Costs: 3 Budgets, 3 Kitchens
What you can expect from a kitchen remodel with a budget from $20,000 to $100,000
Full Story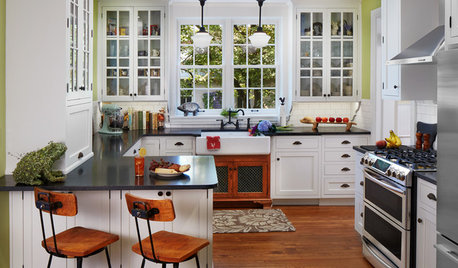
KITCHEN MAKEOVERSBefore and After: Glass-Front Cabinets Set This Kitchen’s Style
Beautiful cabinetry, mullioned windows and richly refinished floors refresh the kitchen in an 1879 Pennsylvania home
Full Story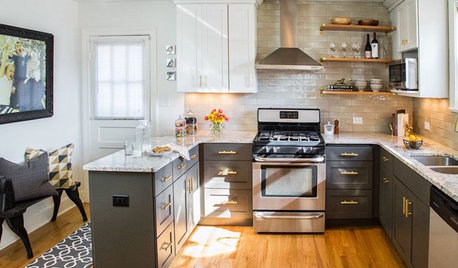
MOST POPULARBefore and After: 13 Dramatic Kitchen Transformations
See the wide range of ways in which homeowners are renovating their kitchens
Full Story
KITCHEN DESIGNBefore and After: 5 Kitchen Makeovers in 200 to 245 Square Feet
See how remodeling made these kitchens more beautiful and more functional for their owners
Full Story
BEFORE AND AFTERSBefore and After: 5 Dramatic Kitchen Makeovers
See how remodeling made these kitchens a better fit for their owners’ lifestyles and design preferences
Full Story
KITCHEN MAKEOVERSBefore and After: 3 Kitchens With Gorgeous Dark Green Cabinets
Cabinetry painted in rich shades of green adds life to these stylishly remodeled kitchens
Full StorySponsored

Columbus Design-Build, Kitchen & Bath Remodeling, Historic Renovations


mama goose_gw zn6OH