Software
Houzz Logo Print
royce_cyriac

Should I be concerned? New shower wall tile...

6 years ago
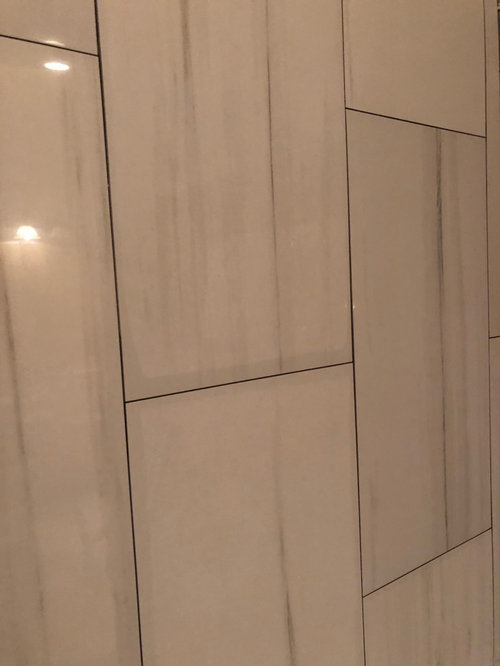
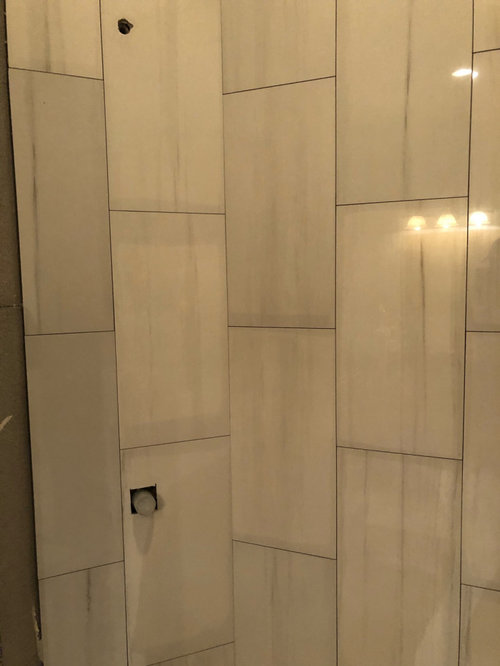
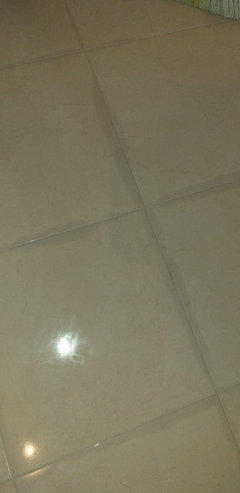
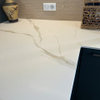
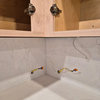
A contractor just started tiling our shower wall using 12x24 white porcelain tile. He’s only completed one wall so far but I noticed a very faint border around each of the tiles. It’s almost like the border is translucent. Is this normal? It’s freshly placed so I’m wondering if this is normal as the mortar dries or is there some issue with his methods?

Comments (22)

  • 6 years ago
    last modified: 6 years ago

    Looks bad to me. If all the tiles have this characteristic, including those yet to be installed I'd change to another product and redo the one wall. If the tiles in the boxes don't have the border ask your tiler what's going on. The only thing I can think of is a seal for authentic marble tiles to avoid staining them when he grouts. Not necessary with porcelain.

  • 6 years ago

    Thanks for your comment Dan. The tiles in the box do not have this characteristic.

  • 6 years ago

    Do you have in-progress pictures of the waterproofing?

  • 6 years ago

    Are these for sure porcelain and not marble? If marble, & unsealed, it could be the issue. Check that the tile are porcelain. My first guess is that this is not porcelain tile.

  • 6 years ago
    last modified: 6 years ago

    No, it isn't normal.

    Are you sure this is porcelain? Ceramic tiles are more porous? Where did you buy these tiles? Are they made in China?

    I have never seen a good quality porcelain tile be affected by moisture. Marble is also porous and can show stains like that.

    Check the tile box or online for the porosity specs:

    Testing for water absorption determines the apparent porosity and relative density as a means to classify ceramic tiles according to the international standard ISO13006-10545/98. There are four categories:

    • B2b. Non-vitreous - Low density, High water absorption of more than 6.0% (Ceramic)
    • B2a. Semi-vitreous - Medium density, Medium water absorption of more than 3.0%, but less than 6.0% (Ceramic)
    • B1b. Fully Vitrified - High density, Low water absorption of more than 0.5%, but less than 3.0% (Gres Porcelain / Ceramic)
    • B1a. Impervious - Extremely high density, Very low water absorption of less than 0.5% (Porcelain)


  • 6 years ago

    Also in addition to the above questions we need answers to, what is he setting the tile with? Those tile require 100% coverage with thinset in addition to back buttering and if there was bleed from the thinset it should be everywhere not just the perimeter.

  • 6 years ago

    Thank you guys. I will need to ask about thunder coverage and back buttering. Here is the tile I bought:

    Costa Merano Polished Porcelain Tile
    Size: 12 x 24 SKU: 100831908

    https://www.flooranddecor.com/porcelain-tile/costa-merano-polished-porcelain-tile-100831908.html#prefn1=color&prefv1=White&prefn2=look&prefv2=Stone+Look|Marble+Look&prefn3=shape&prefv3=Rectangle&sz=120&showBrand=true&start=1

    It says made in the USA and waterproof.

  • 6 years ago

    I would contact the tile manufacturer because that doesn’t look right to me. Has it changed in the last 24 hours? If the discolorations remain, I’d personally redo it with different tile.

  • 6 years ago

    Double check the boxes and make sure the tile you ordered is the tile you received. Then, contact the company. The tile in the link is beautiful. It should not be absorbing moisture like that. How does it look today?

  • 6 years ago

    Update: About 24 hour post install

    -what was ordered matches what was received
    -dye shade is consistent across all boxes
    -white mortar was used and consistent spread across entire backing of tile
    -shading/bordering is not as pronounced today but still viable

  • 6 years ago

    That's great that the edges look better but you appear to have no taped joints and no waterproofing. Looks like a redo from here.

  • PRO
    6 years ago

    concern yourself first with "spot setting" and educate yourself on USG durocks installaion instructions.

    Everything starts with the hiring process, vetting, and proper written documentation of scope, standards to be met and followed, this is how you gain recourse when debacles happen.


  • 6 years ago

    Taped joints were used but waterproofing was not. According to the contractor, 1/2” Durock cement board is waterproof and do not require an additional waterproofing system (Redgard). Could the lack of waterproofing have caused the “border” on the already placed tile?

  • 6 years ago

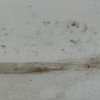
    @creative is picture framing a function of how porous the tile is or the workmanship? I’m trying to understand if this was caused by a non-compliance with “the book” or tile selected. Note: the tile used has gray streaks as part of its design (see picture).

  • 6 years ago

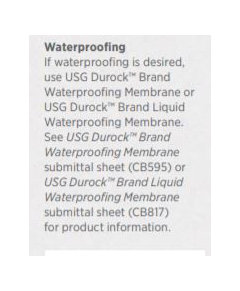
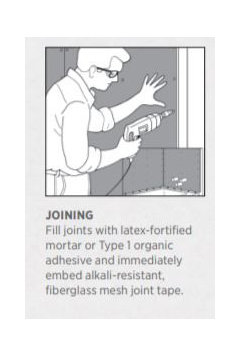
    Here's snippets that apply to your project and its installation. IMO you should have water proofing in the shower and it is not optional.

    I got these from the installation guides here:

    https://www.usg.com/content/usgcom/en/products/floors-tile/tile-prep/cement-board-backer-board/durock-cement-board-with-edgeguard.html


  • 6 years ago

    I'm not a fan of your shower design with the vertical pattern. I'd have to see a better niche photo to weigh in on that. It's also not clear to me what your waterproofing method is. Cement board and nothing else? Whoa.

    Porcelain is indestructible. What did your installer say about the perimeter marking?

  • PRO
    6 years ago

    I suspect it's porcelain glaze. Not a through body porcelain.

  • 5 years ago

    Hi Rizzy C. Did the tiles still water shading? because I had the same problem. should I redo?

  • 5 years ago

    Abdellah, take some photos of your issue. I hope you have photos of the installation, and know about the products used. It is highly recommended to take photos DURING installation, so you can prove later exactly how it was done.

    But mostly, you need to start your own thread. Not many people will respond.

  • 5 years ago
    last modified: 5 years ago

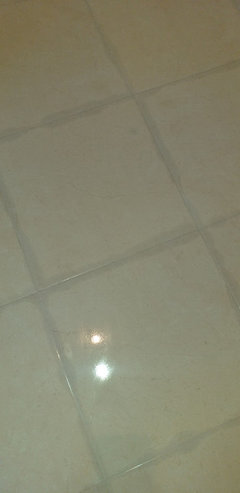
    thank you Mrs.S for your response .this is how it looks like after I washed it with water. however, I don't think the problem is about how it was done. because I drown one tile in water for 24 hours and I toke it off the water shade appears regardless.

    the shade it can take 6 to 7 hours to dry and appear normal. but if the water stayed on the tiles for like 3 or 4 hours. the shade can grow and take more than 24 to dry clean.

    my concern is what if the shade keeps drying slowly with time. and also can the epoxy grout fix it?


    Note this is Floor tiles.