

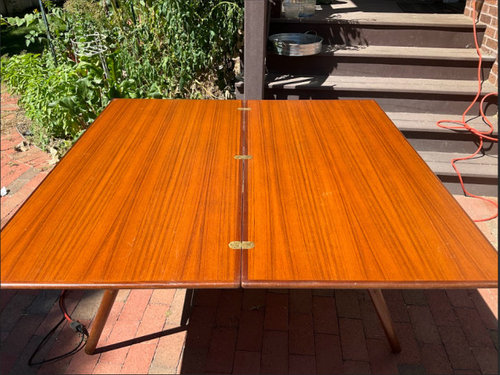
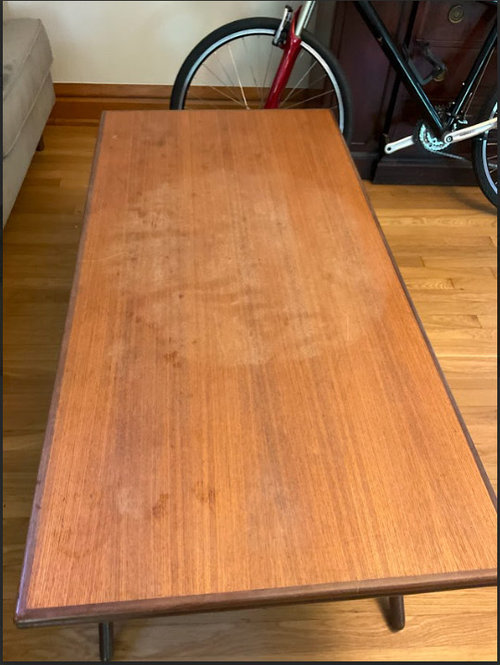
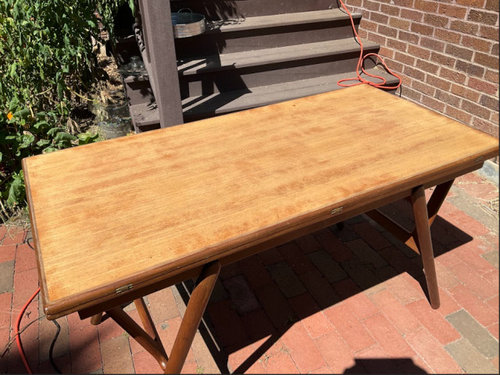
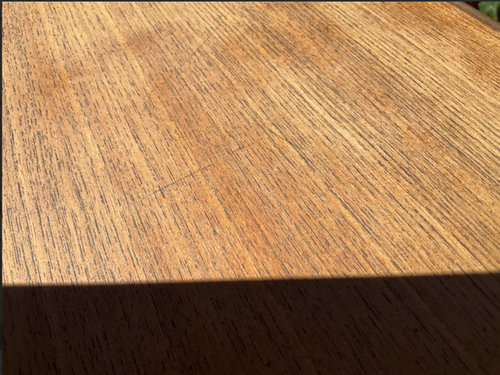
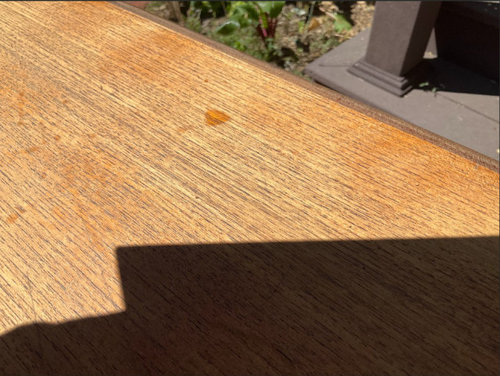
refinishing teak coffee table - am I doing this right?
3 years ago
last modified: 3 years ago
Sort by:Oldest
Comments (2)
Related Stories
LIFEHow Do You Make Your Tea and Coffee in the Morning?
A morning cup is a must for many, and preparation comes in many guises. We look at coffee and tea habits across the Houzz community
Full Story
LIVING ROOMSHow to Pick the Right End Tables for Your Sofa
You may want to give your seating accompaniments a standing ovation when you follow these guidelines for choosing the right ones
Full Story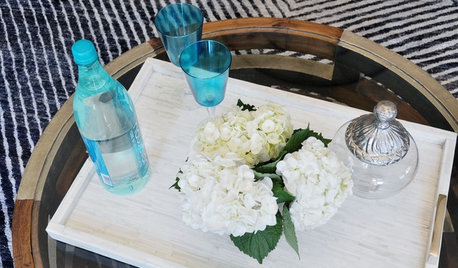
DECORATING GUIDESGive That Coffee Table an Extra Shot of Style
Corral necessities neatly or add an eye-catching base for display with a tray that sets off your table or ottoman
Full Story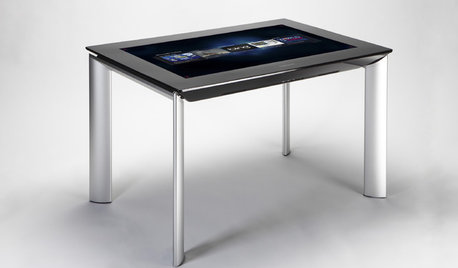
MOST POPULARGet Ready for the Smart Coffee Table
Intelligent tables with touch screens are reaching the consumer market, with all the power of personal computers and more
Full Story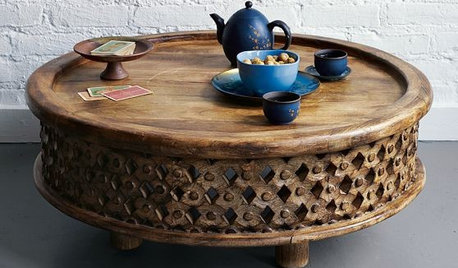
FURNITUREGuest Picks: Curvy Coffee Tables
Join one blogger on her search for the perfect curvy coffee table
Full Story
LIVING ROOMSHow to Decorate a Coffee Table
Use the rule of three and other design guidelines for effortless-looking living room style
Full Story
FURNITURENew Classics: The Jane Coffee Table
Hovering low and adding strong horizontal lines, this minimalist floating slab has beautiful proportions and a distinctive presence
Full Story
DECORATING GUIDES12 Coffee Tables to Stir Up a Living Room Look
Keep drinks on the down low or sip in high style. You'll find a coffee table style for every design taste here
Full Story
FURNITUREHow to Pick Out a Coffee Table
Get a great fit for your room and your lifestyle by considering a coffee table’s size, features and aesthetics
Full Story

klem1
HALLETT & Co.
Related Professionals
Starkville Cabinets & Cabinetry · Chattanooga Cabinets & Cabinetry · Hot Springs Carpenters · Pensacola Carpenters · Enid Carpenters · Bridgeport Carpenters · Syracuse Flooring Contractors · Clearlake Flooring Contractors · Brooklyn Furniture & Accessories · Marinette Furniture & Accessories · Richmond Carpenters · Macon Cabinets & Cabinetry · Richmond Cabinets & Cabinetry · Monroe Cabinets & Cabinetry · Williston Cabinets & Cabinetry