

How to wire a remote blower without using a range hood control panel?
2 years ago
Sort by:Oldest
Comments (9)

Related Stories
HOME TECHNew TV Remote Controls Promise to Do More — Without the Struggle
Dim your lights, set up user profiles and discover a remote you can't lose. Welcome to the latest and greatest way to change the channel
Full Story
MOST POPULARHow Bluetooth 4.0 Will Change Remote Control
Manage lights, TV, refrigerators and more through your phone or tablet when the latest wireless technology rolls into all your home devices
Full Story
KITCHEN APPLIANCESDisappearing Range Hoods: A New Trend?
Concealed exhaust fans cut visual clutter in the kitchen
Full Story
KITCHEN APPLIANCESWhat to Consider When Adding a Range Hood
Get to know the types, styles and why you may want to skip a hood altogether
Full Story
MORE ROOMSHome Tech: Getting Rid of Wires Without Sacrificing Sound
Wireless home technology still isn't perfect, but new products are giving audiophiles choices
Full Story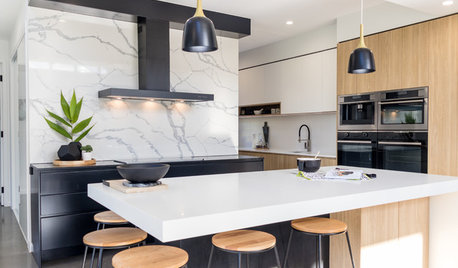
KITCHEN DESIGNHow to Get Your Range Hood Right
Get a handle on the technical specs, and then learn about fun design options for creating a beautiful kitchen feature
Full Story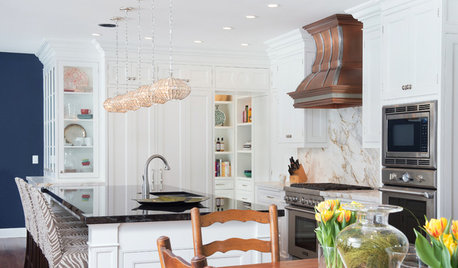
KITCHEN DESIGNWhat to Know When Choosing a Range Hood
Find out the types of kitchen range hoods available and the options for customized units
Full Story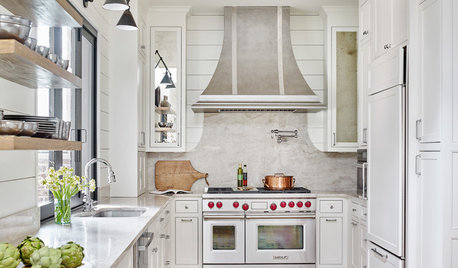
KITCHEN APPLIANCESHouzz Call: Show Us Your Creative Range Hood
Have you customized your kitchen’s range hood? Please tell us all about it
Full Story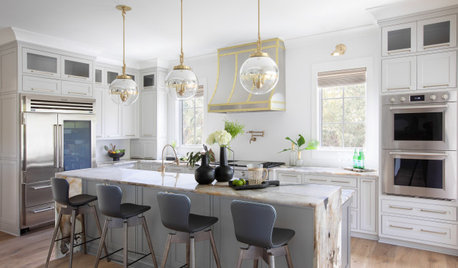
KITCHEN DESIGNDesigner Tips for Range Hoods, Appliances and Lighting
Learn how to get your microwave height just right, what kind of bar stool will be most comfortable and more
Full Story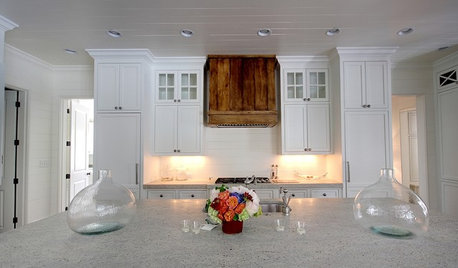
KITCHEN DESIGNWood Range Hoods Naturally Fit Kitchen Style
Bring warmth and beauty into the heart of your home with a range hood crafted from nature's bounty
Full Story
kaseki
JT DexterOriginal Author
Related Professionals
Vicksburg Kitchen & Bathroom Designers · Daytona Beach Bathroom Remodelers · Hays Bathroom Remodelers · Lynchburg Bathroom Remodelers · Martinsburg Bathroom Remodelers · Kissimmee Kitchen Remodelers · Durango Kitchen Remodelers · Johnson City Kitchen & Bathroom Designers · Grand Rapids Kitchen & Bathroom Designers · Rochester Kitchen & Bathroom Designers · Bennington Kitchen & Bathroom Designers · Hagerstown Custom Countertops · McComb Custom Countertops · Idaho Falls Custom Countertops · Sanford Custom CountertopsJT DexterOriginal Author
JT DexterOriginal Author
kaseki
JT DexterOriginal Author
kaseki
JT DexterOriginal Author
kaseki