

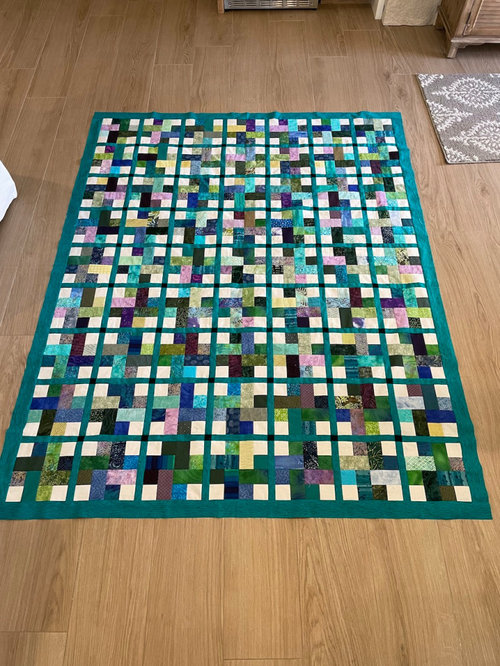
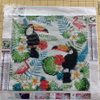
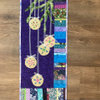
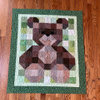
Very busy, scrappy quilt top
2 years ago
last modified: 2 years ago
Featured Answer
Sort by:Oldest
Comments (14)
Related Professionals
Fort Wayne Furniture & Accessories · Santa Fe Furniture & Accessories · Concord Interior Designers & Decorators · Austin Interior Designers & Decorators · Norfolk Interior Designers & Decorators · Hartford Interior Designers & Decorators · Kankakee Interior Designers & Decorators · Bridgeport Interior Designers & Decorators · Stockton Interior Designers & Decorators · Florence Flooring Contractors · Salisbury Flooring Contractors · Starkville Flooring Contractors · Youngstown Flooring Contractors · Watertown Flooring Contractors · Oxnard Flooring Contractors- 2 years agolast modified: 2 years ago
 2 years ago
 2 years ago
- 2 years ago
 2 years ago
- 2 years ago


Related Stories

ARTSee Winning Modern Quilts on Display at QuiltCon 2015
Top quilts have been chosen from among hundreds at the international show in Austin through February 22. View them and others here
Full Story
ARTShow News: Rare Quilts Get Museum Time
See 6 intricate designs from a California exhibition and get tips for building your own quilt collection
Full Story
HOUSEKEEPINGCan-Do Cleaning Strategies for Busy People
While you dream of having a maid (to go with the cook and chauffer), this simplified cleaning routine can keep your real-world home tidy
Full Story
BEDROOMSBedtime Stories: Should You Get a Quilt, Duvet, Coverlet or Bedspread?
In this detailed guide, learn about the choices you have for covering your bed
Full Story
DECORATING GUIDESCelebrating the Great American Quilt
They speak of family, history and beauty. Is it any wonder quilts transcend design styles?
Full Story
TRENDING NOWThe Top 10 Bedroom Photos of 2018
Gray shades, warm woods and head-turning light fixtures dominate this year’s most popular bedroom designs
Full Story
DECORATING GUIDESHere's How to Steer Clear of 10 Top Design Don'ts
Get interiors that look professionally styled even if you're taking the DIY route, by avoiding these common mistakes
Full Story
KIDS’ SPACESStep Right Up to a Top Model’s Circus-Inspired Nursery
Based on the big top and set in a real castle’s turret, this nursery could be the setting for a storybook
Full Story
TRENDING NOWCoastal Grandmother and Her Kin: Translating Top Design Trends
Learn to spot (and speak) coastal grandma, Japandi, grandmillennial and everything ‘-core’
Full Story
FEEL-GOOD HOMEThe Anti-To-Do List: 10 Things You Don’t Need to Be Doing
Aren’t you busy enough? Give yourself a break and consider letting these tasks go
Full Story
bkay2000