Software
Houzz Logo Print
melanie_hon

DIY Basement remodel

9 years ago
last modified: 9 years ago
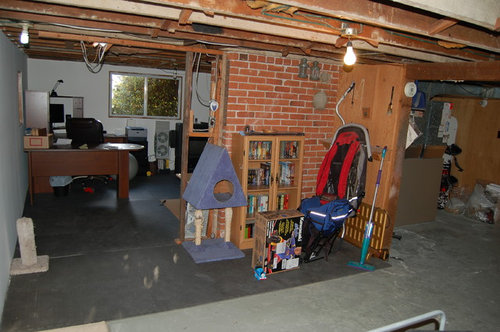
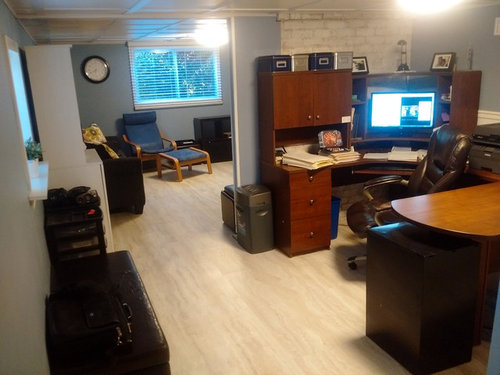
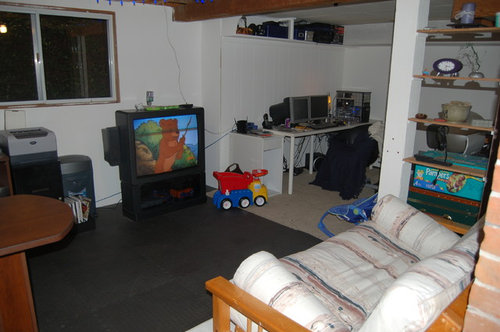
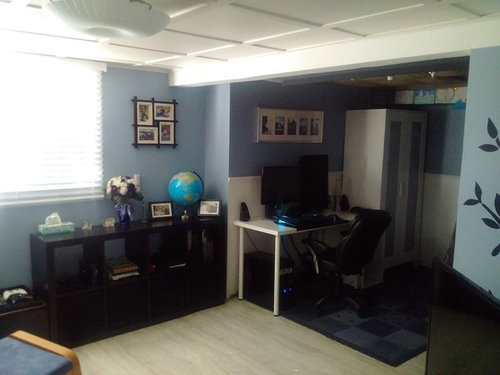
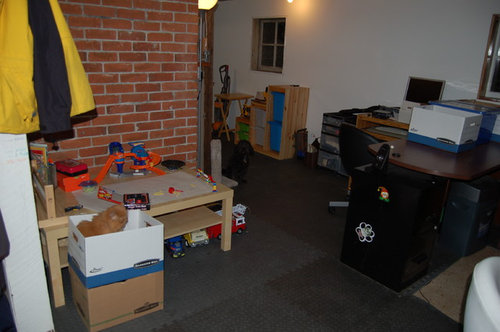
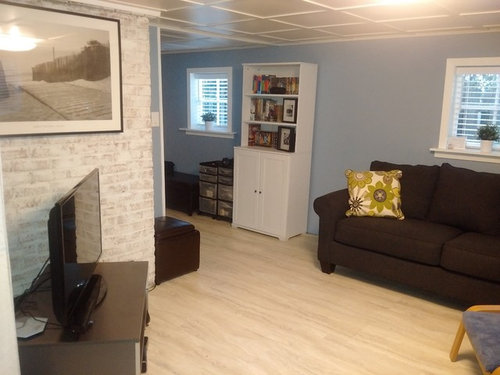
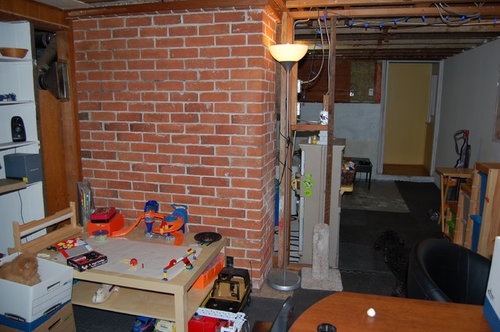
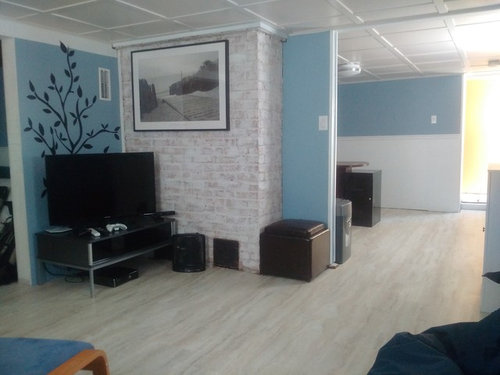
Basement was unfinished when we moved in 8
years ago but we made do as we needed the space. Our house is dated 1940, so we had the knob and tube replaced in
2012 and an interior french drain and sump pump installed in 2014 to deal with the
occasional water seepage. We took advantage of the open ceiling to run speaker
wires for our upstairs TV and we put CAT5 drops all over the house to a network
room in the garage. Finally, once all that way taken care of, my husband
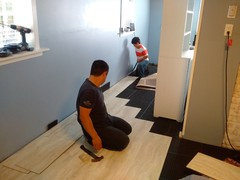
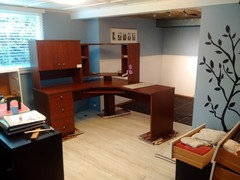
finally agreed to put a ceiling and floor in! We did all the work ourselves
within the span of about 6 months.

BEFORE

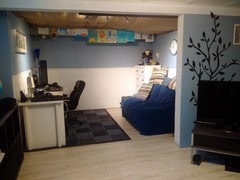
AFTER
BEFORE
AFTER
BEFORE
AFTER
BEFORE
AFTER

Comments (14)

  • PRO
    9 years ago

    nice update!!!

  • PRO
    9 years ago

    What a beautiful and functional space! Love that it's so light and bright, it doesn't seem like a basement. :)

  • 9 years ago

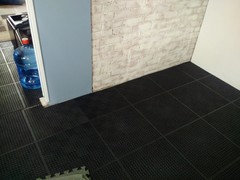
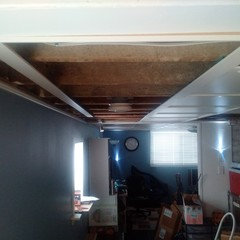
    Thanks! The space had a lot of challenges we had to address. Even though we had a french drain and sump pump installed, we were still nervous about water, so we installed garage floor tiles on the concrete as a "subfloor", then put the water resistant vinyl tiles on top. The garage floor tiles are plastic, so totally waterproof, strong enough to support any furniture (didn't want indentations and squishing like the rubber floor mats we had previously) and holes to allow the concrete to breathe. Oh and it also provided a flat surface to lay the flooring on top as well! Having to lay flooring when you have furniture and stuff is always fun. We had to move furniture, install, then move back, etc.


  • 9 years ago

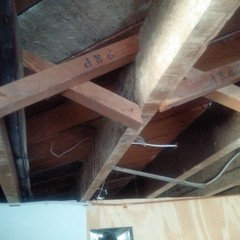
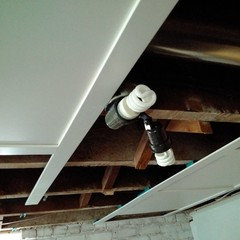
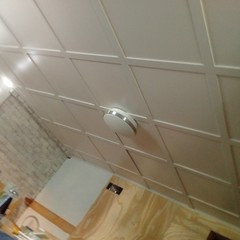
    Another challenge was the low ceiling. The height varies from 6'6" to 6'9" currently (with the ceiling and floor in). I considered painting the joists, but the joists themselves were not pretty. We figure they had been used to frame the foundation of the house because there is concrete on the sides of them, some have holes in them, etc. So not exactly like the nice painted joists I've seen on Houzz! We would of had to sand them all, patch lots of holes, and then painting them with all the furniture we had would have been a nightmare! We didn't want to drywall because we wanted to retain access to the plumbing pipes, electrical wires, speaker wires and network cables that were running thru there, so that left a drop ceiling. The problem with traditional suspended ceilings however are that they drop 2.5" below the joists. And they are very "basementy". When we saw this new product called Snapclip, we jumped at it! This product only drops 1-1/8" from the joists and was super easy to install. We were able to purchase our first batch from Costco, and then extra pieces from Home Depot that we required because we had to jerry-rig some creative solutions (like using T-bars around the chimney instead of the J-mold). I highly recommend this product! http://www.snapclipsystem.com/

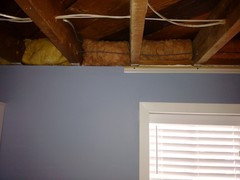
    Here we have cross bracing that was actully sticking too far below the joist, and you can see the copper oil line for our furnace in the background too. We had to butt that up right against the joist so it would be hidden inside the ceiling.
    Here the rail ran right into a light fixture that didn't have enough slack to move, so we simply capped it and covered it up. It was redundant anyways. It was more important to me that we keep the sightline of the ceiling consistent all the way through.
    This rail came SUPER close to the center light fixture. We kept the metal box below the ceiling and then installed the new light fixture below the ceiling.


  • PRO
    9 years ago

    You did a great job!!

  • 9 years ago

    Oh and I forgot to mention that we moved a duct that was in the ceiling to the wall, as can be seen in that last photo in the comment above, because the ceiling would not be able to support the weight.

  • 9 years ago

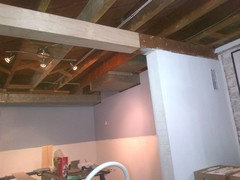
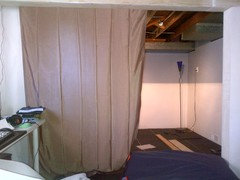
    In this area, we had too much ducting to use Snapclip, without building frames around them. The product requires that you have the J-mold around the perimeter of the room, which is what holds the end tiles in place. Seeing as we have a beam separating the two "rooms", we figured we could do something different for the ceiling, at least temporarily.

    This picture shows the ceiling and all the ductwork, and also the beam that we faced with plywood. (I had tried filling the holes in the beam but it was too much and I didn't think the end result would look good, so I gave up.)

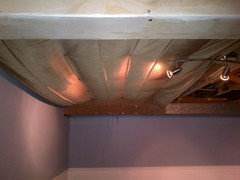
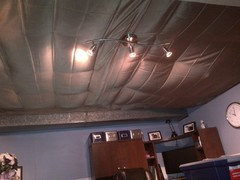
    My sister-in-law came up with the idea of using fabric for the ceiling. I bought some window curtains that were on clearance ($15/pack!) and they are a satiny finish so I figured it would bounce light around more. I used tacks to attach them to the beam.
    Then little tacks to attach to the joists and strong earth magnets on the ductwork.
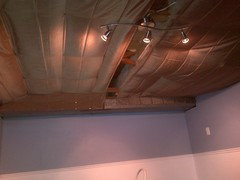
    Unfortunately, because the other panel had to go under the big air return box, it ended up being too short, so instead, I tucked the panel in instead, leaving the duct exposed, which I didn't think looked that bad after all.

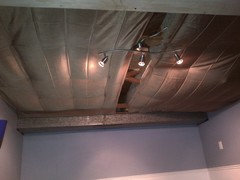
    For the center I cut a third panel, cut out a hole for the light fixture and sewed it by hand (I don't own a sewing machine). I wasn't worried about heat because the bulbs come far enough below the fabric, but just to be extra safe, I bought LED bulbs. Because of the way the fabric was folded in the package, I didn't iron it because I thought it was kinda neat the way it looked like ceiling tiles! We had a pretty decent temporary solution, that has kinda turned into a permanent one. ;)

    Here you can see what it looks like from the TV area once we moved my desk to the new office area. We use magnets on the duct to display our son's artwork.


  • PRO
    9 years ago

    Very nice! Love the resourcefulness with the magnets.

  • PRO
    9 years ago

    Is the hardwood more cool or warm? It's hard to tell with the variation in lighting and photos.

  • PRO
    9 years ago

    Well done - looks great!

  • PRO
    9 years ago

    Looks awesome!

  • 9 years ago

    Bolte, the floor is a warm tone.

  • PRO
    9 years ago

    Looks like a tough job, but it looks much brighter and definitely fun and inviting.

Sponsored
Custom Home Works
Average rating: 4.6 out of 5 stars10 Reviews
Franklin County's Award-Winning Design, Build and Remodeling Expert