
Search results for "Floor caused" in Home Design Ideas

Find the right local pro for your project

 Tile Doctor Ltd
I thought I would share this case history of a Yellow and Black Victorian Tiled floor that we worked on at a large house in Lancaster last year. It’s a great example of the typical problems we face with old Victorian floors, especially around door thresholds where the transition between the different foundation invariable cause problems.
I didn’t know the full history of the floor, but it was now in quite a state and recent renovation work had left the floor unstable with loose and cracked tiles. The tiles needed to be removed and then the damaged subfloor carefully scraped out and replaced. Once that was done the floor would need relaying and then cleaned and sealed so everything would blend in.
After visiting the property and providing a quotation we were given the go ahead and agreed a date to do the work.
We returned on the agreed date and set about carefully removing the loose and cracked Victorian tiles and put them aside for later use. Some would need replacing however this would not present a problem and they are still widely available, and I have several contacts I can turn to for this.
Once this was done and the subfloor exposed and cleaned up, I used self-levelling cement to bring the floor level up and in-line with the existing. This now needed to set hard, so the rest of the day was spent cleaning up the tiles we removed earlier with Tile Doctor Grout Clean-up and Pro-clean. Our goal is to reuse as many of the original tiles as possible to preserve the heritage of the floor.
The next day with the new subfloor set it was ready for tiling. This involves laying out the tiles first without adhesive carefully cutting and fitting new tiles as needed to maintain the overall pattern of the floor. Once I was happy the tiles were moved to a board and then fitted with fresh adhesive.
I came back on day three with the aim of cleaning the floor so it could be sealed however whilst inspecting my new tiling I was disappointed to discover some were not as level as I had hoped. I had noticed the replacement tiles were not the same thickness as the originals the previous day but I had worked around this by using different levels of adhesive, clearly this plan was not as effective as I had hoped for.
To counter this problem, I used a set of 50-Grit, 100-grit and then 200-grit diamond pads in sequence to mill the floor flat and remove the lippage between them. This is done with water to lubricate the process and a weighted floor buffer. The pads generate a lot of slurry and so you need to rinse this off with more water and extract all the soil after each pad.
I followed this up with various Diamond burnishing pads of increasingly finer grits across the whole floor until we achieved a consistent finish and had the added benefit of getting the whole floor clean. More water is used to rinse the tiles after burnishing and the soil extracted with a wet vacuum as before. Once done and inspected the floor was left to dry off overnight.
Tile Doctor Colour Grow was applied to enhance the appearance of the tiles and protect them going forward. This product copes well with damp which can always be a problem with old floors like this one with no damp proof membrane present.
The floor looked amazing when finished and our attention to detail had really paid off, in fact you simply could not tell we had done any tiling work or replaced any tiles. For aftercare I recommend the use of Tile Doctor Neutral Cleaner which is designed for the regular cleaning of sealed tiles.
Russell Taylor
Lancashire Tile Doctor

 Kankel Conroy Rose & Hill Landscape Architecture
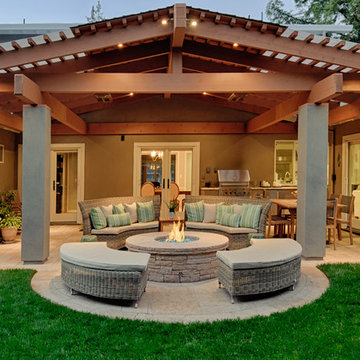
The homeowners desired an outdoor space that felt more rustic than their refined interior spaces, but still related architecturally to their house. Cement plaster support arbor columns provide enough of visual tie to the existing house exterior. Oversized wood beams and rafter members provide a unique outdoor atmosphere. Structural bolts and hardware were minimized for a cleaner appearance. Structural connections and supports were engineered to meet California's stringent earthquake standards.
Ali Atri Photography
 Moore Design Builders
Paul Rogers
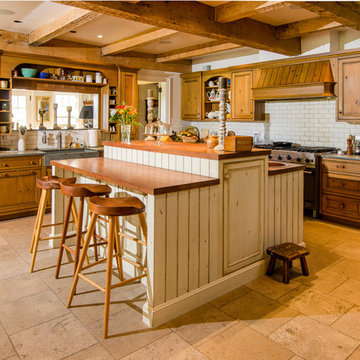
Kitchen pantry - mid-sized cottage l-shaped limestone floor kitchen pantry idea in Burlington with a farmhouse sink, flat-panel cabinets, distressed cabinets, soapstone countertops, white backsplash, subway tile backsplash, paneled appliances and an island
Kitchen pantry - mid-sized cottage l-shaped limestone floor kitchen pantry idea in Burlington with a farmhouse sink, flat-panel cabinets, distressed cabinets, soapstone countertops, white backsplash, subway tile backsplash, paneled appliances and an island
 Anchor Builders
Design & Build Team: Anchor Builders,
Photographer: Andrea Rugg Photography
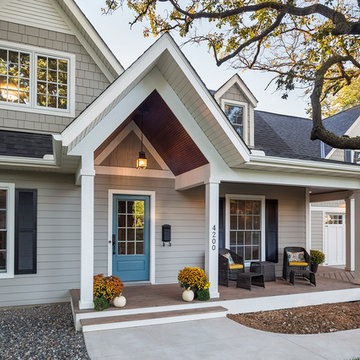
Mid-sized elegant gray two-story concrete fiberboard gable roof photo in Minneapolis
Mid-sized elegant gray two-story concrete fiberboard gable roof photo in Minneapolis

Sponsored
Fredericksburg, OH

High Point Cabinets
Columbus' Experienced Custom Cabinet Builder | 4x Best of Houzz Winner
 MW|Works Architecture+Design
Jeremy Bitterman
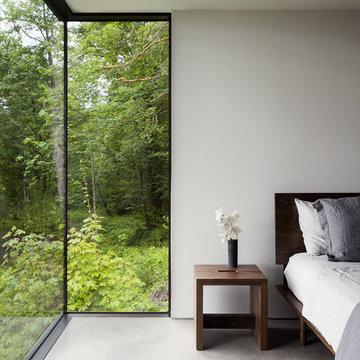
Bedroom - modern bedroom idea in Seattle with white walls
Bedroom - modern bedroom idea in Seattle with white walls
 LS Home Development, LLC
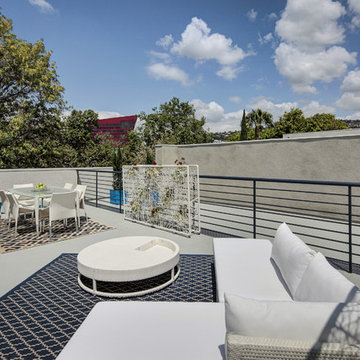
Inspiration for a contemporary rooftop rooftop deck remodel in Los Angeles with no cover
 Bartelt. The Remodeling Resource
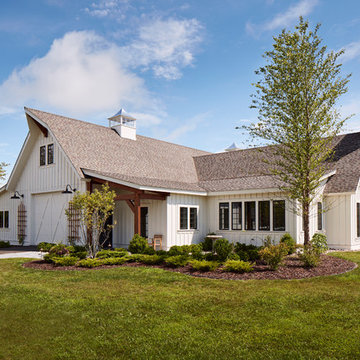
Country white one-story exterior home idea in Milwaukee with a shingle roof


Sponsored
Delaware, OH

Buckeye Basements, Inc.
Central Ohio's Basement Finishing ExpertsBest Of Houzz '13-'21
 IMPROVE or MOVE
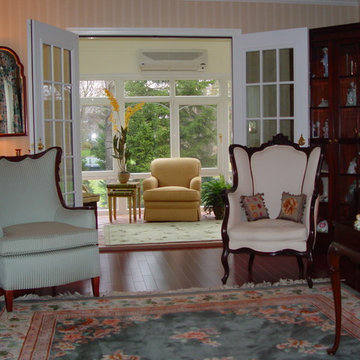
Inspiration for a mid-sized timeless ceramic tile sunroom remodel in New York with a standard ceiling
 Heller & Associates
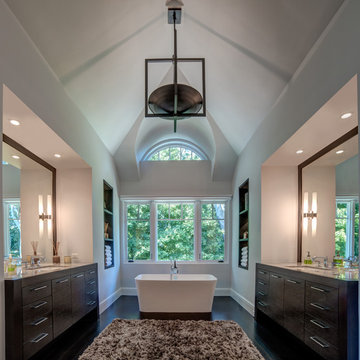
 The vaulted ceiling and the dark stained 5” rift cut white oak flooring creates a sense of overall grandeur in this warm and inviting master bath. The focal point of the free standing vessel tub with symmetrical back lit niches centered under an elegant window grouping creates harmony and balance in this space. Symmetrical his and hers vanities are recessed into the wall. Each vanity is a custom fabricated furniture piece fitted into a recess space. The vanity tops are Escapement stone which is counter set into a wood top which enhances the unique feel of the cabinetry. The symmetry is further carried through the design with his and her toilet rooms flanking the oversized double headed steam shower.
 Elite Remodels
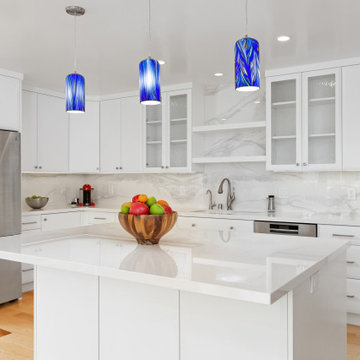
Amazing Kitchen and Bathroom Transformation!
-------------HIGHLIGHTS ----------
*Extreme heat resistance – Perfect for countertops! Don’t worry about melting your porcelain slab if you need to put down a hot pan straight from the stove. It’s a great surface material for performing all of your temperature-based tasks without having to be concerned with wear or tear.
*Stain-free–it’s almost impossible to stain porcelain. Whereas with marble or quartzite, you risk nasty stains every time you spill dark liquids or food items on it. Even just a touch can cause permanent damage. But the same cannot be said for porcelain, which can be cleaned in a jiffy and will not absorb or resorb stainable substances.
*Will, not scratch or wear – It’s super difficult to cause any scratches or chips on a porcelain surface. Unless it were to be rammed by a bulldozer, it can’t be hurt. Anything from dropping a kitchen knife to resting heavy bricks upon it will not cause it to crack or wear down. It’s invincible compared to the caution you must exercise when dealing with a marble surface.
-------REMODEL SPECS:--------
*Cabinet Style: Affinity European Frameless: Already a popular concept in Europe-these extralarge-format porcelain slabs are fairly new to the US market,
*Wood Species- Paint Grade Finish /White Dove,
*Cabinet Box- 3/4" Plywood,
*Hinges-Fully Concealed Cup-Hinge, Six-Way Adjustable, Self-Closing, Integrated Soft-Close,
*Drawer Guides/Full-Extension Under-Mount, Self-Closing, Soft-Close With Under Cabinet Led, *Strip Lighting (under the cabinetry),
*Porcelain Slabs Hyper White (countertop and island),
*Porcelain Slabs Calcatta Hyper White (backsplash)
27