
Search results for "Floor caused" in Home Design Ideas

 Tile Doctor Ltd
I was recently contacted by a client who had just moved into a large Victorian property in the West Cheshire village of Tarvin about renovating their Victorian tiled hallway. Apparently, the floor was in good condition, and it would just be a case of removing what was left of the old sealer, deep cleaning the tiles and then applying a fresh seal. Unless the floor has been regularly maintained with the same sealer it’s important to remove all traces of old sealers before applying fresh.
Victorian Hallway Before Cleaning Tarvin Cheshire
A lot of the work we do at Tile Doctor can be a lot more involved, often requiring the sourcing of matching replacement tiles and rebuilding large sections of tiled flooring so straight forward clean and seal job is always welcome.
To remove what was left of the sealer and the ingrained dirt from the pores of the Victorian tile I dressed the floor with a strong dilution of Tile Doctor Pro-Clean. On this occasion I used a 1:3 dilution with water and applied it to the floor with a mop. I left it to soak into the tile for fifteen minutes before scrubbing so it could get to work breaking down the old sealer.
During this time, I set up a weighted floor buffer and fitted a black buffing pad, these pads are designed for scrubbing hard floors and lifting out the dirt. I applied a little water as required during this process to ensure the pad was lubricated. Shortly the cleaning solution darkened as the old sealer and dirt was released from the tile.
The soil was rinsed away with water and then removed using a wet vacuum. Once clear the floor was inspected and the process repeated until I was satisfied it was as clean as it could be and free of sealer.
I left the floor to dry off overnight and returned the next day to apply a new sealer. Before doing so however I like to use a damp meter to take moisture readings from the floor. This is needed to ensure it is dry enough to seal which is important as any moisture in the tile can affect the sealer and lead to an inconsistent finish.
To seal I started with the application of a single coat of Tile Doctor Colour Grow which is a colour intensifying breathable impregnator that soaks into the tile improving appearance and adding protection from within. Any excess sealant was removed by wiping the floor with a microfibre cloth and then it was left to dry for an hour.
This was followed with four coats of Tile Doctor Seal and Go Extra which is an acrylic breathable sealer which adds a pleasing subtle shine to the tile. This is an important feature when choosing a sealer for old floors where moisture needs to be allowed to rise through the tile, otherwise it can become trapped under the floor and reach out to the walls causing rising damp.
The customer was very happy with the revamped hallway which made the house a lot brighter and welcoming. Before closing I should mention that for aftercare cleaning I recommend Tile Doctor Neutral cleaner which is designed for the daily cleaning for sealed tiles, this is important as most domestic supermarket cleaners are simply too strong and can prematurely erode the sealer.
Alastair Robb
West Cheshire Tile Doctor
 Tile Doctor Ltd
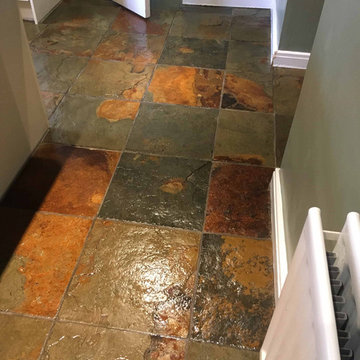
Except for general cleaning this multi-coloured slate floor had not been professionally cleaned since installation eleven years prior. Any sealer that had once been applied to the slate had long since worn off and dirt was now ingrained in the pores of the stone causing it to look dull and un-attractive. The property was in the lovely town of Staines Upon Thames, obviously situated on the banks of the River Thames and a popular place to live for London commuters.
I visited site to take a closer look at the floor and provide the client with an accurate price for renovating the stone. It turns out that the client had used all sorts of different household cleaners in an attempt to get the floor clean. Unfortunately, they were probably making the situation worse as these strong cleaning products would have actually stripped the sealant off the stone leaving it open to dirt. I carried out a test clean for them and they were very pleased to see how the floor could look. We agreed a price for the work and arranged a suitable date to carry out the work.
Cleaning a Multi-Coloured Slate Tiled Kitchen Floor
My first task was to strip off what was left of the old sealer and deep clean the stone using a dilution of Tile Doctor Remove and Go mixed 50:50 with Tile Doctor Pro-Clean. This powerful cocktail was applied to the floor and left to soak in for ten minutes before being scrubbed in using a rotary machine fitted with a black scrubbing pad.
The grout was hand scrubbed using more of the cleaning solution along the grout lines until I was happy the floor was as clean as it possibly could be. The floor was rinsed with water and the soil extracted by using the wet vacuum.
Once the floor was clear the Slate was inspected, and any stubborn areas were spot treated using the same process as before. After a final rinse and extraction, the floor was dried as much as possible using the wet vacuum and left to dry off overnight.
Sealing a Multi-Coloured Slate Tiled Kitchen Floor
I came back the next day and checked the moisture levels of the tiles using a damp meter. The floor had dried well so I had a green light for applying a new sealer. For this I used four Coats of Tile Doctor Seal and Go, allowing each coat to dry before applying the next. This product works really well on Slate and gave the tiles a nice sheen finish, the fresh sealer will also make maintenance cleaning far easier in the future.
The client was very happy with the result, the floor now looks great and the natural colours of the stone is so much more evident. For aftercare I recommended they throw away all those supermarket products and use Tile Doctor Neutral Tile Cleaner which is a pH neutral product that won’t prematurely erode the new sealer with use.
Jonathan Oldham
South Middlesex Tile Doctor
 Tile Doctor Ltd
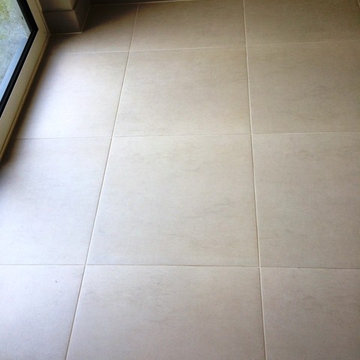
Recently, I was called to a work on a Limestone tiled floor in a house near Hove Park. Hove Park is a popular park in Hove, East Sussex, which was once opposite to the Goldstone Ground, the traditional home of Brighton and Hove Albion football club until the ground was demolished. My client informed me that the house was used a meeting place every Friday, and the high traffic of people was taking its toll on the floor.
The floor was clearly in need of a good clean, especially the grout. You do need to take care when cleaning Limestone as it can be affected by the acidic substances you get in some cleaning products which can break down the surface of the Limestone and cause further damage. The results of my test clean showed the Limestone tiles responded well to the cleaning, but I was concerned about the grout, which was not cleaning very easily. I suspected that the grout had, in fact, been discoloured by a bleach-based cleaner, turning it grey. Bleach contains strong chemicals, so there is a good chance that any bleach-based cleaners used on tiled floors will discolour the grout over time. After discussing this issue with my client, I quoted separately for a possible grout recolour.
On the first day of working on the floor, I started the cleaning process using a black buffing pad attached to a floor buffer machine, in combination with a solution of Tile Doctor Pro-Clean, which I applied to the floor. This combination really helped to remove the heavily built up grime and dirt. Although the tiles looked great after the clean, I still wasn’t convinced by the state of the grout. After drying a test area with a heat gun, I confirmed that the grout was not continuous in colour and would need a recolour to get it back to looking its best again.
I left the rest of the floor to dry for a period of two days, allowing any residual moisture to evaporate, before returning to recolour the grout with a white Grout Colourant which was applied using a good old fashioned toothbrush and baby wipes to remove any excess. I was careful to apply thin, even coats in order to prevent the possibility of the Colourant staining the tile.
After several hours of knee-breaking work, the recolouring was complete, and I was extremely pleased to be able to show my client the finished product. She was very happy to be able to show off the floor to her friends, which was now white all the way through, without the dark lines caused by the discoloured grout.
Another satisfied client.
Find the right local pro for your project
 Fairbank Construction Company
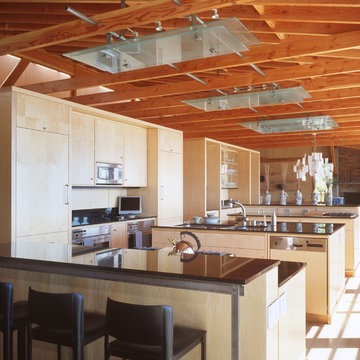
Inspiration for an industrial u-shaped open concept kitchen remodel in Seattle with an undermount sink, flat-panel cabinets, light wood cabinets, stainless steel appliances and an island
 iCork Floor
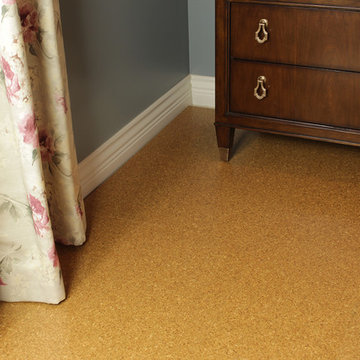
Golden Beach is one of our most traditional patterns and is currently on sale .
Hurry over to icorkflooor.com, cause who knows how long this deal may last. Order your samples, request a quote and see our other great flooring options.

 California Closets Southdale
This before wire reach-in closet shows the downside of wire. The hanging drags on the floor causing the shirts to become dusty and wrinkle. The upper hanging also hangs over the rolled up belts and any folded items have to be placed above which makes it harder to reach. An existing air vent to the left creates an issue and makeshift shelving exists for shoes but fall down and they are hard to access with the current set up.

 Green Light Window Films
Photo Courtesy of Eastman
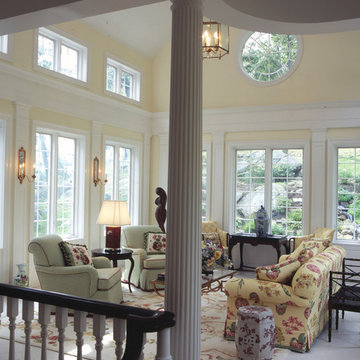
Overhead view of two story formal living room
that can benefit from fade protection that
window film can provide
Living room - mid-sized traditional formal and loft-style ceramic tile living room idea in Kansas City with yellow walls, no fireplace and no tv
Living room - mid-sized traditional formal and loft-style ceramic tile living room idea in Kansas City with yellow walls, no fireplace and no tv
Sponsored
Sunbury, OH

J.Holderby - Renovations
Franklin County's Leading General Contractors - 2X Best of Houzz!
 Green Light Window Films
Photo Courtesy of Eastman
Formal living room in traditional home can
benefit from fade protection that window film
can provide
Living room - mid-sized traditional formal and loft-style ceramic tile living room idea in Kansas City with yellow walls, no fireplace and no tv
Living room - mid-sized traditional formal and loft-style ceramic tile living room idea in Kansas City with yellow walls, no fireplace and no tv
 California Closets Southdale
This before wire reach-in closet shows the downside of wire. The hanging drags on the floor causing the shirts to become dusty and wrinkle. The upper hanging also hangs over the rolled up belts and any folded items have to be placed above which makes it harder to reach. An existing air vent to the left creates an issue and makeshift shelving exists for shoes but fall down and they are hard to access with the current set up.
 Scott Mass
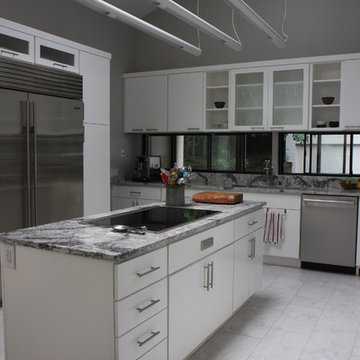
The kitchen had an unusual window "backsplash" feature causing the wall cabinets to be installed at 27" above the counter. The countertop was extended to create a sill. The wall cabinets on this long window wall were redesigned to provide display space and provide a more open feel. The 4-drawer unit on the left of the cooktop has built in spice holders. The middle cabinet is open and provides space for bulky occasionally used appliances. The far right island cabinet has pullout shelves for full access.
 Johnson Custom Homes
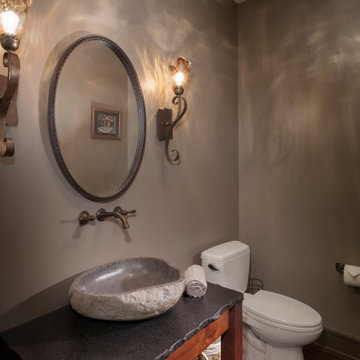
Inspiration for a mid-sized rustic brown floor powder room remodel in Detroit with open cabinets, medium tone wood cabinets, a two-piece toilet, gray walls, a vessel sink and gray countertops
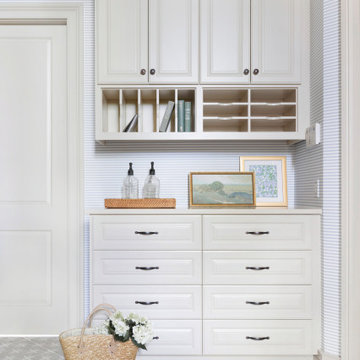

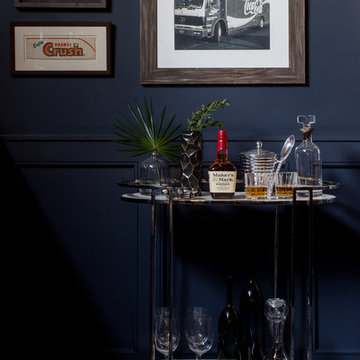
 JK interior living
Raquel Langworthy
Study room - mid-sized eclectic freestanding desk dark wood floor and brown floor study room idea in New York with blue walls
Study room - mid-sized eclectic freestanding desk dark wood floor and brown floor study room idea in New York with blue walls



 Coles Fine Flooring
This photo shows Karastan carpet in a master bedroom. This nuetral wall-to-wall carpeting has a subtle link pattern.
Example of a large transitional master carpeted bedroom design in San Diego with beige walls and no fireplace
Example of a large transitional master carpeted bedroom design in San Diego with beige walls and no fireplace
 Stylecraft Homes and Renovations
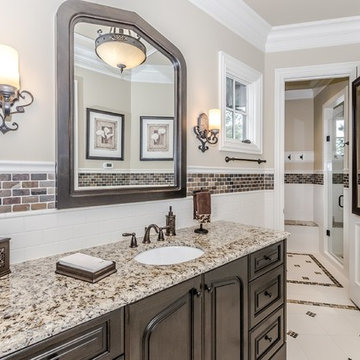
Doorless shower - mid-sized contemporary 3/4 subway tile mosaic tile floor doorless shower idea in Charlotte with raised-panel cabinets, dark wood cabinets, beige walls, an undermount sink and granite countertops
 Showcase Kitchens
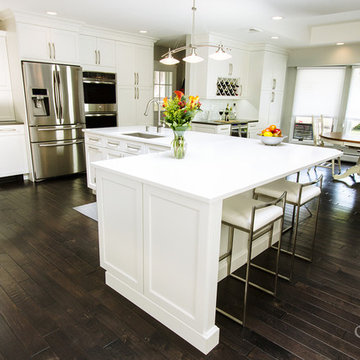
Kitchen redesign united dining room and kitchen into one gracious family kitchen. Refrigerator and double oven were built into the cabinetry to give a seamless look to the space. Over-sized, L-shaped island, which houses the kitchen sink. Over-island lighting is a 3-pendant contemporary and the dining area has a sophisticated multi-sphere in polished nickel with glass sphere rods.
Tim Cree/Creepwalk Media
 Custom Creative Remodeling
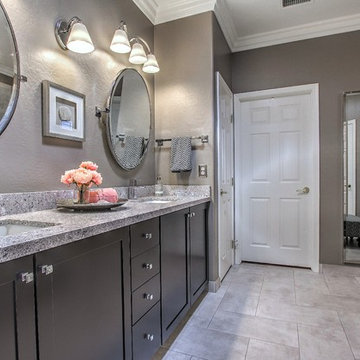
Large transitional master gray tile and porcelain tile porcelain tile and gray floor bathroom photo in Phoenix with quartz countertops, shaker cabinets, dark wood cabinets, gray walls and an undermount sink

 JRP Design & Remodel
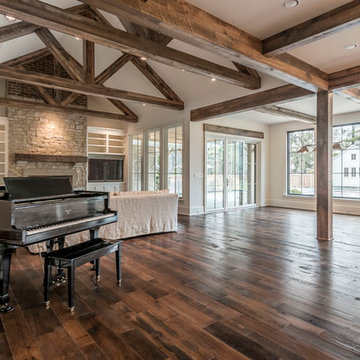
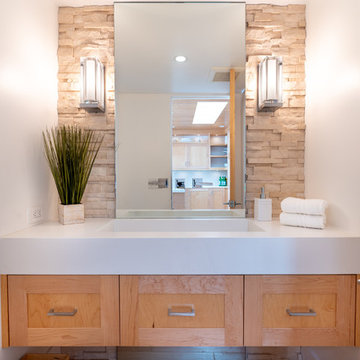
Our clients are seasoned home renovators. Their Malibu oceanside property was the second project JRP had undertaken for them. After years of renting and the age of the home, it was becoming prevalent the waterfront beach house, needed a facelift. Our clients expressed their desire for a clean and contemporary aesthetic with the need for more functionality. After a thorough design process, a new spatial plan was essential to meet the couple’s request. This included developing a larger master suite, a grander kitchen with seating at an island, natural light, and a warm, comfortable feel to blend with the coastal setting.
Demolition revealed an unfortunate surprise on the second level of the home: Settlement and subpar construction had allowed the hillside to slide and cover structural framing members causing dangerous living conditions. Our design team was now faced with the challenge of creating a fix for the sagging hillside. After thorough evaluation of site conditions and careful planning, a new 10’ high retaining wall was contrived to be strategically placed into the hillside to prevent any future movements.
With the wall design and build completed — additional square footage allowed for a new laundry room, a walk-in closet at the master suite. Once small and tucked away, the kitchen now boasts a golden warmth of natural maple cabinetry complimented by a striking center island complete with white quartz countertops and stunning waterfall edge details. The open floor plan encourages entertaining with an organic flow between the kitchen, dining, and living rooms. New skylights flood the space with natural light, creating a tranquil seaside ambiance. New custom maple flooring and ceiling paneling finish out the first floor.
Downstairs, the ocean facing Master Suite is luminous with breathtaking views and an enviable bathroom oasis. The master bath is modern and serene, woodgrain tile flooring and stunning onyx mosaic tile channel the golden sandy Malibu beaches. The minimalist bathroom includes a generous walk-in closet, his & her sinks, a spacious steam shower, and a luxurious soaking tub. Defined by an airy and spacious floor plan, clean lines, natural light, and endless ocean views, this home is the perfect rendition of a contemporary coastal sanctuary.
PROJECT DETAILS:
• Style: Contemporary
• Colors: White, Beige, Yellow Hues
• Countertops: White Ceasarstone Quartz
• Cabinets: Bellmont Natural finish maple; Shaker style
• Hardware/Plumbing Fixture Finish: Polished Chrome
• Lighting Fixtures: Pendent lighting in Master bedroom, all else recessed
• Flooring:
Hardwood - Natural Maple
Tile – Ann Sacks, Porcelain in Yellow Birch
• Tile/Backsplash: Glass mosaic in kitchen
• Other Details: Bellevue Stand Alone Tub
Photographer: Andrew, Open House VC
 Brad Cox, Architect, Inc.
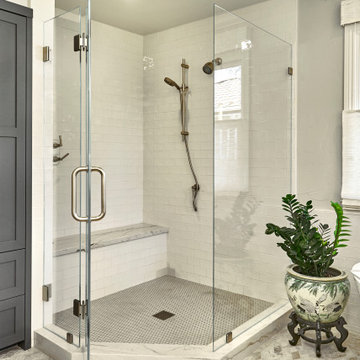
Glass shower walls allow the light to stream in.
Example of a large classic master white tile and ceramic tile porcelain tile and gray floor bathroom design in San Francisco with shaker cabinets, gray walls and a hinged shower door
Example of a large classic master white tile and ceramic tile porcelain tile and gray floor bathroom design in San Francisco with shaker cabinets, gray walls and a hinged shower door
 Tile Doctor Ltd
This job was for a repeat client in Toft near Cambridge who had aa stunning large hallway that was tiled in beautiful pale Limestone. My client had asked me back to work on the floor having previously completed the deep clean and seal of a Terracotta floor previously.
The Limestone tiling in the entrance hall had years of some type of topical sealer applied to it. This caused the stone to look slightly discoloured and from certain lights showed up hundreds of scratches and smudges embedded in the seal. I’ve tried to capture this problem in the photographs on this page, but it was very difficult.
A topical sealer sits on the surface of the tile where it is vulnerable to scratching, hallways are generally high traffic areas and so more likely to see this sort of problem. Ideally an impregnating sealer should have been applied, impregnators work by occupying the pores in the stone thus preventing soiling from becoming ingrained in the stone.
Before starting we protected the woodwork against splashing with blue film, I don’t usually make a great deal of mess, but you can never be too careful when working in someone’s property especially one as beautiful as this.
To strip off the old sealer I began by applying a strong dilution of Tile Doctor Remove and Go to the Limestone tiles. I split the floor into sections and used a 400-grit diamond burnishing pad to work the Tile Doctor Remove and Go into the tiles. The floor was then rinsed off using our high-pressure cleaning system that applies pressurised hot water to the floor whilst simultaneously extracting the soil with its built-in vacuum. The system is quite heavy, so it is built into my van, and I run a large flexible hose to a spinner tool that does the cleaning. It is an expensive tool, but it saves a lot of time and leaves the floor fairly dry afterwards.
The 400-grit pad had released a lot of the sealer but there were quite a few layers to get through, so I changed the burnishing pad to a coarse 200-grit pad and repeated the process. After another rinse and extract I would see it had the desired effect and I was able to carry on building up the finish on the Limestone by apply the 400-grit followed by the 800, 1500 grit pads. It was a large floor and so this took up much of the day so once complete I left for the day so it could dry off overnight.
The next day I finished the polishing process with the application of a 3000-grit burnishing pad which is applied with a little water sprayed onto the tile and really brings up the polish on the stone. This process has the added advantage of leaving the floor dry so not long afterwards I was able to move on to sealing.
For this floor two coats of Tile Doctor Ultra-Seal were applied, it is an impregnating sealer that won’t alter the colour of the tiles leaving a natural look.
My client was much happier with the new finish and has asked for another quotation on some more Terracotta flooring that needs attention. For aftercare I recommend using Tile Doctor stone soap, it’s a special formula that builds on the patina which will help maintain the polished appearance of the Limestone.
Tom Conlon
Cambridge Tile Doctor
30