
Search results for "Hallway tile" in Home Design Ideas
 Tile Doctor Ltd
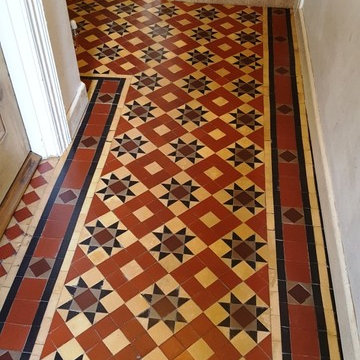
Pontcanna is a popular residential area in the western district of Cardiff, in South East Wales. Known for its rather large houses and spectacular foliage, interestingly enough roughly a quarter of the population are English folk.
I was called down to a property in the area to take a look at a Victorian tiled floor which was in quite poor condition. Along with the typical amount of dirt and muck seen on poorly maintained tiles, there were a number of missing tiles and a fair bit of cement caked on the surface of the floor.
It would require a robust clean, fresh seal, and several repairs to get this floor back into optimum condition.
To begin, I checked for excess moisture problems using a damp meter in various places of the hallway floor and, thankfully, it was showing dry results. Any dampness could have potentially caused problems later on in the restoration process, so it was s good idea to run tests before starting.
Next, I manually scraped as much of the dry paint and cement off the tiles as possible, with no lubrication necessary. I then proceeded to clean the floor with a solution I mixed early, consisting of equal parts Tile Doctor NanoTech HBU and Tile Doctor Pro Clean, rinsing as I went. Both products are designed to tackle heavy soil build-up, with the former uniquely using nano-sized particles (as the product name suggests) to penetrate deep into difficult to reach areas in the tiles in order to lift out ingrained muck.
Following the initial clean, I removed all of the loose tiles and those heavily affected by cement, before retiling as necessary with fresh Victorian tiles, and grouting the whole floor. Of course, these replacement tiles were carefully sourced to ensure consistency, as far as possible, with the original pattern of the floor.
The next day, I went over the whole floor with an application of the acid-based Tile Doctor Grout Clean Up, diluted with a little alkaline Pro Clean to form a cleaning solution. I then used a black pad to scrub the cleaner into the tiles, similarly to the previous day’s cleaning. This was followed by a through rinse with water to neutralise the floor.
It was at this point that I noticed some stubborn cement stains remained so I set about breaking them down using a 60 grade hand held diamond polishing block, and this technique proved successful.
After completing the clean, I left the floor to dry out for roughly 24 hours. Upon my return to the property to seal the tiles, I tested again for moisture. It is recommended to run damp tests before sealing, as excess moisture can cloud the sealer, affecting its performance in the long run.
Fortunately, no dampness was detected and I was proceeded to seal the floor with seven coats of Tile Doctor Seal & Go, which enhances the natural colours in the stone and provides a nice satin gloss appearance, as requested by the customer.
I was extremely pleased with the results of this restoration, as was the customer. The extent of the soil build up and damage was such before the restoration that, after completion, the floor looked like it had been newly laid!
Julian Iancono
South East Wales Tile Doctor
 Jula Cole Design
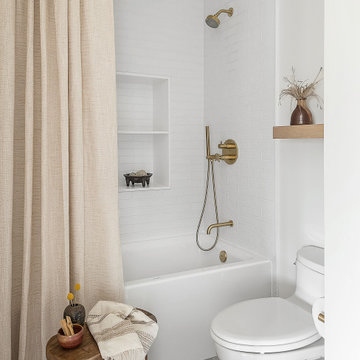
Alcove bathtub - cottage white tile and subway tile gray floor alcove bathtub idea in San Diego with white walls
 User
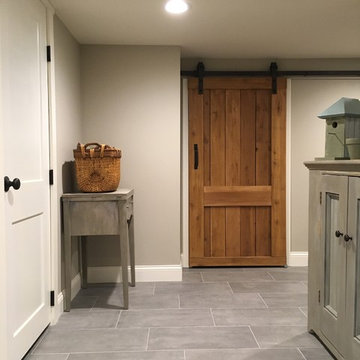
UserWhen a hallway becomes a room. Don't you just love this extra space for showcasing your farmhouse furniture pieces?
Photo Credit: N. Leonard
Basement - large farmhouse look-out porcelain tile and gray floor basement idea in New York with gray walls and no fireplace
Basement - large farmhouse look-out porcelain tile and gray floor basement idea in New York with gray walls and no fireplace
Find the right local pro for your project
 Malone Maxwell Dennehy Architects
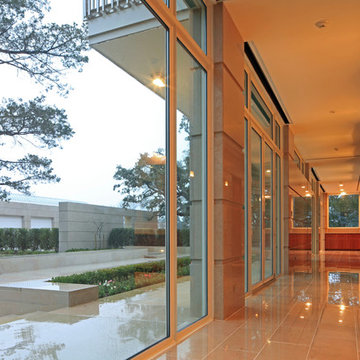
Example of a mid-sized trendy travertine floor hallway design in Houston
 Tile Doctor Ltd
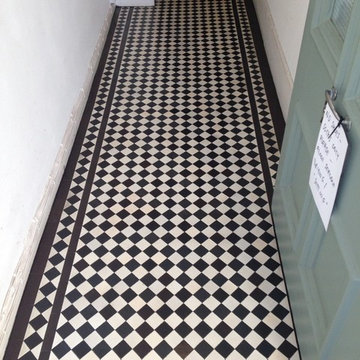
This Victorian floor was discovered at a house in Swiss Cottage in the London borough of Camden when the current owner took the old carpet up. It was in need of substantial restoration to bring it back to its former glory however we have had really good results from restoring similar floors so we were confident it could be done.
The carpet had literally just been taken away so we had to remove the gripper rods, underlay and deal with the adhesive which we managed to tackle using a strong solution of Tile Doctor Remove and Go which was left to dwell and penetrate the glue for ten minutes before being scrubbed in.
Once the glue was removed the tiles were given a thorough clean using Tile Doctor Pro-Clean using the same process of leaving it to soak in and then actively scrubbing it into the floor to get the tile and grout as clean as possible. The floor was then rinsed and stubborn areas re-treated until we were satisfied with the result.
The last cleaning step was to use a steam cleaner to pull as much dirt out of the pores of the tiles as possible and a wet vacuum to extract the liquids and get the floor as dry as possible and we also re-grouted where necessary due to the damage caused by the gripper rods.
We also gave the Victorian tiles in the entrance lobby a thorough clean using the same process, although they had not been covered in carpet they were still in need of a deep clean.
The floor was left to dry and when we returned the whole floor was ready to be sealed and for this we used five coats of Tile Doctor Seal and Go which adds a nice shine to the floor as well as providing a surface seal that will help protect the tiles from stains going forward. For the entrance lobby we used two coats of Colour Grow which doesn’t add the shine but as an impregnating sealer we felt it would perform better with the wear at the front of the house.
The owner of the house was very pleased with the outcome and left the following testimonial:
Prompt, courteous, hard working and great results !.
Nigel Voyce
North London Tile Doctor
 Carl Mattison Design
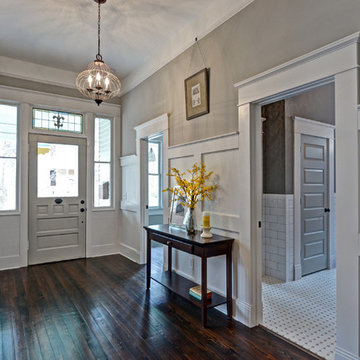
A view to the front door down the hall showcases the wall paneling and a view into the hall bath.
Photography by Josh Vick
Inspiration for a mid-sized timeless dark wood floor hallway remodel in Atlanta with gray walls
Inspiration for a mid-sized timeless dark wood floor hallway remodel in Atlanta with gray walls
 Tom Grimes Photography
Tom Grimes
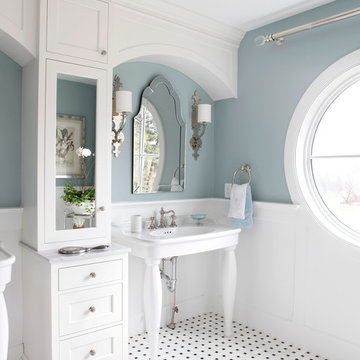
Inspiration for a timeless bathroom remodel in New York with a console sink
Inspiration for a timeless bathroom remodel in New York with a console sink
Sponsored
Sunbury, OH

J.Holderby - Renovations
Franklin County's Leading General Contractors - 2X Best of Houzz!
 SRJ Development
Leland Gebhardt ( http://lelandphotos.com)
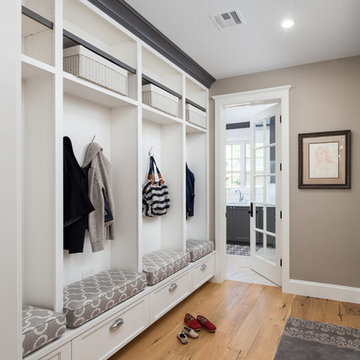
Mid-sized transitional light wood floor mudroom photo in Phoenix with beige walls
Mid-sized transitional light wood floor mudroom photo in Phoenix with beige walls
 Cornerstone Building and Design, Inc.
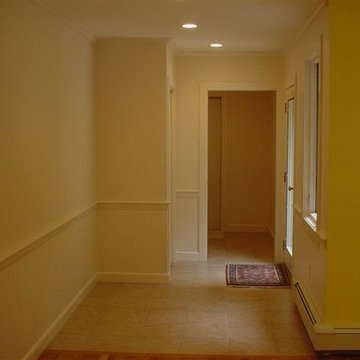
Example of a mid-sized classic ceramic tile hallway design in Boston with yellow walls
 Rock Paper Hammer
Photography by Andrew Hyslop
Construction by Deep Creek Builders
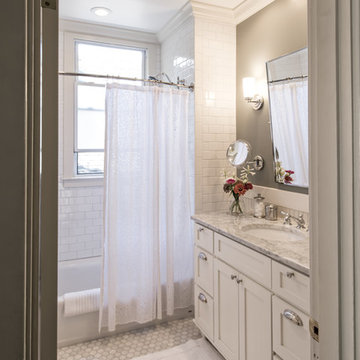
Inspiration for a small timeless master white tile and subway tile marble floor alcove bathtub remodel in Louisville with an undermount sink, shaker cabinets, white cabinets, marble countertops and gray walls
Inspiration for a small timeless master white tile and subway tile marble floor alcove bathtub remodel in Louisville with an undermount sink, shaker cabinets, white cabinets, marble countertops and gray walls
 Tile Doctor Ltd
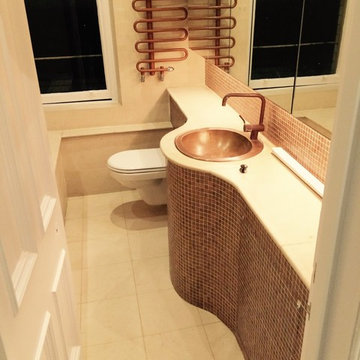
This was a substantial engagement at a luxury rental apartment in Brighton rejuvenating the Limestone tiles in two bathrooms and a hallway taking six days of hard work. In addition, I would be working around two decorators, making for even more testing work conditions.
I first set to work on the smallest bathroom, which featured limestone tiles from floor to ceiling, as well as a large bath, copper sink and a tiled surround. Limestone is a very popular choice for interior and exterior decoration, but the tiles in this bathroom were in need of some care to get them looking their best again. My initial task was to strip away any previous sealer by hand; this was done using a mixture of warm water and Tile Doctor Pro-Clean which, along with Limestone, is also suitable for use on other types of natural stone, such as Granite, Slate and Travertine. Pro-Clean serves both as an effective stripper and cleaner, meaning that once the sealer had been stripped away, the tiles also received a thorough clean. Once I had cleaned the tiles, I sucked up any excess water and residue using a Wet-Dry Vac machine.
Since the tiles would have to be left to dry for a couple of days, I offered to restore the copper sink for the customer, even though this was not actually part of my job description. After conducting some research into copper cleaning, I opted to use a combination of lemon juice, vinegar and salt. The research paid off as, once I began to apply the solution to the sink, the bright orange and brown colours of the copper quickly rose to the surface. Within the space of an hour, I had transformed what initially appeared to be a ruined sink into a lovely, shimmering copper feature for the bathroom. Both the decorators and I were truly amazed at the results – but all credit goes to Google!
The larger of the two bathrooms was a much stiffer test for the Tile Doctor products. It had not been left in great condition, as the shower area had clearly not been sealed correctly, and the tiles had been left in such a manner that soap scum from shampoos, soaps and shower gels had built up on the window sill. In fact, the damage was significant enough that I had to explain to the customer before starting the work that whilst I could greatly improve the appearance of the tiles, I would not be able to restore them to new. This is because many shampoo and body wash products are acidic and can cause permanent damage to stone work especially when left to dwell for a long time.
My choice of product was Tile Doctor Mould Away, a formula which, over time, seeps deeply into the pores of the stone, effectively lifting away the muck. In cases of particularly stubborn areas, it is necessary to apply another covering of Mould Away and leave it for an extended period of time. This is exactly what I did over the next few days, leaving the product overnight to work its magic. The change was certainly drastic, if not perfect.
As both bathrooms required extended periods of drying, I spent two days working on the hallway, which had been partially covered with a plastic sealing for the previous six months due to building work. Needless to say, the hallway was in need of a good clean. I set about cleaning the hallway with a solution of warm water and Tile Doctor Pro-Clean, before once again using a Wet-Dry Vac machine to remove any excess water to prepare the floor for sealing at a later point. It is very important to remove any residue of cleaning solution before sealing, as this may impact the performance of the sealer. Following this, I left the hallway to dry for two days, providing the builders with strict instructions to cover it with blankets for protection while they were working.
While the floor was drying, I sealed the bathrooms – both now fully dried – with Tile Doctor Colour Grow Sealer, a solvent-based sealer that was highly effective at enhancing the colour of the brown tiles around the sinks. The product will also provide durable surface protection. I spent the final of the six days sealing the hallway floor with Tile Doctor Seal & Go, which provides both a stain-resistant surface seal and a durable, low-sheen finish. This was an ideal choice of product, as the customer requested a hard-wearing, yet shiny finish.
The hard work really paid off, as both the customer and the decorators were very impressed with the final results in the two bathrooms and the hallway. I was extremely pleased that I was able to complete this big job to the highest possible standards.
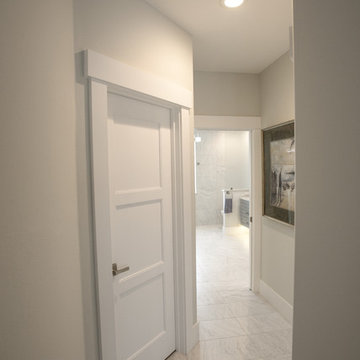


 Beth Webb Interiors
Emily Followill
Deck - traditional backyard deck idea in Atlanta with a roof extension
Deck - traditional backyard deck idea in Atlanta with a roof extension

Sponsored
Sunbury, OH
J.Holderby - Renovations
Franklin County's Leading General Contractors - 2X Best of Houzz!

 Lisa Adams, LA Closet Design
Meghan Beierle-O'Brien
Elegant dressing room photo in Los Angeles with white cabinets
Elegant dressing room photo in Los Angeles with white cabinets
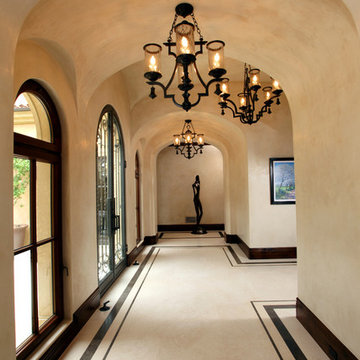
 Euro Laguna Marble, Inc.
Limestone tiles in the interior space, surrounded by custom-cut slab pieces of limestone and marble make up the border.
Materials Used
- Portuguese Limestone/ Honed Finish (Tiles & Custom Slab Exterior)
- Italian Brown Marble "Cafe Bruno" (Custom Slab Exterior)
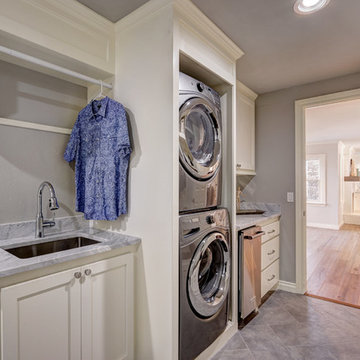
 Design Directions
Utility room - large transitional galley ceramic tile and gray floor utility room idea in Oklahoma City with an undermount sink, shaker cabinets, white cabinets, gray walls, a stacked washer/dryer, marble countertops and gray countertops
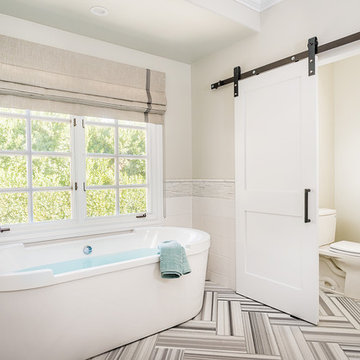
 JRP Design & Remodel
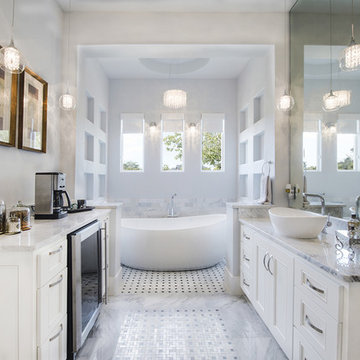
Bold Striato Olimpo “Leather” floor tiles in a chic chevron pattern and Jeffrey Court Calcutta Mini Sticks as accent tile next to plain white porcelain squares create depth and texture without being visually overwhelming. The monochromatic palette is complemented by the Dunn Edwards Grey Owl on the walls and the natural light streaming in keeps this space bright and vibrant. The Hansgrohe “Puravi” tub faucet is a nod to super modern and contemporary design while the sliding door hints to a rustic inspiration. The Duravit oval tub gives this primary suite an element of coziness without sacrificing aesthetic.
Clarified Studios
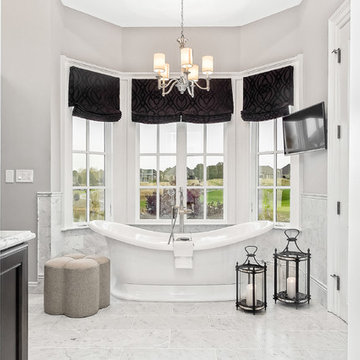
Sponsored
Sunbury, OH
J.Holderby - Renovations
Franklin County's Leading General Contractors - 2X Best of Houzz!
 Connell & Schmidt Builders
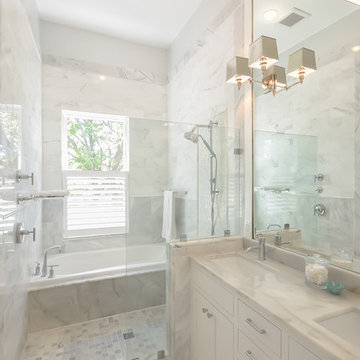
Inspiration for a farmhouse master gray tile, white tile and mosaic tile white floor drop-in bathtub remodel in DC Metro with shaker cabinets, white cabinets and an undermount sink

 Paige Pierce Design
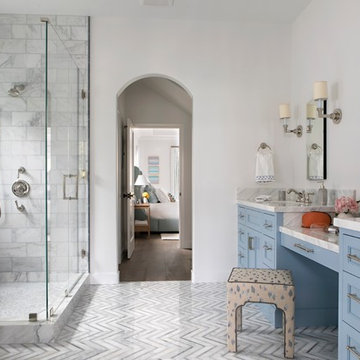
arched doorway, herringbone tile, tudor
Inspiration for a large transitional master marble tile and white tile marble floor and gray floor freestanding bathtub remodel in Los Angeles with blue cabinets, a one-piece toilet, white walls, an undermount sink, marble countertops, a hinged shower door, recessed-panel cabinets and white countertops
Inspiration for a large transitional master marble tile and white tile marble floor and gray floor freestanding bathtub remodel in Los Angeles with blue cabinets, a one-piece toilet, white walls, an undermount sink, marble countertops, a hinged shower door, recessed-panel cabinets and white countertops
33