
Search results for "Heavily" in Home Design Ideas
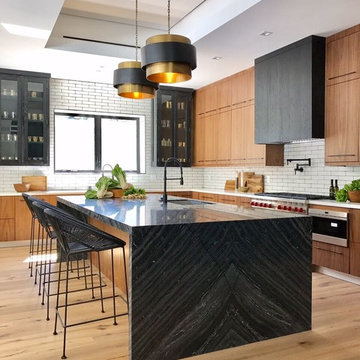
 David Dalton Inc.
Inspiration for a contemporary l-shaped kitchen remodel in Los Angeles with flat-panel cabinets, stainless steel cabinets, white backsplash, subway tile backsplash, stainless steel appliances and an island
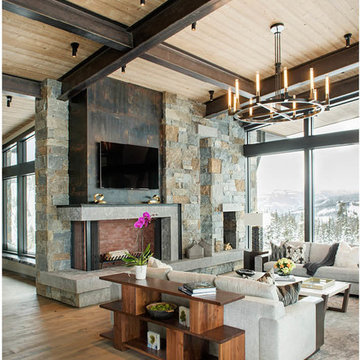
 Centre Sky Architecture Ltd
Mountain Peek is a custom residence located within the Yellowstone Club in Big Sky, Montana. The layout of the home was heavily influenced by the site. Instead of building up vertically the floor plan reaches out horizontally with slight elevations between different spaces. This allowed for beautiful views from every space and also gave us the ability to play with roof heights for each individual space. Natural stone and rustic wood are accented by steal beams and metal work throughout the home.
(photos by Whitney Kamman)
 Carl Mayfield Architectural Photographer
Copyright Carl Mayfield Photography
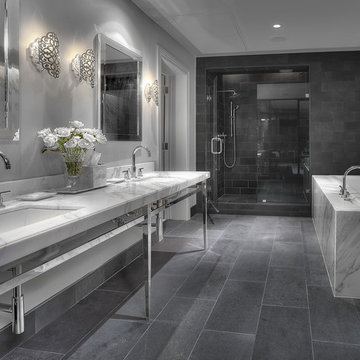
Inspiration for a contemporary bathroom remodel in Houston with a console sink
Inspiration for a contemporary bathroom remodel in Houston with a console sink
Find the right local pro for your project
 Prime 1 Builders
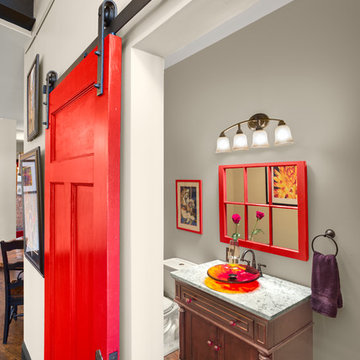
This project won in the 2013 Builders Association of Metropolitan Pittsburgh Housing Excellence Award for Best Urban Renewal Renovation Project. The glass bowl was made in the glass studio owned by the owner which is adjacent to the residence. The mirror is a repurposed window. The door is repurposed from a boarding house.
George Mendel

 Dig Your Garden Landscape Design
Lagoon-side property in the Bel Marin Keys, Novato, CA. Entertaining and enjoying the views were a primary design goal for this project along with replacing the lawn with CA native and low water plants and a total renovation. The project includes a large camaru deck with built-in seating. The concrete steps and pavers lead down to the water's edge. I included a sunken patio on one side and a beautiful Buddha statue on the other, surrounded by succulents and other low-water, contemporary plantings. I also used Dymondia ground cover to create a natural pathways within the garden.
Photo: © Eileen Kelly, Dig Your Garden Landscape Design. Design Eileen Kelly
 Raincoast Door & Specialty Wood Products
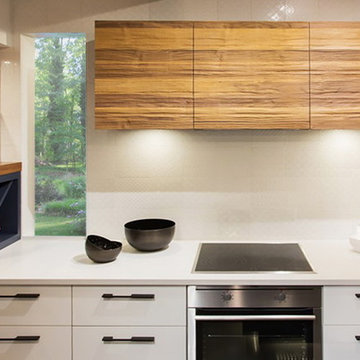
The heavy textured wood veneer in this Kitsilano Borke Walnut feature cabinet by Schenk Architectural creates visual drama in a simple kitchen.
Inspiration for a transitional eat-in kitchen remodel in Vancouver with distressed cabinets and flat-panel cabinets
Inspiration for a transitional eat-in kitchen remodel in Vancouver with distressed cabinets and flat-panel cabinets
 Urbanology Designs
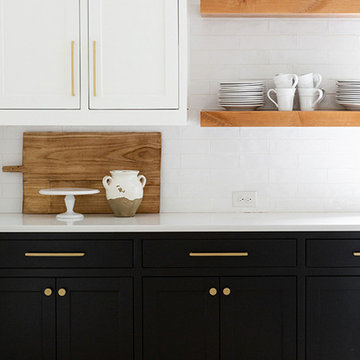
Modern Luxe Home in North Dallas with Parisian Elements. Luxury Modern Design. Heavily black and white with earthy touches. White walls, black cabinets, open shelving, resort-like master bedroom, modern yet feminine office. Light and bright. Fiddle leaf fig. Olive tree. Performance Fabric.

 10K Architecture
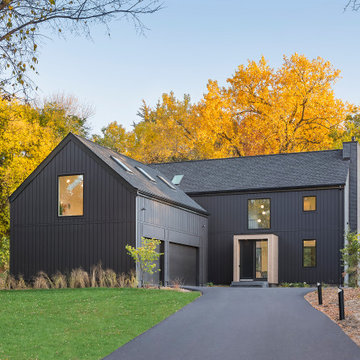
10K designed this new construction home for a family of four who relocated to a serene, tranquil, and heavily wooded lot in Shorewood. Careful siting of the home preserves existing trees, is sympathetic to existing topography and drainage of the site, and maximizes views from gathering spaces and bedrooms to the lake. Simple forms with a bold black exterior finish contrast the light and airy interior spaces and finishes. Sublime moments and connections to nature are created through the use of floor to ceiling windows, long axial sight lines through the house, skylights, a breezeway between buildings, and a variety of spaces for work, play, and relaxation.
 Kristina Crestin Design
Photography by Jared Kuzia
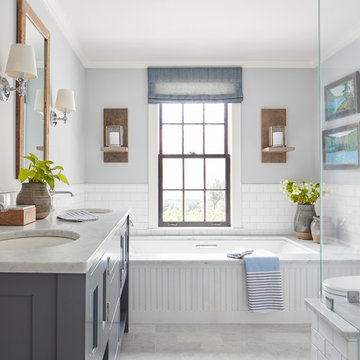
Corner shower - country corner shower idea in Boston with gray cabinets, an undermount tub, a one-piece toilet and an undermount sink
Corner shower - country corner shower idea in Boston with gray cabinets, an undermount tub, a one-piece toilet and an undermount sink

 Tile Doctor Ltd
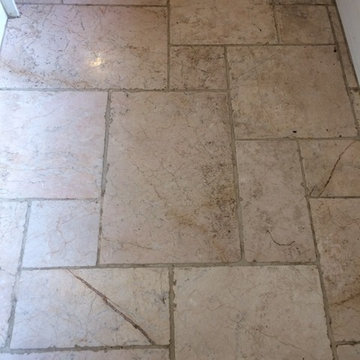
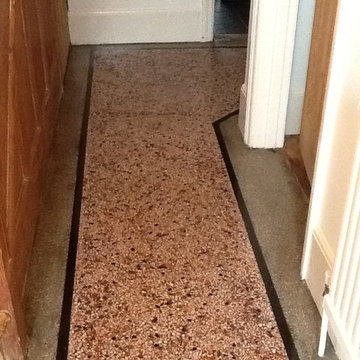
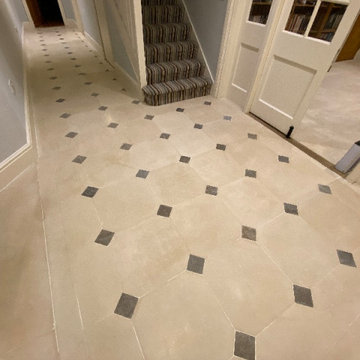
This ground floor flat in the City of Oxford had been converted from a shop which as you can imagine, was quite complex. One significant element involved in the conversation was the restoration of an old Quarry tiled floor which ran through the main hallway and had for many years been covered in a commercial linoleum covering.
When the linoleum covering was removed, the sheer amount of glue which had been used to affix it had completely ruined the appearance and condition of the Quarry tiles. There was also a lot of concrete in the bathroom, and our client was keen to have this removed in the hope that the tiles beneath were salvageable.
My first task at the property was to deal with the adhesive. I covered the entire floor area with Tile Doctor Remove and Go and then covered it with a plastic sheet and leaving it to soak into the glue and break it down overnight. Remove and Go is powerful stripper with a long-dwell time, formulated to break down adhesives and paint stains, amongst other coatings.
I returned the next day and, removing the plastic sheeting, I scrubbed the floor with a carbon brush attached to a rotary floor scrubber to remove the huge glue deposits. I worked in sections, rinsing each area of the floor with water after it had been scrubbed. Once I had finished the entire floor there was still some glue remaining, so I covered it again with a solution of Remove and Go combined with Tile Doctor HBU Nanotech, which utilises nano-sized particles to get underneath tough stains, dissolve them, and lift them out. I left this solution on the floor for about two hours to dwell and scrubbed it again.
During the next day of work, I used a very coarse 100 grit diamond burnishing pad to manually grind away the remaining stubborn bits of glue. Paying attention to the bathroom, I used a 50-grit coarse milling pad followed up with a 100-grit diamond burnishing pad to do the same to the area of concrete.
The next part of the process was to use Tile Doctor Grout Clean Up to acid wash the floor. This was successful in removing the last bits of cement and the remaining residue of the glue. To complete the cleaning process, I then rinsed the floor with plenty of water and vacuumed up any soiled solution.
I opted to leave the floor alone for a couple of days to fully dry off so that it could be sealed upon my return. This is crucial as any moisture or damp issues can damage the performance of the sealer and expose the floor to further ingrained dirt and staining.
To seal the floor, I used Tile Doctor Colour Grow. This is an impregnating sealer that also enhances the natural reddish shades in the Quarry. I applied two coats of the sealer, giving the floor the natural look matte finish the customer desired.
The customer was very impressed with the results of this thorough restoration. She even left the following feedback:
“I cannot recommend this service enough. The Oxford Tile Doctor (Barry) was a superstar: he cleaned up the tiles in my hallway, which were covered in a very thick layer of glue, and removed concrete from the tiles. They now look superb and I’m really happy with the outcome. Barry was always on time, considerate, and kept me up to date. The quote for the job was exactly right. I would not hesitate to recommend him.”
 Tile Doctor Ltd
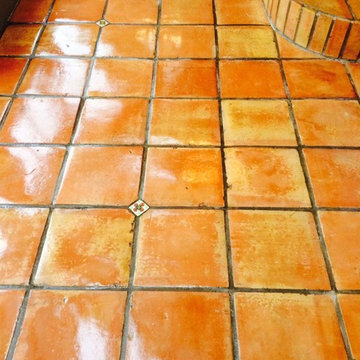
This Terracotta tiled floor was installed in the conservatory of a house in the old market town of Garstang, Lancashire, famous for being the world’s first ever ‘Fairtrade Town’.
There were quite a few problems with this floor; for one, my client had not re-sealed the tiles in many years and had therefore allowed the existing seal to become very worn and almost completely ineffectual. This had subsequently allowed the floor to become very dirty and marked with white blotches. These white blotches had occurred where the fertilizer held in decorative plant pots had started to eat away at the sealer.
The tiles were cleaned with a strong solution of Tile Doctor Pro-Clean, which is a strong alkaline cleaner. The solution was liberally applied to the floor and left to dwell for a short period, allowing time for the cleaner to seep into the pores of the Terracotta and lift the ingrained dirt to the surface. The solution was then agitated using a black scrubbing pad fitted to a heavy rotary machine, making a marked difference to the appearance of the tiles within a matter of minutes.
Tile Doctor Acid Gel was then used to spot treat the white marks, the acid content in the product breaks down the alkaline salts that had developed, left behind by the leaked plant fertilizer.
The entire floor was then rinsed several times to remove the soiled cleaning residue and the excess moisture was extracted using a wet-vac machine.
The Terracotta tiles were left to dry for an entire week as there was no evident damp proof membrane in place at the property. I used damp testers to approximate when the tiles would be dry enough to seal, which was very important as any excess moisture can upset the performance of the sealer.
My first choice of sealer was Tile Doctor Colour Grow, an impregnating sealer that also intensifies the natural colours in the stone. A single coat of Colour Grow was applied, before I opted to follow this up with six coats of Tile Doctor Seal & Go, which provides a very robust surface seal and also helped to give the Terracotta the aesthetically pleasing my client had requested.
Before leaving the property with its newly restored Terracotta tiled conservatory, I made sure to give my client some tile maintenance advice. Needless to say, she was very pleased with the results.
Russell Taylor
Lancashire Tile Doctor


 Tracy Lynn Studio
Zack Benson Photography
Example of a large transitional master carpeted bedroom design in San Diego with gray walls
Example of a large transitional master carpeted bedroom design in San Diego with gray walls
2