
Search results for "Installing" in Home Design Ideas
 David Robertson Design, LLC
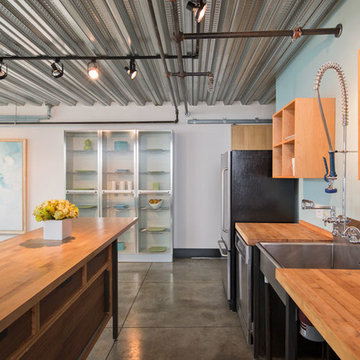
Example of an urban concrete floor kitchen design in Seattle with a single-bowl sink and stainless steel appliances
 The HomeWorks Group
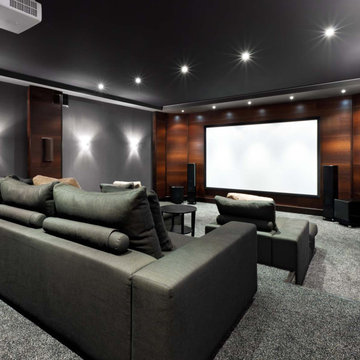
Inspiration for a huge modern enclosed carpeted and gray floor home theater remodel in San Francisco with gray walls and a projector screen

Find the right local pro for your project
 KuDa Photography
KuDa Photography
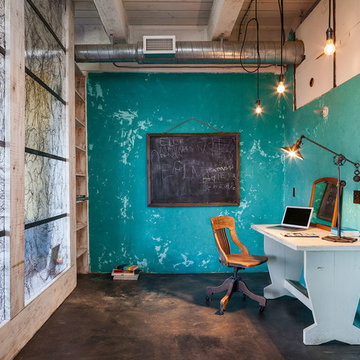
Mid-sized urban freestanding desk concrete floor and black floor study room photo in Portland with blue walls
Mid-sized urban freestanding desk concrete floor and black floor study room photo in Portland with blue walls
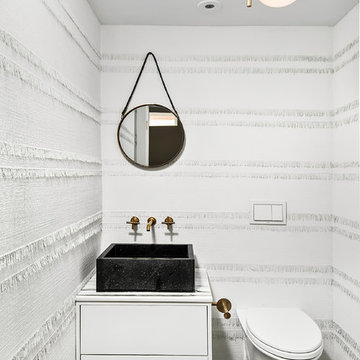
Example of a trendy multicolored floor powder room design in Chicago with a vessel sink, flat-panel cabinets, white cabinets, a wall-mount toilet and white walls
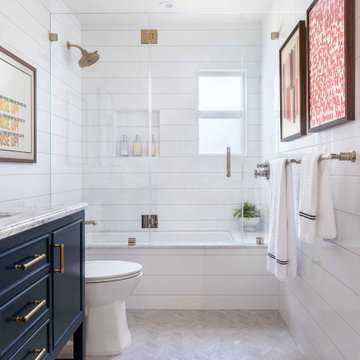
 Imagine Construction
This guest bathroom was transformed into a whole new configuration. Included was a new soaking tub & shower enclosure. The wall to wall, horizontal, white tile was installed to look like shiplap. This included the painstaking task of two different grout colors to help hide the transitions, and make it look more like true, wood, shiplap.
 Distinctive Drywall & Painting
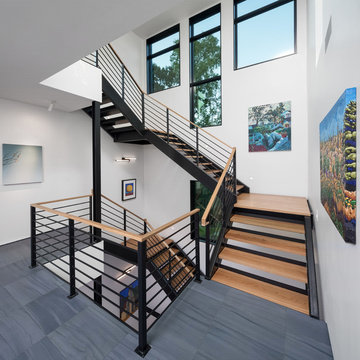
Example of a large trendy wooden u-shaped open and metal railing staircase design in Minneapolis

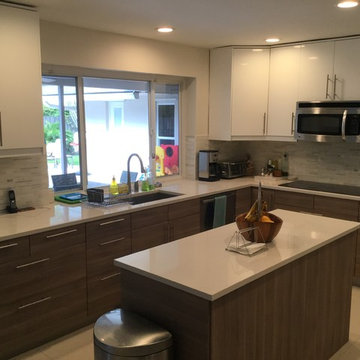

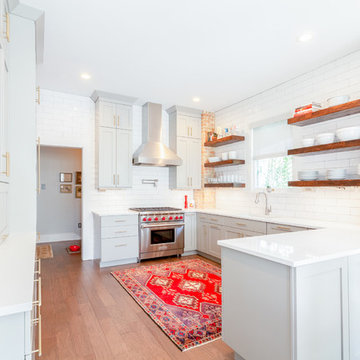
 Kitchen Central
Mid-sized trendy u-shaped medium tone wood floor and brown floor kitchen photo in Austin with an undermount sink, shaker cabinets, gray cabinets, white backsplash, subway tile backsplash, stainless steel appliances, a peninsula, white countertops and quartz countertops
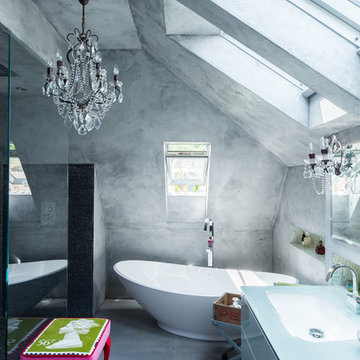
 Mad Cow Interiors
Example of a trendy master concrete floor bathroom design in London with an undermount sink, flat-panel cabinets, gray walls and glass countertops
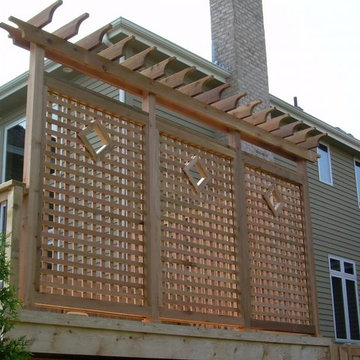
 Dakota Unlimited
Custom pergola-style fence and deck screen designed and installed by Dakota Unlimited.
This is an example of a mid-sized craftsman partial sun backyard landscaping in Minneapolis.
This is an example of a mid-sized craftsman partial sun backyard landscaping in Minneapolis.
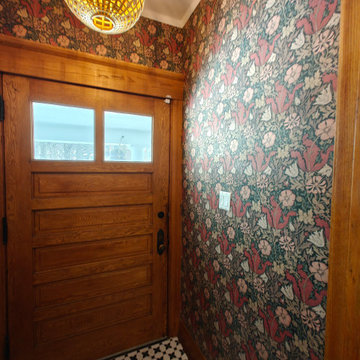
 Windy City Painters
PREPARATION AND PLANNING
First, we assessed existing wall conditions and repaired minor imperfections. Next, surfaces were thoroughly cleaned and primed for maximum adhesion. Then, precise measurements ensured perfect pattern alignment throughout the space.
INSTALLATION PROCESS
Subsequently, we carefully cut each strip accounting for pattern matching. Moreover, professional installation techniques eliminated bubbles and ensured seamless seams. Finally, detailed finishing work created flawless edges and corners.
CHICAGO-SPECIFIC CHALLENGES
Furthermore, older Chicago buildings present unique challenges including settling walls, vintage plaster surfaces, and lead paint considerations. Therefore, proper preparation becomes crucial for long-lasting results that withstand seasonal temperature fluctuations.
RESULTS AND QUALITY
Consequently, the finished installation showcases perfect pattern alignment and professional craftsmanship. The wallpaper enhances the entry hall's architectural character while providing durability for high-traffic use.
PROFESSION AL TIPS
Homeowners should always hire experienced installers for complex patterns. Additionally, investing in quality primer saves money long-term by ensuring proper adhesion and easier future removal.
See more work and request free estimate at windypainters.com.
Q: How long does wallpaper installation take? / A: Most entry halls require one to two days depending on pattern complexity, surface preparation needs, and room size for professional wallpaper installation.
Q: Can you install over existing wallpaper? / A: We recommend removing old wallpaper first for best adhesion, though some situations allow installation over existing wallpaper after proper preparation and assessment.
Q: What wallpaper works best in Chicago? / A: Vinyl and fabric-backed wallpapers handle Chicago's climate changes best, providing durability against humidity fluctuations and temperature variations throughout seasons.
Q: Do you guarantee installation work? / A: Yes, Windy City Painters provides comprehensive warranties covering wallpaper installation craftsmanship and adhesion for specified warranty periods on all projects.
Q: How do you handle pattern matching? / A: We carefully measure walls, calculate pattern repeats, and plan installation sequence to ensure perfect wallpaper installation pattern alignment throughout the space.
Q: Can wallpaper work in vintage buildings? / A: Absolutely, we specialize in wallpaper installation for older Chicago homes, understanding unique challenges like settling walls and vintage plaster surfaces.
Q: What preparation is required? / A: Proper wallpaper installation requires surface assessment, repairs, thorough cleaning, appropriate priming, and climate control for optimal adhesion and lasting results.
Q: Do you remove old wallpaper? / A: Yes, we provide professional wallpaper removal services using safe techniques that protect underlying wall surfaces during the wallpaper installation preparation process.
Q: How much does installation cost? / A: Wallpaper installation costs vary based on room size, pattern complexity, surface preparation needs, and wallpaper selection - contact for detailed estimates.
Q: What tools do professionals use? / A: Professional wallpaper installation requires specialized smoothing tools, precision cutting equipment, quality brushes, and professional-grade adhesives for optimal results and longevity.
 Studio William Hefner
James Ray Spahn
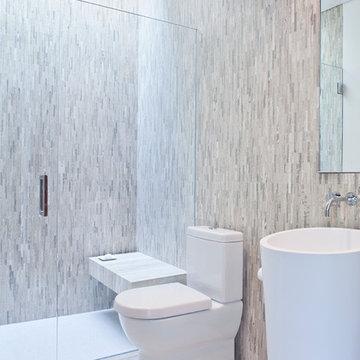
Trendy gray tile walk-in shower photo in Los Angeles with a pedestal sink and a two-piece toilet
Trendy gray tile walk-in shower photo in Los Angeles with a pedestal sink and a two-piece toilet
 Kitchen Design Concepts
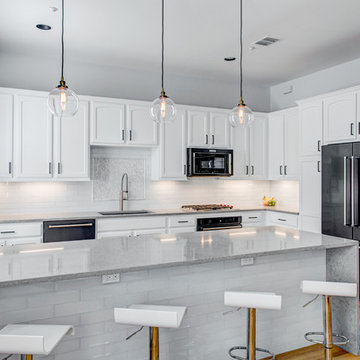
Before we remodeled this space, the kitchen cabinetry had a deep-dark stain, standard builder finishes, and could use a little makeover. Overall, the space lacked excitement, finesse, and good layout. So, in order to maximize the space to its full potential, we incorporated a new kitchen island which would give the space more storage, counter space, and we could include a wine unit! Win-win! Plus, the existing cabinetry on the perimeter was in great condition, so we could refinish those and have a little more fun with the other finishes of the space. Want to see what we did? Take a look below!
Cabinetry
As mentioned above, the cabinetry on the perimeter was refinished with white paint. The new island we installed cabinetry from WWWoods Shiloh, with a Heritage door style, and a finish of Arctic paint.
Countertops
The countertops feature a beautiful 3 cm Caesarstone Quartz in Symphony Grey. We also incorporated a waterfall on the edge, adding that extra element of design.
Backsplash
From the Glazzio Gemstone Series, we installed a Glacier Onyx 3” x 12” as the main backsplash tile and on the backside of the island. As a picture frame over the sink, we installed a Daltile Contempo White Polished marble pencil rail, with a Daltile Carrara White 1”x random marble Mosaic inside the frame.
Fixtures
From Blanco we have installed a Quatrus R0 Super Single Bowl sink, and a BLANCOCULINA semiprofessional kitchen faucet in satin nickel. The hardware cabinetry is the It Pull in Modern Bronze from Atlas.
Flooring
The new flooring is a hardwood oak, that’s been sanded and finished.
 RAO Design Studio, Inc.
Emily J. Followill Photography
Eat-in kitchen - large contemporary l-shaped light wood floor and beige floor eat-in kitchen idea in Atlanta with an island, a single-bowl sink, shaker cabinets, white cabinets, quartz countertops, multicolored backsplash, brick backsplash, stainless steel appliances and gray countertops
Eat-in kitchen - large contemporary l-shaped light wood floor and beige floor eat-in kitchen idea in Atlanta with an island, a single-bowl sink, shaker cabinets, white cabinets, quartz countertops, multicolored backsplash, brick backsplash, stainless steel appliances and gray countertops


 Industrial Projects
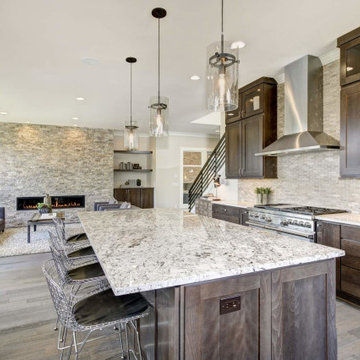
Creating a comfortable outdoor living space is a priority for many homeowners and DIY enthusiasts. With rising summer temperatures, installing a shade tarp in your backyard offers an affordable and effective solution for sun protection. We’ve developed this detailed, step-by-step guide to help you confidently install a shade tarp that not only shields you from the sun but also adds aesthetic appeal to your outdoor area.
Benefits of Installing a Backyard Shade Tarp
Before diving into the installation process, let’s explore the key benefits of having a backyard shade tarp:
Provides UV Protection: Keeps your family and guests safe from harmful sun exposure.
Reduces Outdoor Temperatures: Creates a cooler, more enjoyable outdoor space.
Protects Outdoor Furniture: Extends the life of patio furniture by reducing sun damage.
Enhances Outdoor Aesthetics: Adds a modern, stylish look to your yard.
Budget-Friendly: More affordable compared to permanent structures like pergolas.
Materials and Tools You’ll Need
To begin your DIY backyard shade project, gather the following materials and tools:
Materials:
Shade tarp (UV-resistant and breathable)
Sturdy posts or existing structures (trees, fences, walls)
Mounting hardware (eye bolts, D-rings, turnbuckles, snap hooks)
Nylon or polyester rope, or stainless-steel wire
Concrete (if installing new posts)
Tools:
Power drill
Measuring tape
Level
Ladder
Wrench or adjustable spanner
Post hole digger (if installing new posts)
Step 1: Plan Your Shade Tarp Layout
The first step in installing your backyard shade tarp is careful planning. Take time to assess your outdoor area and answer these key questions:
Where is the sun’s path throughout the day?
What size and shape of tarp best suits your space?
Will you anchor the tarp to existing structures or install new posts?
What height do you want the tarp to sit at for maximum shade and airflow?
Pro Tip: Use string or garden hoses to visualize the tarp layout on the ground before making permanent decisions.
Step 2: Measure and Mark Anchor Points
Once you’ve determined the tarp’s location and orientation:
Measure the tarp dimensions.
Mark the exact points where each corner of the tarp will be anchored.
Ensure that the anchor points are at least 5–10% longer than the tarp size to allow for tensioning and slight adjustments.
Consider slope angles for water runoff. Aim for at least a 20-degree angle to prevent water pooling on the tarp.
Step 3: Install Support Posts (If Necessary)
If your backyard lacks existing anchor points like trees or fences, you’ll need to install sturdy support posts:
Dig post holes at least 24 inches deep and 8-12 inches wide for stability.
Set posts in concrete, making sure they remain plumb and level.
Allow the concrete to cure for at least 24–48 hours before applying tension from the tarp.
We recommend using pressure-treated wood, galvanized steel poles, or aluminum posts for longevity and strength.
Step 4: Install Mounting Hardware
With your anchor points ready, it’s time to install the necessary hardware:
Attach eye bolts or pad eyes securely into walls, posts, or other fixed structures.
For added flexibility and adjustability, install turnbuckles or tensioners to fine-tune the tarp’s tightness.
Connect snap hooks, D-rings, or carabiners to make assembly and disassembly easier.
Make sure all hardware is rated for outdoor use to prevent rust and corrosion.
Step 5: Attach and Tension the Shade Tarp
Now it’s time for the most satisfying part—mounting the shade tarp:
Begin by attaching one corner of the tarp to an anchor point.
Gradually attach the remaining corners, moving diagonally for even tension.
Adjust each connection point using your turnbuckles, ropes, or cables.
Pull the tarp tight enough to avoid sagging, but not so tight that it risks tearing.
Check that the tarp maintains the desired slope for rainwater runoff and adjust tension as needed.
Step 6: Final Adjustments and Safety Check
Before enjoying your new shaded area:
Inspect all anchor points and hardware for stability.
Test the tarp’s tension and make adjustments for even distribution.
Ensure that no sharp edges or loose connections remain that could damage the tarp or pose a safety hazard.
Confirm that the tarp is secure in windy conditions by giving it a gentle tug.
If you live in an area with frequent high winds, consider removing the tarp during storms to prevent damage.
Step 7: Enjoy Your Shaded Backyard Oasis
Once installed, your backyard shade tarp provides a comfortable and protective space for outdoor gatherings, relaxation, or family activities. You can decorate underneath with outdoor furniture, string lights, or potted plants to create a personalized outdoor retreat.
Maintenance Tips for Long-Lasting Shade Tarp Performance
To extend the life of your shade tarp, follow these maintenance guidelines:
Regularly check for wear and tear, especially around anchor points and seams.
Clean the tarp periodically with mild soap and water to prevent mildew buildup.
Store the tarp indoors during harsh weather seasons if it's not designed for year-round use.
Tighten hardware as needed to maintain proper tension and avoid sagging.
By following these simple care steps, your shade tarp will continue to deliver years of sun protection and outdoor comfort.
Conclusion: Upgrade Your Outdoor Space with a DIY Shade Tarp
Installing a shade tarp in your backyard is a cost-effective and rewarding DIY project. With careful planning, quality materials, and proper installation techniques, you’ll enjoy cool, shaded outdoor living all season long. This step-by-step guide ensures your project goes smoothly from start to finish.
 Chi Renovation & Design
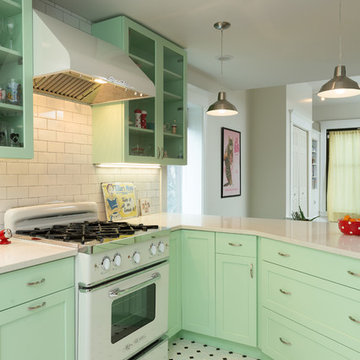
A retro 1950’s kitchen featuring green custom colored cabinets with glass door mounts, under cabinet lighting, pull-out drawers, and Lazy Susans. To contrast with the green we added in red window treatments, a toaster oven, and other small red polka dot accessories. A few final touches we made include a retro fridge, retro oven, retro dishwasher, an apron sink, light quartz countertops, a white subway tile backsplash, and retro tile flooring.
Home located in Humboldt Park Chicago. Designed by Chi Renovation & Design who also serve the Chicagoland area and it's surrounding suburbs, with an emphasis on the North Side and North Shore. You'll find their work from the Loop through Lincoln Park, Skokie, Evanston, Wilmette, and all of the way up to Lake Forest.
For more about Chi Renovation & Design, click here: https://www.chirenovation.com/
To learn more about this project, click here: https://www.chirenovation.com/portfolio/1950s-retro-humboldt-park-kitchen/
 K Interiors
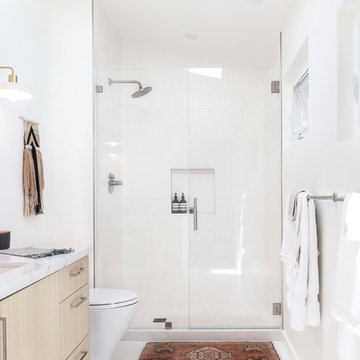
Mid-sized danish 3/4 white tile and subway tile mosaic tile floor and white floor alcove shower photo in San Francisco with flat-panel cabinets, light wood cabinets, white walls, an undermount sink, a hinged shower door, quartzite countertops and gray countertops
81