
Search results for "Ladder connected" in Home Design Ideas
 Hamilburg Interiors
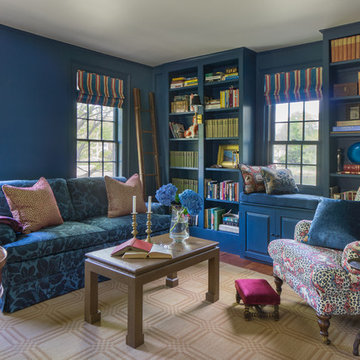
We met the design challenge of creating one large family-friendly space from the original front and back parlors of this 18th century Federal farmhouse, while still achieving a multi-purpose library/music room.
The Farrow and Ball color Stiff key blue helped to unite the 2 spaces. Painting walls and woodwork alike in the space gave it optimum unity. The Old World Weaver's blue cotton damask, fabricated on both sofa and love seat, was positioned in a way that gave additional harmony to the room.
Somewhat unexpected in this traditional home was the use of the caramel colored wilton area rug as well as the custom wrapped linen coffee table. The playful Brunschwig & Fils chinoserie animal print also gave the club chair next to the book cases a less formal look.
Photography by Eric Roth. In collaboration with Home Glow Design.
 Paper Moon Painting
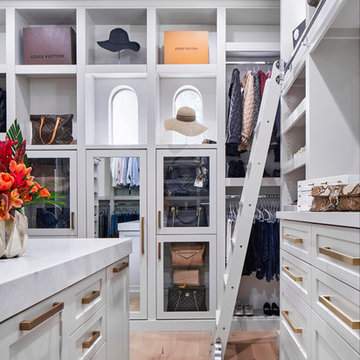
Who doesn't want a rolling library ladder in their closet? Never struggle to reach those high storage areas again! A dream closet, to be sure.
Example of a huge transitional light wood floor and brown floor walk-in closet design in Austin with shaker cabinets and gray cabinets
Example of a huge transitional light wood floor and brown floor walk-in closet design in Austin with shaker cabinets and gray cabinets

Find the right local pro for your project
 Maxwood Furniture, Inc.
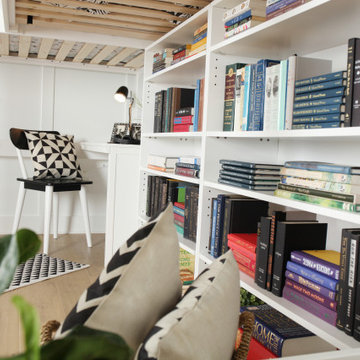
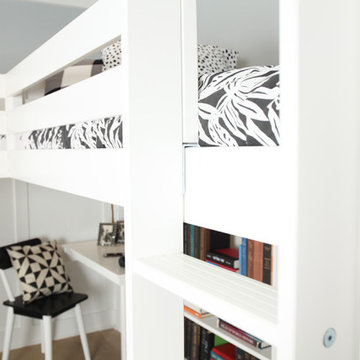
This Maxtrix Bed offers a unique way to sleep 2 to a room while saving floorspace. One twin size loft bed is connected to one twin size loft bed, forming raised “L” shape that fits perfectly in a bedroom corner. Over 4 ft of underbed clearance, ideal for a desk, storage or play space. www.maxtrixkids.com
 Maxwood Furniture, Inc.
This Maxtrix Bed offers a unique way to sleep 2 to a room while saving floorspace. One twin size loft bed is connected to one twin size loft bed, forming raised “L” shape that fits perfectly in a bedroom corner. Over 4 ft of underbed clearance, ideal for a desk, storage or play space. www.maxtrixkids.com
 Electric Bowery
Jack & Jill Bath
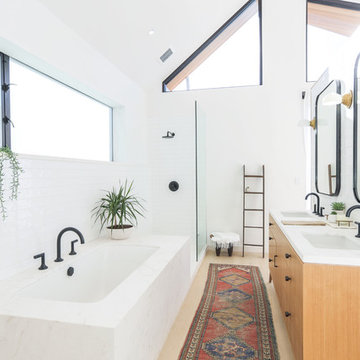
Example of a trendy master white tile beige floor and light wood floor bathroom design in Los Angeles with flat-panel cabinets, light wood cabinets, an undermount tub, white walls and an undermount sink
Example of a trendy master white tile beige floor and light wood floor bathroom design in Los Angeles with flat-panel cabinets, light wood cabinets, an undermount tub, white walls and an undermount sink
 Visbeen Architects
Builder: Falcon Custom Homes
Interior Designer: Mary Burns - Gallery
Photographer: Mike Buck
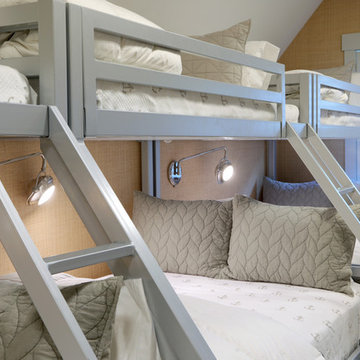
A perfectly proportioned story and a half cottage, the Farfield is full of traditional details and charm. The front is composed of matching board and batten gables flanking a covered porch featuring square columns with pegged capitols. A tour of the rear façade reveals an asymmetrical elevation with a tall living room gable anchoring the right and a low retractable-screened porch to the left.
Inside, the front foyer opens up to a wide staircase clad in horizontal boards for a more modern feel. To the left, and through a short hall, is a study with private access to the main levels public bathroom. Further back a corridor, framed on one side by the living rooms stone fireplace, connects the master suite to the rest of the house. Entrance to the living room can be gained through a pair of openings flanking the stone fireplace, or via the open concept kitchen/dining room. Neutral grey cabinets featuring a modern take on a recessed panel look, line the perimeter of the kitchen, framing the elongated kitchen island. Twelve leather wrapped chairs provide enough seating for a large family, or gathering of friends. Anchoring the rear of the main level is the screened in porch framed by square columns that match the style of those found at the front porch. Upstairs, there are a total of four separate sleeping chambers. The two bedrooms above the master suite share a bathroom, while the third bedroom to the rear features its own en suite. The fourth is a large bunkroom above the homes two-stall garage large enough to host an abundance of guests.
 General Assembly
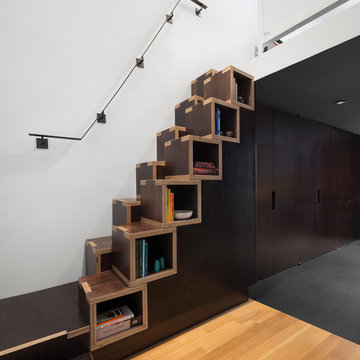
We maximized storage with custom built in millwork throughout. Probably the most eye catching example of this is the bookcase turn ship ladder stair that leads to the mezzanine above.
© Devon Banks
 BC&J Architecture
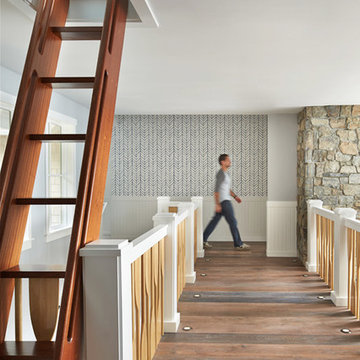
This four bedroom beach house in Washington's South Sound is all about growing up near the water's edge during summer's freedom from school. The owner's childhood was spent in a small cabin on this site with her parents and siblings. Now married and with children of her own, it was time to savor those childhood memories and create new ones in a house designed for generations to come.
At 3,200 square feet, including a whimsical Crow's Nest, the new summer cabin is much larger than the original cabin. The home is still about family and fun though. Above the 600 square foot water toys filled garage, there is a 500 square foot bunk room for friends and family. The bunk room is connected to the main house by an upper bridge where built-in storage frames a window seat overlooking the property.
Throughout the home are playful details drawing from the waterfront locale. Paddles are integrated into the stair railing, engineered flooring with a weathered look, marine cleats as hardware, a boardwalk to the main entry, and nautical lighting are found throughout the house.
Designed by BC&J Architecture.
 Oliver Custom Homes
Architect: Tim Brown Architecture. Photographer: Casey Fry
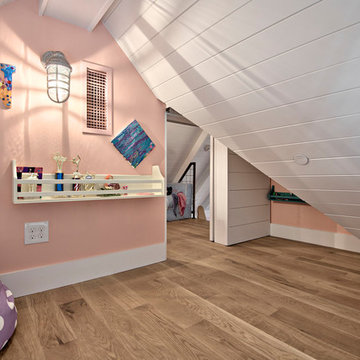
Large transitional girl light wood floor and brown floor kids' room photo in Austin with pink walls
Large transitional girl light wood floor and brown floor kids' room photo in Austin with pink walls
 DiMauro Architects, Inc.
Photography: Nat Rea
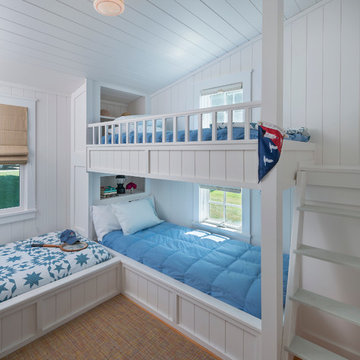
Inspiration for a coastal medium tone wood floor bedroom remodel in Providence with white walls
Inspiration for a coastal medium tone wood floor bedroom remodel in Providence with white walls
 Cohen Construction Inc.
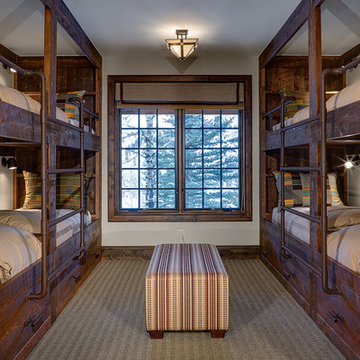
Bunk bedroom with gas pipe fitted railings and ladders. Individual TV's at each bed independently connected to whole house Audio Visual system. Large full extension under bed storage drawers.
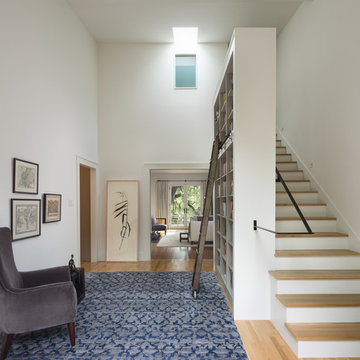
 Cuppett Kilpatrick Architecture + Interior Design
New double height entry connects to new second floor addition. Bookcase with rolling ladder conceals stair. Paint color is Sherwin Williams, Alabaster.
Photo by Whit Preston

 Industrial Projects
Creating a comfortable outdoor living space is a priority for many homeowners and DIY enthusiasts. With rising summer temperatures, installing a shade tarp in your backyard offers an affordable and effective solution for sun protection. We’ve developed this detailed, step-by-step guide to help you confidently install a shade tarp that not only shields you from the sun but also adds aesthetic appeal to your outdoor area.
Benefits of Installing a Backyard Shade Tarp
Before diving into the installation process, let’s explore the key benefits of having a backyard shade tarp:
Provides UV Protection: Keeps your family and guests safe from harmful sun exposure.
Reduces Outdoor Temperatures: Creates a cooler, more enjoyable outdoor space.
Protects Outdoor Furniture: Extends the life of patio furniture by reducing sun damage.
Enhances Outdoor Aesthetics: Adds a modern, stylish look to your yard.
Budget-Friendly: More affordable compared to permanent structures like pergolas.
Materials and Tools You’ll Need
To begin your DIY backyard shade project, gather the following materials and tools:
Materials:
Shade tarp (UV-resistant and breathable)
Sturdy posts or existing structures (trees, fences, walls)
Mounting hardware (eye bolts, D-rings, turnbuckles, snap hooks)
Nylon or polyester rope, or stainless-steel wire
Concrete (if installing new posts)
Tools:
Power drill
Measuring tape
Level
Ladder
Wrench or adjustable spanner
Post hole digger (if installing new posts)
Step 1: Plan Your Shade Tarp Layout
The first step in installing your backyard shade tarp is careful planning. Take time to assess your outdoor area and answer these key questions:
Where is the sun’s path throughout the day?
What size and shape of tarp best suits your space?
Will you anchor the tarp to existing structures or install new posts?
What height do you want the tarp to sit at for maximum shade and airflow?
Pro Tip: Use string or garden hoses to visualize the tarp layout on the ground before making permanent decisions.
Step 2: Measure and Mark Anchor Points
Once you’ve determined the tarp’s location and orientation:
Measure the tarp dimensions.
Mark the exact points where each corner of the tarp will be anchored.
Ensure that the anchor points are at least 5–10% longer than the tarp size to allow for tensioning and slight adjustments.
Consider slope angles for water runoff. Aim for at least a 20-degree angle to prevent water pooling on the tarp.
Step 3: Install Support Posts (If Necessary)
If your backyard lacks existing anchor points like trees or fences, you’ll need to install sturdy support posts:
Dig post holes at least 24 inches deep and 8-12 inches wide for stability.
Set posts in concrete, making sure they remain plumb and level.
Allow the concrete to cure for at least 24–48 hours before applying tension from the tarp.
We recommend using pressure-treated wood, galvanized steel poles, or aluminum posts for longevity and strength.
Step 4: Install Mounting Hardware
With your anchor points ready, it’s time to install the necessary hardware:
Attach eye bolts or pad eyes securely into walls, posts, or other fixed structures.
For added flexibility and adjustability, install turnbuckles or tensioners to fine-tune the tarp’s tightness.
Connect snap hooks, D-rings, or carabiners to make assembly and disassembly easier.
Make sure all hardware is rated for outdoor use to prevent rust and corrosion.
Step 5: Attach and Tension the Shade Tarp
Now it’s time for the most satisfying part—mounting the shade tarp:
Begin by attaching one corner of the tarp to an anchor point.
Gradually attach the remaining corners, moving diagonally for even tension.
Adjust each connection point using your turnbuckles, ropes, or cables.
Pull the tarp tight enough to avoid sagging, but not so tight that it risks tearing.
Check that the tarp maintains the desired slope for rainwater runoff and adjust tension as needed.
Step 6: Final Adjustments and Safety Check
Before enjoying your new shaded area:
Inspect all anchor points and hardware for stability.
Test the tarp’s tension and make adjustments for even distribution.
Ensure that no sharp edges or loose connections remain that could damage the tarp or pose a safety hazard.
Confirm that the tarp is secure in windy conditions by giving it a gentle tug.
If you live in an area with frequent high winds, consider removing the tarp during storms to prevent damage.
Step 7: Enjoy Your Shaded Backyard Oasis
Once installed, your backyard shade tarp provides a comfortable and protective space for outdoor gatherings, relaxation, or family activities. You can decorate underneath with outdoor furniture, string lights, or potted plants to create a personalized outdoor retreat.
Maintenance Tips for Long-Lasting Shade Tarp Performance
To extend the life of your shade tarp, follow these maintenance guidelines:
Regularly check for wear and tear, especially around anchor points and seams.
Clean the tarp periodically with mild soap and water to prevent mildew buildup.
Store the tarp indoors during harsh weather seasons if it's not designed for year-round use.
Tighten hardware as needed to maintain proper tension and avoid sagging.
By following these simple care steps, your shade tarp will continue to deliver years of sun protection and outdoor comfort.
Conclusion: Upgrade Your Outdoor Space with a DIY Shade Tarp
Installing a shade tarp in your backyard is a cost-effective and rewarding DIY project. With careful planning, quality materials, and proper installation techniques, you’ll enjoy cool, shaded outdoor living all season long. This step-by-step guide ensures your project goes smoothly from start to finish.
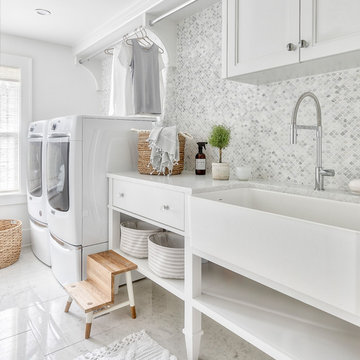
 EuroCraft Interiors Custom Cabinetry
Dedicated laundry room - transitional white floor dedicated laundry room idea in Detroit with an utility sink, recessed-panel cabinets, white cabinets, white walls, a side-by-side washer/dryer and white countertops
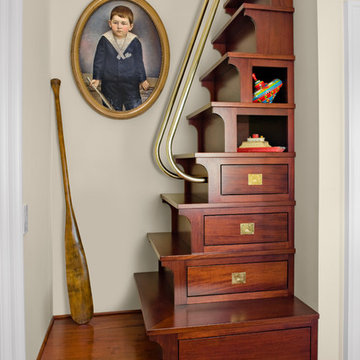
 Nelson Edwards Company Architects, LLC
Photo: Robert Benson
Example of a small beach style wooden straight staircase design in New York with wooden risers
Example of a small beach style wooden straight staircase design in New York with wooden risers
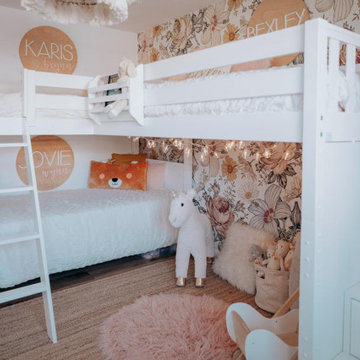 Maxwood Furniture, Inc.
This Maxtrix corner loft bunk bed is just that – two beds stacked on one side, connected to a single raised bed on the other. The result is a super functional “L” shape that fits perfectly in your bedroom corner. www.maxtrixkids.com
 Maxwood Furniture, Inc.
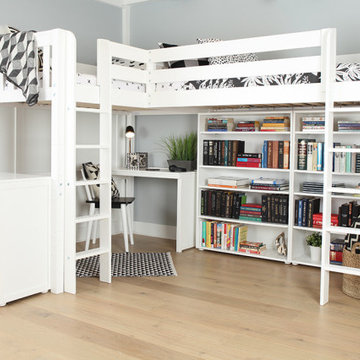
This Maxtrix Bed offers a unique way to sleep 2 to a room while saving floorspace. One twin size loft bed is connected to one twin size loft bed, forming raised “L” shape that fits perfectly in a bedroom corner. Over 4 ft of underbed clearance, ideal for a desk, storage or play space. www.maxtrixkids.com
 David Matero Architecture
Darren Setlow Photography
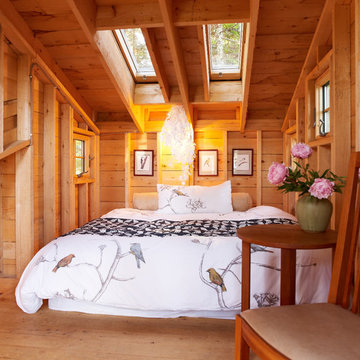
Inspiration for a small rustic loft-style bedroom remodel in Portland Maine
Inspiration for a small rustic loft-style bedroom remodel in Portland Maine
 DEMESNE
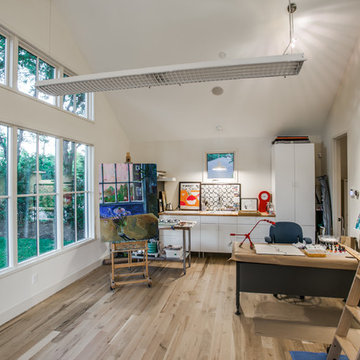
The artist’s studio connects with the north facing, tree covered space bringing in natural light which moves and shifts throughout the day into dusk. An easy, open feel allows the artist to expand her color palette and becomes one with the mood of the architecture. Art by Martha Burkert. ©Shoot2Sell Photography
1