
Search results for "Reduce molding" in Home Design Ideas
 MD Flooring Solutions, LLC
- To move furniture
- To move 2 appliances
First level: hallway, closets, laundry, kitchen, playroom, family room:
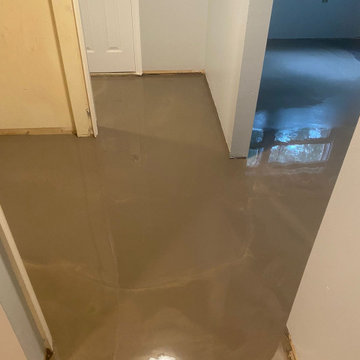
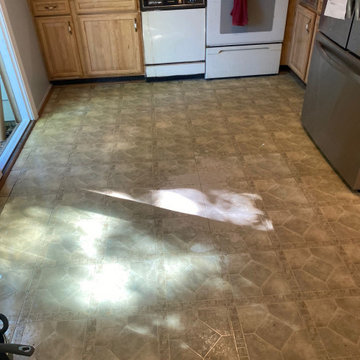
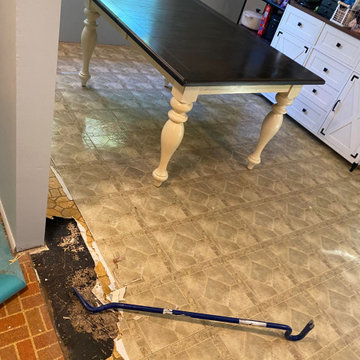
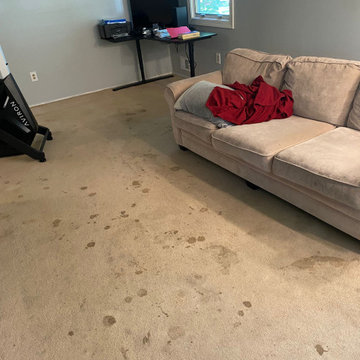
- Take Up, Remove & Haul Away Baseboards, Laminate, 12x12 Peel & Stick/Glued Down Tile, Carpet & VCT from floors.
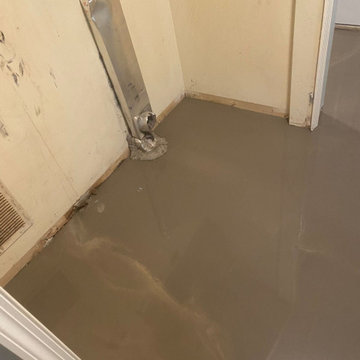
- To Level Floors using self-leveling concrete.
- To install underlayment
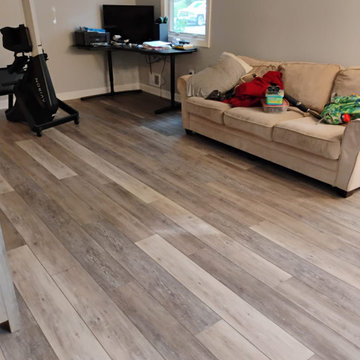
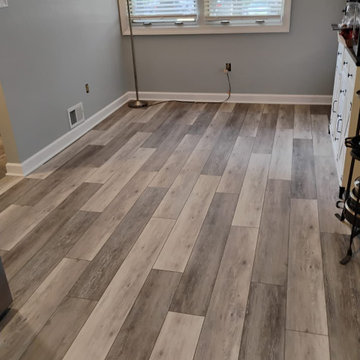
- To Install click and lock floating, glueless, LVP on floors
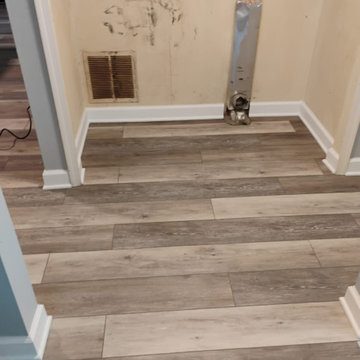
- To install LVP underneath 2 appliances
- To install Baseboards
- To Install Shoe Molding
- To Install 3x reducers
 MD Flooring Solutions, LLC
- To move furniture
- To move 2 appliances
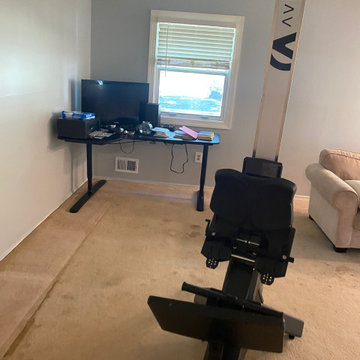
First level: hallway, closets, laundry, kitchen, playroom, family room:
- Take Up, Remove & Haul Away Baseboards, Laminate, 12x12 Peel & Stick/Glued Down Tile, Carpet & VCT from floors.
- To Level Floors using self-leveling concrete.
- To install underlayment
- To Install click and lock floating, glueless, LVP on floors
- To install LVP underneath 2 appliances
- To install Baseboards
- To Install Shoe Molding
- To Install 3x reducers
 MD Flooring Solutions, LLC
- To move furniture
- To move 2 appliances
First level: hallway, closets, laundry, kitchen, playroom, family room:
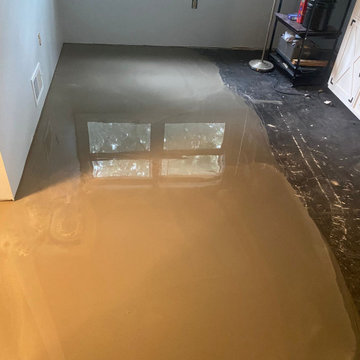
- Take Up, Remove & Haul Away Baseboards, Laminate, 12x12 Peel & Stick/Glued Down Tile, Carpet & VCT from floors.
- To Level Floors using self-leveling concrete.
- To install underlayment
- To Install click and lock floating, glueless, LVP on floors
- To install LVP underneath 2 appliances
- To install Baseboards
- To Install Shoe Molding
- To Install 3x reducers
Find the right local pro for your project
 MD Flooring Solutions, LLC
- To move furniture
- To move 2 appliances
First level: hallway, closets, laundry, kitchen, playroom, family room:
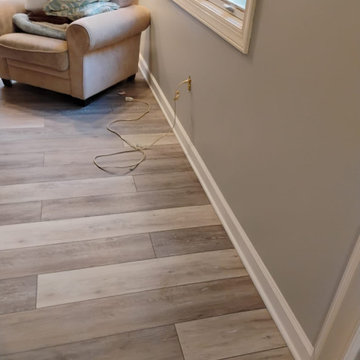
- Take Up, Remove & Haul Away Baseboards, Laminate, 12x12 Peel & Stick/Glued Down Tile, Carpet & VCT from floors.
- To Level Floors using self-leveling concrete.
- To install underlayment
- To Install click and lock floating, glueless, LVP on floors
- To install LVP underneath 2 appliances
- To install Baseboards
- To Install Shoe Molding
- To Install 3x reducers
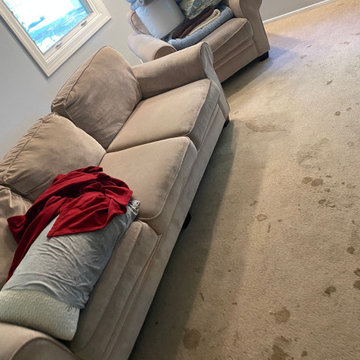 MD Flooring Solutions, LLC
- To move furniture
- To move 2 appliances
First level: hallway, closets, laundry, kitchen, playroom, family room:
- Take Up, Remove & Haul Away Baseboards, Laminate, 12x12 Peel & Stick/Glued Down Tile, Carpet & VCT from floors.
- To Level Floors using self-leveling concrete.
- To install underlayment
- To Install click and lock floating, glueless, LVP on floors
- To install LVP underneath 2 appliances
- To install Baseboards
- To Install Shoe Molding
- To Install 3x reducers
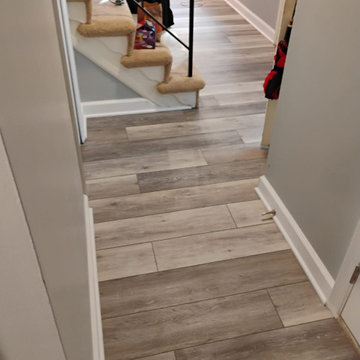 MD Flooring Solutions, LLC
- To move furniture
- To move 2 appliances
First level: hallway, closets, laundry, kitchen, playroom, family room:
- Take Up, Remove & Haul Away Baseboards, Laminate, 12x12 Peel & Stick/Glued Down Tile, Carpet & VCT from floors.
- To Level Floors using self-leveling concrete.
- To install underlayment
- To Install click and lock floating, glueless, LVP on floors
- To install LVP underneath 2 appliances
- To install Baseboards
- To Install Shoe Molding
- To Install 3x reducers
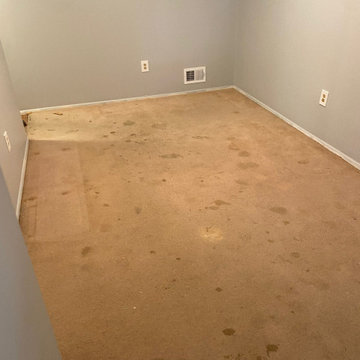 MD Flooring Solutions, LLC
- To move furniture
- To move 2 appliances
First level: hallway, closets, laundry, kitchen, playroom, family room:
- Take Up, Remove & Haul Away Baseboards, Laminate, 12x12 Peel & Stick/Glued Down Tile, Carpet & VCT from floors.
- To Level Floors using self-leveling concrete.
- To install underlayment
- To Install click and lock floating, glueless, LVP on floors
- To install LVP underneath 2 appliances
- To install Baseboards
- To Install Shoe Molding
- To Install 3x reducers

 MD Flooring Solutions, LLC
- To move furniture
- To move 2 appliances
First level: hallway, closets, laundry, kitchen, playroom, family room:
- Take Up, Remove & Haul Away Baseboards, Laminate, 12x12 Peel & Stick/Glued Down Tile, Carpet & VCT from floors.
- To Level Floors using self-leveling concrete.
- To install underlayment
- To Install click and lock floating, glueless, LVP on floors
- To install LVP underneath 2 appliances
- To install Baseboards
- To Install Shoe Molding
- To Install 3x reducers
 MD Flooring Solutions, LLC
- To move furniture
- To move 2 appliances
First level: hallway, closets, laundry, kitchen, playroom, family room:
- Take Up, Remove & Haul Away Baseboards, Laminate, 12x12 Peel & Stick/Glued Down Tile, Carpet & VCT from floors.
- To Level Floors using self-leveling concrete.
- To install underlayment
- To Install click and lock floating, glueless, LVP on floors
- To install LVP underneath 2 appliances
- To install Baseboards
- To Install Shoe Molding
- To Install 3x reducers
 MD Flooring Solutions, LLC
- To move furniture
- To move 2 appliances
First level: hallway, closets, laundry, kitchen, playroom, family room:
- Take Up, Remove & Haul Away Baseboards, Laminate, 12x12 Peel & Stick/Glued Down Tile, Carpet & VCT from floors.
- To Level Floors using self-leveling concrete.
- To install underlayment
- To Install click and lock floating, glueless, LVP on floors
- To install LVP underneath 2 appliances
- To install Baseboards
- To Install Shoe Molding
- To Install 3x reducers
 MD Flooring Solutions, LLC
- To move furniture
- To move 2 appliances
First level: hallway, closets, laundry, kitchen, playroom, family room:
- Take Up, Remove & Haul Away Baseboards, Laminate, 12x12 Peel & Stick/Glued Down Tile, Carpet & VCT from floors.
- To Level Floors using self-leveling concrete.
- To install underlayment
- To Install click and lock floating, glueless, LVP on floors
- To install LVP underneath 2 appliances
- To install Baseboards
- To Install Shoe Molding
- To Install 3x reducers
 MD Flooring Solutions, LLC
- To move furniture
- To move 2 appliances
First level: hallway, closets, laundry, kitchen, playroom, family room:
- Take Up, Remove & Haul Away Baseboards, Laminate, 12x12 Peel & Stick/Glued Down Tile, Carpet & VCT from floors.
- To Level Floors using self-leveling concrete.
- To install underlayment
- To Install click and lock floating, glueless, LVP on floors
- To install LVP underneath 2 appliances
- To install Baseboards
- To Install Shoe Molding
- To Install 3x reducers
 MD Flooring Solutions, LLC
- To move furniture
- To move 2 appliances
First level: hallway, closets, laundry, kitchen, playroom, family room:
- Take Up, Remove & Haul Away Baseboards, Laminate, 12x12 Peel & Stick/Glued Down Tile, Carpet & VCT from floors.
- To Level Floors using self-leveling concrete.
- To install underlayment
- To Install click and lock floating, glueless, LVP on floors
- To install LVP underneath 2 appliances
- To install Baseboards
- To Install Shoe Molding
- To Install 3x reducers

 Kelly Scanlon Interior Design
a 1916 Craftsman in Oakland, CA gets new life. A complete overhaul of the original space while preserving all of the original detail in the casework and flooring. Overhead lighting (LED!) enhances the homeowners beautiful art collection, custom sized furniture provides increased seating and loads of texture and warmth, reducing any clutter. While remodeling the fireplace and adding period appropriate mantle detail, original windows were revealed, bringing more natural light into this illuminated living/family room.
Scott Hargis Photo
 MD Flooring Solutions, LLC
- To move furniture
- To move 2 appliances
First level: hallway, closets, laundry, kitchen, playroom, family room:
- Take Up, Remove & Haul Away Baseboards, Laminate, 12x12 Peel & Stick/Glued Down Tile, Carpet & VCT from floors.
- To Level Floors using self-leveling concrete.
- To install underlayment
- To Install click and lock floating, glueless, LVP on floors
- To install LVP underneath 2 appliances
- To install Baseboards
- To Install Shoe Molding
- To Install 3x reducers

 Bremen Builders
Amy Smucker Photography -
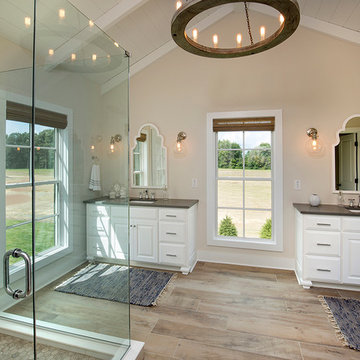
This shower has 4 body sprayers, a rain head and hand held shower wand. The glass door swings both ways because many people pull a door open to enter. When finished with their shower they can open the door inward and pull the towel off the exterior towel bar/door handle. Drying off in the shower reduces the amount of water that drips onto the bathroom floor.
Most shower glass installers rest the glass on the (usually flat) curb and apply a bead of silicone to keep the water from going out to the bathroom floor.
As with other projects, we sloped the curbs in the 3 shower stalls in this house inward and the glass walls are raised about 1/4 inch above the tile curb so air can flow easily which helps dissipate moisture after a shower.
The water doesn't splash out because the curb is sloped up on the outside of the glass. And more importantly since there is no silicone where the water can sit and grow mold this configuration makes cleaning the shower easy.
 Senergy360, LLC.
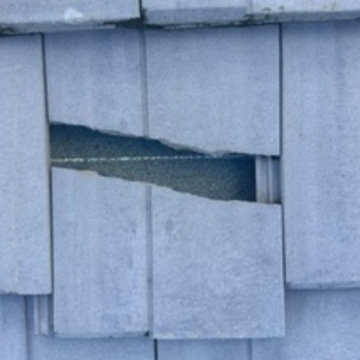
At Senergy360, we specialize in thorough roof inspections, focusing on damaged or broken tiles that can compromise your home's structural integrity. Our expert team examines every aspect of your roofing system to identify potential issues before they escalate into major problems.
To maintain a healthy home environment and prevent mold growth, regular roof maintenance is essential. Even small cracks or damaged areas can allow moisture infiltration, leading to serious issues like toxic mold development, compromised indoor air quality, and reduced energy efficiency. We recommend comprehensive inspections to identify and address these issues early.
Our commitment to healthy home construction extends beyond roof inspections. We understand that a truly healthy home requires proper ventilation, moisture control, and the use of non-toxic building materials. Our expertise helps homeowners create living spaces that promote wellness through:
Smart moisture management systems
Proper attic ventilation design
High-quality, sustainable building materials
Energy-efficient construction methods
Professional drainage solutions
By addressing these crucial elements during construction or renovation, we help create homes that protect your investment and support your family's health and well-being.


 Hendel Homes
Builder: Hendel Homes www.hendelhomes.com
Architect: Eskuche Associates
Photographer: Jon Huelskamp
Inspiration for a timeless exterior home remodel in Minneapolis
Inspiration for a timeless exterior home remodel in Minneapolis

 Cat Hackman
A free standing tub shines agains the green textured tile.
Bathroom - transitional bathroom idea in Calgary
Bathroom - transitional bathroom idea in Calgary

 Douglas Custom Homes
4 Meadow Green Court, Wichita Falls, TX
FEATURED HOME IN THE PARADE OF HOMES.
4885 Total SF Under Roof
3500 sq. ft. Living Area
½ Acre, Cul-de-Sac location
Two story, 4 Bedroom, 3 ½ Baths, Study, Formal Dining Room & Bonus Room
Two, two-car Garages and Large Rear Patio
(Master bedroom, Study & 4th bedroom all located on first floor)
Amenities Include:
• Kitchen
• Stainless Wolf, Sub-Zero & Scottsman Appliances:
o 36" Gas cook top & range; cast iron grates and sealed burners
o Energy Star qualified dishwasher, with purge filtration system
o 1200 watt Microwave Oven
o 15" Scottsman ice maker
o 36" Sub-Zero Counter depth Refrigerator
• Large, Open design, with prep island and floating sink island
• Quartz countertops.
• 42" high Knotty Alder custom cabinets.
• Under cabinet lighting
• Oversized Breakfast area with large windows
• Great Room, 19' 6" x 17' with wood burning fireplace and gas starter.
• Great Room wired for surround sound.
• Formal Dining Room with large picture window.
• Master Bedroom, 16' x 17' with double layered crown molding.
• Master Bath has 60" whirlpool tub & 4' x 6' shower
o Quartz counter top, double sinks and framed mirrors
o Walk in master closet with lots of shelving & rods
• Study / Office has coffered wood beam ceiling.
• Bonus Room upstairs, 15' x 21'
• Laundry room includes sink, cabinets and bench seating.
• Rear Patio, 18" 6" x 14' 4" includes built-in roll top, stainless Grill.
• Rinnai Tank-less high capacity hot water system.
• Two, Two-car Garages (4 stalls) with twin door openers & insulated doors. Expanded Driveway.
• Foam wall and sub-floor insulation.
• Outdoor roll-top Grill.
• Radiant barrier roof decking to reduce attic heat
• Vapor barrier house wrap diminishes moisture accessibility and drafts
• Low E tilt out windows reduce radiant heat and harmful UV rays
• 14 Seer, high efficient, HVAC unit with zone controls. Natural gas heater and electronic thermostat.
• Security System on all exterior doors and operating windows.
• Landscaping includes Bermuda grass, automatic sprinklers, Oak trees, shrubs, and 6' wood privacy fence with concrete curbing.
• On site Water well;
• Price $497000.
25