
Search results for "Test techniques" in Home Design Ideas

 Industrial Projects
Creating a comfortable outdoor living space is a priority for many homeowners and DIY enthusiasts. With rising summer temperatures, installing a shade tarp in your backyard offers an affordable and effective solution for sun protection. We’ve developed this detailed, step-by-step guide to help you confidently install a shade tarp that not only shields you from the sun but also adds aesthetic appeal to your outdoor area.
Benefits of Installing a Backyard Shade Tarp
Before diving into the installation process, let’s explore the key benefits of having a backyard shade tarp:
Provides UV Protection: Keeps your family and guests safe from harmful sun exposure.
Reduces Outdoor Temperatures: Creates a cooler, more enjoyable outdoor space.
Protects Outdoor Furniture: Extends the life of patio furniture by reducing sun damage.
Enhances Outdoor Aesthetics: Adds a modern, stylish look to your yard.
Budget-Friendly: More affordable compared to permanent structures like pergolas.
Materials and Tools You’ll Need
To begin your DIY backyard shade project, gather the following materials and tools:
Materials:
Shade tarp (UV-resistant and breathable)
Sturdy posts or existing structures (trees, fences, walls)
Mounting hardware (eye bolts, D-rings, turnbuckles, snap hooks)
Nylon or polyester rope, or stainless-steel wire
Concrete (if installing new posts)
Tools:
Power drill
Measuring tape
Level
Ladder
Wrench or adjustable spanner
Post hole digger (if installing new posts)
Step 1: Plan Your Shade Tarp Layout
The first step in installing your backyard shade tarp is careful planning. Take time to assess your outdoor area and answer these key questions:
Where is the sun’s path throughout the day?
What size and shape of tarp best suits your space?
Will you anchor the tarp to existing structures or install new posts?
What height do you want the tarp to sit at for maximum shade and airflow?
Pro Tip: Use string or garden hoses to visualize the tarp layout on the ground before making permanent decisions.
Step 2: Measure and Mark Anchor Points
Once you’ve determined the tarp’s location and orientation:
Measure the tarp dimensions.
Mark the exact points where each corner of the tarp will be anchored.
Ensure that the anchor points are at least 5–10% longer than the tarp size to allow for tensioning and slight adjustments.
Consider slope angles for water runoff. Aim for at least a 20-degree angle to prevent water pooling on the tarp.
Step 3: Install Support Posts (If Necessary)
If your backyard lacks existing anchor points like trees or fences, you’ll need to install sturdy support posts:
Dig post holes at least 24 inches deep and 8-12 inches wide for stability.
Set posts in concrete, making sure they remain plumb and level.
Allow the concrete to cure for at least 24–48 hours before applying tension from the tarp.
We recommend using pressure-treated wood, galvanized steel poles, or aluminum posts for longevity and strength.
Step 4: Install Mounting Hardware
With your anchor points ready, it’s time to install the necessary hardware:
Attach eye bolts or pad eyes securely into walls, posts, or other fixed structures.
For added flexibility and adjustability, install turnbuckles or tensioners to fine-tune the tarp’s tightness.
Connect snap hooks, D-rings, or carabiners to make assembly and disassembly easier.
Make sure all hardware is rated for outdoor use to prevent rust and corrosion.
Step 5: Attach and Tension the Shade Tarp
Now it’s time for the most satisfying part—mounting the shade tarp:
Begin by attaching one corner of the tarp to an anchor point.
Gradually attach the remaining corners, moving diagonally for even tension.
Adjust each connection point using your turnbuckles, ropes, or cables.
Pull the tarp tight enough to avoid sagging, but not so tight that it risks tearing.
Check that the tarp maintains the desired slope for rainwater runoff and adjust tension as needed.
Step 6: Final Adjustments and Safety Check
Before enjoying your new shaded area:
Inspect all anchor points and hardware for stability.
Test the tarp’s tension and make adjustments for even distribution.
Ensure that no sharp edges or loose connections remain that could damage the tarp or pose a safety hazard.
Confirm that the tarp is secure in windy conditions by giving it a gentle tug.
If you live in an area with frequent high winds, consider removing the tarp during storms to prevent damage.
Step 7: Enjoy Your Shaded Backyard Oasis
Once installed, your backyard shade tarp provides a comfortable and protective space for outdoor gatherings, relaxation, or family activities. You can decorate underneath with outdoor furniture, string lights, or potted plants to create a personalized outdoor retreat.
Maintenance Tips for Long-Lasting Shade Tarp Performance
To extend the life of your shade tarp, follow these maintenance guidelines:
Regularly check for wear and tear, especially around anchor points and seams.
Clean the tarp periodically with mild soap and water to prevent mildew buildup.
Store the tarp indoors during harsh weather seasons if it's not designed for year-round use.
Tighten hardware as needed to maintain proper tension and avoid sagging.
By following these simple care steps, your shade tarp will continue to deliver years of sun protection and outdoor comfort.
Conclusion: Upgrade Your Outdoor Space with a DIY Shade Tarp
Installing a shade tarp in your backyard is a cost-effective and rewarding DIY project. With careful planning, quality materials, and proper installation techniques, you’ll enjoy cool, shaded outdoor living all season long. This step-by-step guide ensures your project goes smoothly from start to finish.
 User
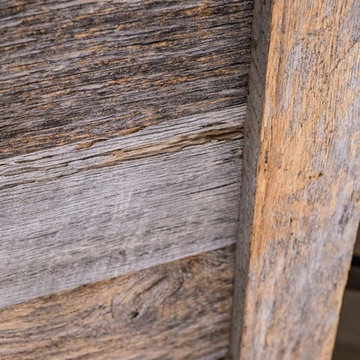
UserGiving reclaimed barnboard new life.
A blend of classic style and reclaimed materials creates an organic and stylish kitchen space.
Photography by Eric Roth
 Refined House, LLC
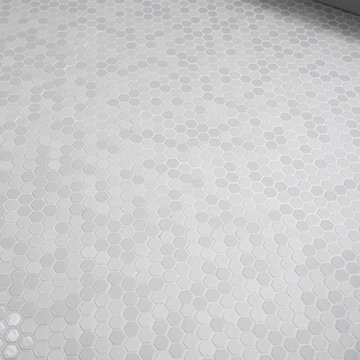
Example of a small transitional kids' gray tile and ceramic tile ceramic tile and white floor alcove shower design with shaker cabinets, blue cabinets, a two-piece toilet, gray walls, an undermount sink, quartz countertops and a hinged shower door
Find the right local pro for your project
 User
UserDetail of Iridescent Venetian plaster finish on all walls in Living Room by Christianson Lee Studios
Example of a transitional home design design in New York
Example of a transitional home design design in New York

 threshold interiors
Location: New York, NY, United States
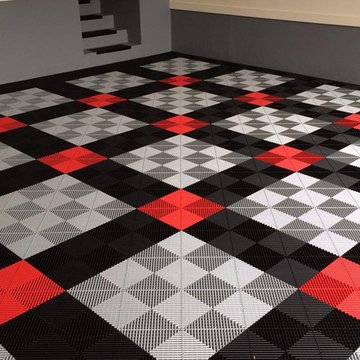
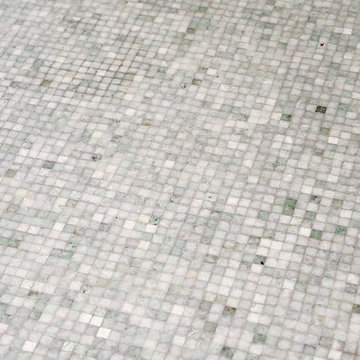
This Loft was tastefully renovated back in the '90s, but was due for an update and an expansion of the kitchen and dining areas to accommodate the client's cooking skills and entertaining needs. EnlargIing the island and adding cabinetry to delineate the office, bar and dining areas was a priority. The bathroom was updated to feel like a tranquil spa with beautiful new tile, plumbing fixtures and cabinets. Our biggest challenge was coordinating the entire renovation while our client was out of town for the Summer!
Photographed by: James Salomon
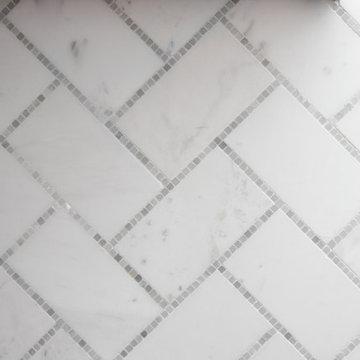
 TreHus Architects+Interior Designers+Builders
Example of a large classic u-shaped dark wood floor eat-in kitchen design in Minneapolis with a double-bowl sink, recessed-panel cabinets, white cabinets, white backsplash, stainless steel appliances, an island and black countertops

 HanStone Quartz USA
Tranquility HanStone Quartz
Inspiration for a contemporary home design remodel in Atlanta
Inspiration for a contemporary home design remodel in Atlanta
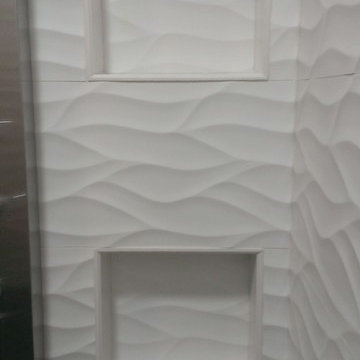
 Custom Surface Solutions
Custom Surface Solutions (www.css-tile.com) - Owner Craig Thompson (512) 430-1215. This project shows a master bathroom remodel. It includes a Porcelanosa large panel tile shower walls, pebble tile shower floor, penny tile wainscot and backsplash, 24 x 12 porcelain tile floor, and IKEA and custom cabinets.
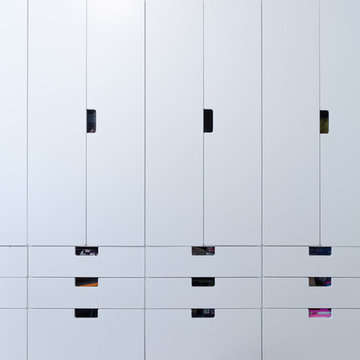
 LM // PM Productions, LLC
Large trendy gender-neutral light wood floor and beige floor playroom photo in New York with gray walls
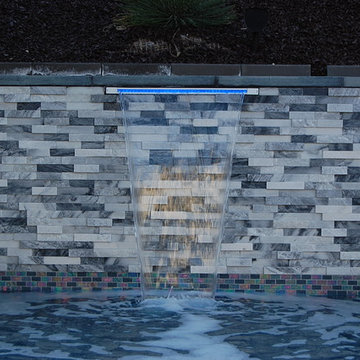
 At Home Theater Systems Inc
65" 4K TV, Apple TV, on a articulating arm with on wall and landscape speakers w/ Sonos
Mid-sized trendy backyard tile and rectangular infinity pool fountain photo in San Diego
Mid-sized trendy backyard tile and rectangular infinity pool fountain photo in San Diego
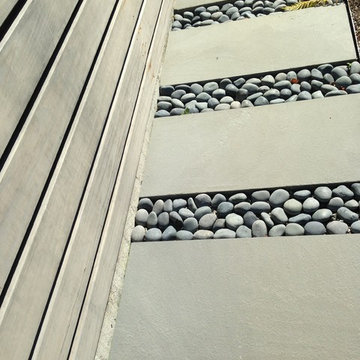
 Soren deNiord Design Studio
bluestone pavers with river river rock joints
Inspiration for a modern landscaping in Boston.
Inspiration for a modern landscaping in Boston.
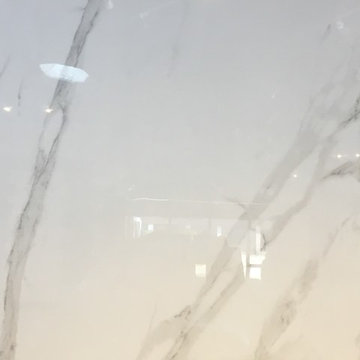
 VIVA TILES INC
Modern Bathroom Design.
By using Carrera Polished White Porcelain Tiles on the floor you will get the most "wow" reaction from any guest.
You also can use another two selections which are Statuario White Polished and Astoria White Polished porcelain tiles.
Designer & Builder #Alireza Ghanbari
Provided by #Dizeh Design Build
Tile Supplier #VIVA TILES INC
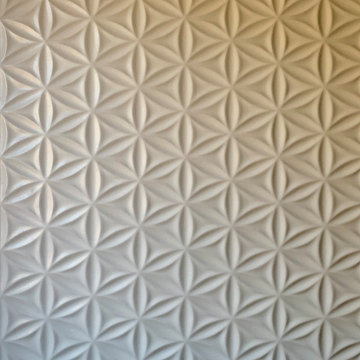
 Brad Cox, Architect, Inc.
A close up of the shower tile.
Example of a small beach style white tile and ceramic tile porcelain tile, beige floor and single-sink alcove bathtub design in San Francisco with shaker cabinets, brown cabinets, a one-piece toilet, white walls, an undermount sink, quartz countertops, gray countertops and a built-in vanity
Example of a small beach style white tile and ceramic tile porcelain tile, beige floor and single-sink alcove bathtub design in San Francisco with shaker cabinets, brown cabinets, a one-piece toilet, white walls, an undermount sink, quartz countertops, gray countertops and a built-in vanity
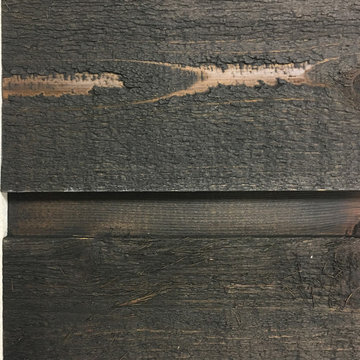
 Legacy Pre-Finishing, Inc.
Western Red Cedar Channel Rustic 8 inch siding in a select tight knot grade pre-finished in a beautiful Cabot semi-transparent oil stain. Because this is a semi-transparent stain it will not fully cover the natural color of the wood but will allow it to peak through the stain giving it a naturally weathered look but with a darker tint.
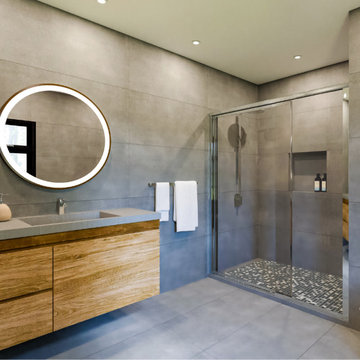
 Construction And More Las Vegas
Expert Bathroom Remodel Services by Construction And More Las Vegas
we understand that the bathroom is one of the most essential and personal spaces in your home. Whether you’re looking to update an outdated bathroom, create a luxurious spa-like retreat, or improve functionality and storage, our expert bathroom remodel services are designed to bring your vision to life. With a focus on quality craftsmanship and personalized design, we serve homeowners in Las Vegas, Summerlin, Henderson, and the surrounding areas.
Why Choose Construction And More for Your Bathroom Remodel?
Expertise and Experience
With years of experience in bathroom remodeling, our team has the knowledge and skills to handle projects of all sizes and complexities. We stay up-to-date with the latest design trends and technologies to ensure that your bathroom remodel not only meets but exceeds your expectations.
Customized Solutions
Every bathroom remodel is unique. We tailor our services to meet your specific needs and preferences, creating a custom bathroom design that reflects your personal style and complements your home’s aesthetic. From vanities to showers, every element is chosen with your vision in mind.
Quality Craftsmanship
Our commitment to quality craftsmanship ensures that your bathroom renovation stands the test of time. We use only the highest quality materials and employ precise techniques to deliver a finished product that is both beautiful and durable.
Comprehensive Services
Our comprehensive bathroom remodeling services cover everything from initial design and planning to final installation and finishing touches. Whether you need a full bathroom renovation or a simple makeover, we provide a seamless and stress-free experience.
Our Bathroom Remodeling Process
Initial Consultation and Planning
The process begins with a detailed consultation to understand your vision, needs, and budget. We provide expert advice on design, layout, and materials to create a plan that enhances both the functionality and aesthetics of your bathroom.
3D Design and Visualization
Using state-of-the-art 3D design software, we create realistic renderings of your proposed bathroom remodel. This allows you to visualize the space and make adjustments before construction begins, ensuring that every detail aligns with your vision.
Custom Vanities and Storage Solutions
Custom vanities are a cornerstone of any bathroom remodel. Our skilled craftsmen design and build vanities that maximize storage and reflect your style. Whether you prefer modern sleek designs or traditional classic looks, we create vanities that are both functional and beautiful.
Countertops and Backsplashes
The choice of countertops and backsplashes significantly impacts the look and feel of your bathroom. We offer a wide range of materials, including granite, quartz, and marble, to suit your style and budget. Our team helps you select the perfect combination that adds elegance and durability to your bathroom.
Lighting and Fixtures
Proper lighting is essential for both functionality and ambiance in your bathroom. We design and install lighting solutions that highlight key areas, such as vanity lighting, recessed lighting, and ambient lighting. Our selection of fixtures includes a variety of styles to match your bathroom design.
Shower and Bathtub Installation
Modern showers and bathtubs are integral to a functional and luxurious bathroom. We guide you in selecting high-quality, stylish options that meet your needs and complement your bathroom design. Our team ensures seamless installation for a cohesive and polished look.
Flooring and Finishes
The right flooring enhances the beauty and practicality of your bathroom. We offer a variety of flooring options, including tile, natural stone, and luxury vinyl, to suit your preferences. Our team ensures professional installation and finishes that withstand the rigors of daily use while adding elegance to your space.
Construction and Project Management
Once the design and materials are finalized, our experienced construction team takes over. We manage the entire remodeling process, from demolition to final touches, with meticulous attention to detail. Our project managers coordinate all aspects of the remodel, ensuring that the work is completed on time and within budget. We keep you informed throughout the process, addressing any concerns and ensuring your satisfaction.
Why Bathroom Remodeling Matters
Enhanced Functionality
A well-designed bathroom maximizes space and improves functionality. Whether it’s adding more storage, upgrading fixtures, or reconfiguring the layout, our remodels ensure that your bathroom works better for your daily routine.
Increased Home Value
A bathroom remodel is one of the best investments you can make in your home. An updated, modern bathroom increases your property’s value and appeals to potential buyers if you decide to sell.
Improved Aesthetics
Our remodels transform outdated bathrooms into beautiful, contemporary spaces. From luxurious finishes to modern fixtures, we create a bathroom that is both stylish and inviting.
Energy Efficiency
Upgrading to energy-efficient fixtures and appliances can reduce your utility bills and environmental footprint. We offer a range of eco-friendly options that save water and energy without compromising on performance or style.
Our Commitment to Sustainability
At Construction And More, we are committed to sustainable practices in our bathroom remodels. We source eco-friendly materials and prioritize energy-efficient fixtures to reduce environmental impact. Our team is dedicated to creating beautiful, functional bathrooms that are also kind to the planet.
Testimonials and Case Studies
Our satisfied clients speak to the quality and reliability of our services. We have successfully completed numerous bathroom remodels, each tailored to meet the unique needs and preferences of our clients. Visit our website to read testimonials and view case studies of our work.
Contact Us Today
Ready to start your bathroom remodel? Contact Construction And More Las Vegas for expert bathroom remodeling services that combine functionality, beauty, and quality. Our experienced team is here to bring your vision to life, creating a bathroom that meets your needs and exceeds your expectations. Call us today for a free consultation and let us help you create the bathroom of your dreams. Whether you need a complete bathroom renovation or a custom bathroom remodel, Construction And More is your trusted partner for exceptional bathroom transformation services.


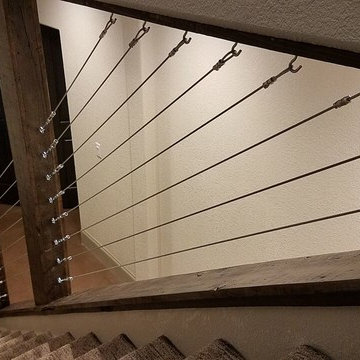
 Story Barns
Inspiration for a mid-sized rustic carpeted straight cable railing staircase remodel in Denver with carpeted risers
 Dream Home Construction
Excited to share with you a new bathroom project we’ve completed for a client in Kirkland featuring brand new shower glass, Carrara marble wall, patterned tile floor, new bathroom fixtures, new tub, and vanity. This is definitely a trend continuing into 2020, an emphasis on minimalism yet sophisticated design.
9