
Search results for "Vct flooring" in Home Design Ideas
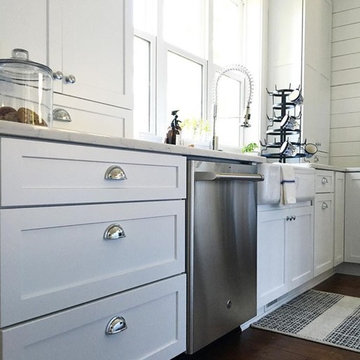
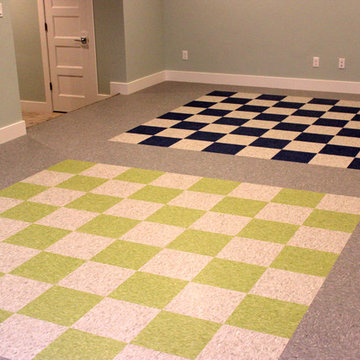
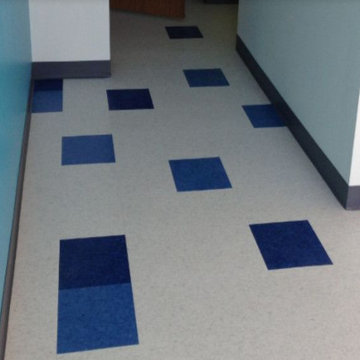
 Jerry's Floor Store
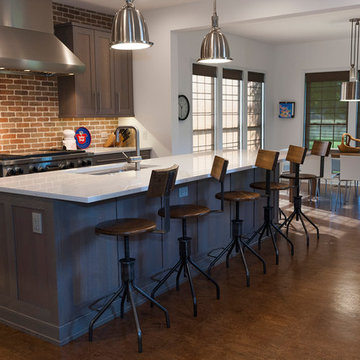
Floor Maple Legacy
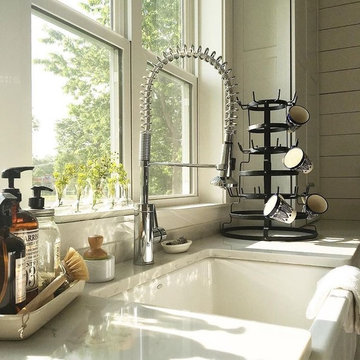
Countertop Quartz Onixxa
Example of a transitional home design design in Minneapolis
Example of a transitional home design design in Minneapolis
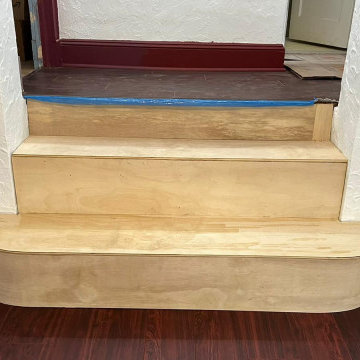
 MD Flooring Solutions, LLC
- To install plywood ON TOP of VCT tiles on steps: treads & risers on 2x staircases using LOCTITE & flooring nails (First staircase, Second staircase, First set of steps near hallway & Second set of steps near hallway)
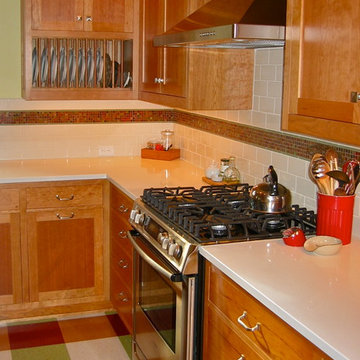
 Kismet Design
Erin Marshall
Large transitional single-wall eat-in kitchen photo in Portland with a drop-in sink, flat-panel cabinets, light wood cabinets, granite countertops, beige backsplash, glass tile backsplash, stainless steel appliances and an island
Large transitional single-wall eat-in kitchen photo in Portland with a drop-in sink, flat-panel cabinets, light wood cabinets, granite countertops, beige backsplash, glass tile backsplash, stainless steel appliances and an island
Find the right local pro for your project


 Design Studio West
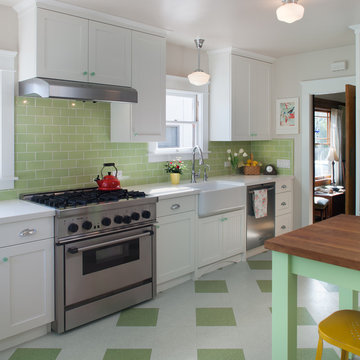
Green glass cabinet knobs paired with fresh looking subway tile on the back splash add a pop of color that balances with the fresh color of the table and niche. Chrome accent fixtures, a simple farm house sink, school house pendants, and bead board details finish off this bright and cheerful space.
Design Studio West- Karl Utzman
NKBA Star Design AWARD WINNER 2014


 Jerry's Floor Store
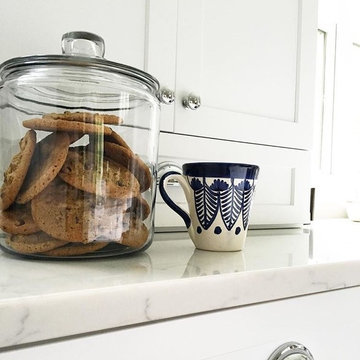
Countertop Quartz color Onixaa
Home design - transitional home design idea in Minneapolis
Home design - transitional home design idea in Minneapolis
 Bluestem Remodeling
"Brandon Stengel - www.farmkidstudios.com”
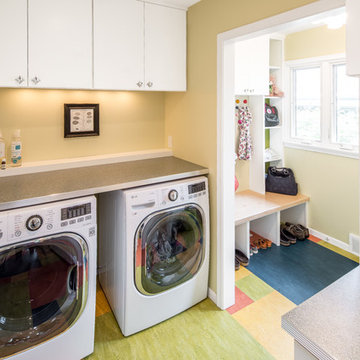
Inspiration for a mid-sized 1950s galley utility room remodel in Minneapolis with flat-panel cabinets, white cabinets, beige walls and a side-by-side washer/dryer
Inspiration for a mid-sized 1950s galley utility room remodel in Minneapolis with flat-panel cabinets, white cabinets, beige walls and a side-by-side washer/dryer
 MD Flooring Solutions, LLC
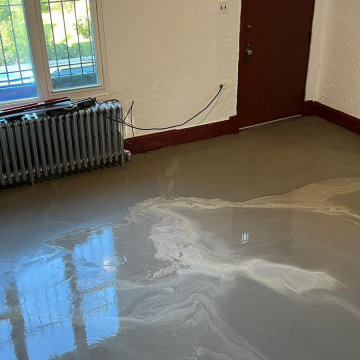
- Do NOT remove VCT tiles!
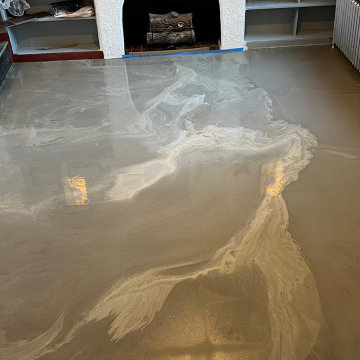
- To Level Floors using self-leveling concrete ON TOP of 12x12" VCT tiles in Living Room Only
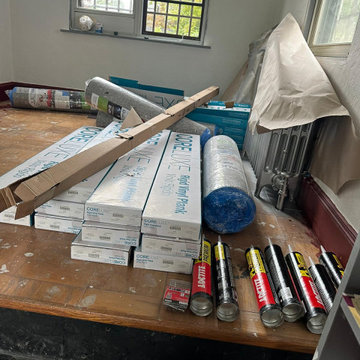
- To install QuietWalk Premium underlayment in living room, dining room, hallway on concrete subfloor - 306.04 sqft
- To Install click and lock floating, glueless Luxury Vinyl Planks ON TOP of parquet floors in dining room, hallway and on self-leveling concrete in living room - 306.04 sqft
- To Install reducers: 3LFT+ 3LFT+ 2.5LFT+ 2.5 LFT for hallway
- To install Stair nosings 5.5 LFT + 4.75 LFT for kitchen & hallway
 MD Flooring Solutions, LLC
- Do NOT remove VCT tiles!
- To Level Floors using self-leveling concrete ON TOP of 12x12" VCT tiles in Living Room Only
- To install QuietWalk Premium underlayment in living room, dining room, hallway on concrete subfloor - 306.04 sqft
- To Install click and lock floating, glueless Luxury Vinyl Planks ON TOP of parquet floors in dining room, hallway and on self-leveling concrete in living room - 306.04 sqft
- To Install reducers: 3LFT+ 3LFT+ 2.5LFT+ 2.5 LFT for hallway
- To install Stair nosings 5.5 LFT + 4.75 LFT for kitchen & hallway
 MD Flooring Solutions, LLC
- Do NOT remove VCT tiles!
- To Level Floors using self-leveling concrete ON TOP of 12x12" VCT tiles in Living Room Only
- To install QuietWalk Premium underlayment in living room, dining room, hallway on concrete subfloor - 306.04 sqft
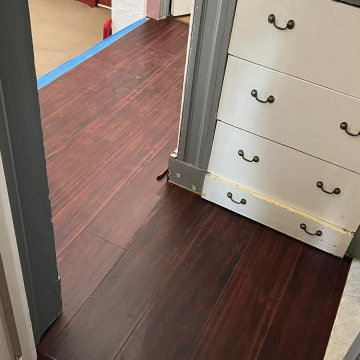
- To Install click and lock floating, glueless Luxury Vinyl Planks ON TOP of parquet floors in dining room, hallway and on self-leveling concrete in living room - 306.04 sqft
- To Install reducers: 3LFT+ 3LFT+ 2.5LFT+ 2.5 LFT for hallway
- To install Stair nosings 5.5 LFT + 4.75 LFT for kitchen & hallway

 MD Flooring Solutions, LLC
- Do NOT remove VCT tiles!
- To Level Floors using self-leveling concrete ON TOP of 12x12" VCT tiles in Living Room Only
- To install QuietWalk Premium underlayment in living room, dining room, hallway on concrete subfloor - 306.04 sqft
- To Install click and lock floating, glueless Luxury Vinyl Planks ON TOP of parquet floors in dining room, hallway and on self-leveling concrete in living room - 306.04 sqft
- To Install reducers: 3LFT+ 3LFT+ 2.5LFT+ 2.5 LFT for hallway
- To install Stair nosings 5.5 LFT + 4.75 LFT for kitchen & hallway
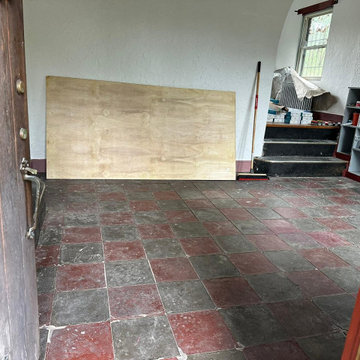 MD Flooring Solutions, LLC
- Do NOT remove VCT tiles!
- To Level Floors using self-leveling concrete ON TOP of 12x12" VCT tiles in Living Room Only
- To install QuietWalk Premium underlayment in living room, dining room, hallway on concrete subfloor - 306.04 sqft
- To Install click and lock floating, glueless Luxury Vinyl Planks ON TOP of parquet floors in dining room, hallway and on self-leveling concrete in living room - 306.04 sqft
- To Install reducers: 3LFT+ 3LFT+ 2.5LFT+ 2.5 LFT for hallway
- To install Stair nosings 5.5 LFT + 4.75 LFT for kitchen & hallway
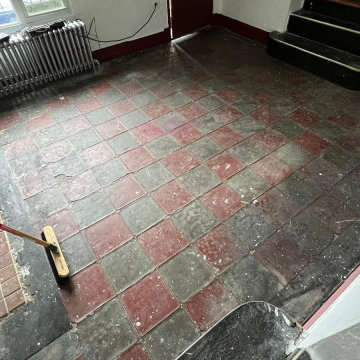 MD Flooring Solutions, LLC
- Do NOT remove VCT tiles!
- To Level Floors using self-leveling concrete ON TOP of 12x12" VCT tiles in Living Room Only
- To install QuietWalk Premium underlayment in living room, dining room, hallway on concrete subfloor - 306.04 sqft
- To Install click and lock floating, glueless Luxury Vinyl Planks ON TOP of parquet floors in dining room, hallway and on self-leveling concrete in living room - 306.04 sqft
- To Install reducers: 3LFT+ 3LFT+ 2.5LFT+ 2.5 LFT for hallway
- To install Stair nosings 5.5 LFT + 4.75 LFT for kitchen & hallway
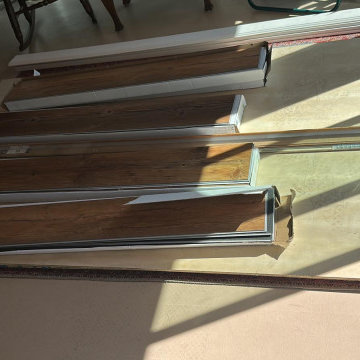 MD Flooring Solutions, LLC
- Do NOT remove VCT tiles!
- To Level Floors using self-leveling concrete ON TOP of 12x12" VCT tiles in Living Room Only
- To install QuietWalk Premium underlayment in living room, dining room, hallway on concrete subfloor - 306.04 sqft
- To Install click and lock floating, glueless Luxury Vinyl Planks ON TOP of parquet floors in dining room, hallway and on self-leveling concrete in living room - 306.04 sqft
- To Install reducers: 3LFT+ 3LFT+ 2.5LFT+ 2.5 LFT for hallway
- To install Stair nosings 5.5 LFT + 4.75 LFT for kitchen & hallway
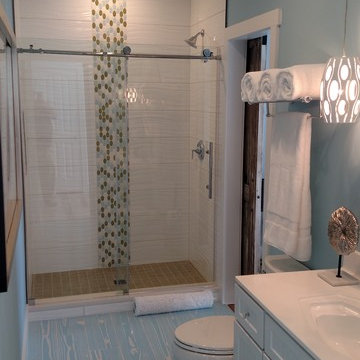


 MD Flooring Solutions, LLC
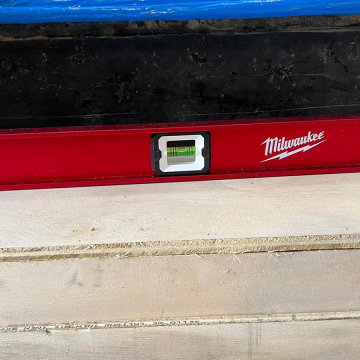
- To install plywood ON TOP of VCT tiles on steps: treads & risers on 2x staircases using LOCTITE & flooring nails (First staircase, Second staircase, First set of steps near hallway & Second set of steps near hallway)
 MD Flooring Solutions, LLC
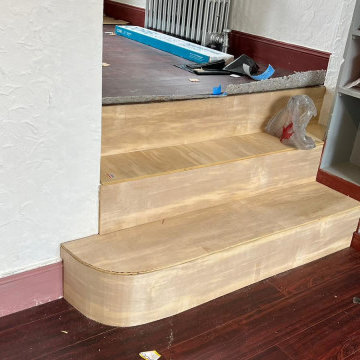
- To install plywood ON TOP of VCT tiles on steps: treads & risers on 2x staircases using LOCTITE & flooring nails (First staircase, Second staircase, First set of steps near hallway & Second set of steps near hallway)
7