
Search results for "Videos quick" in Home Design Ideas


 Boxwood Interiors
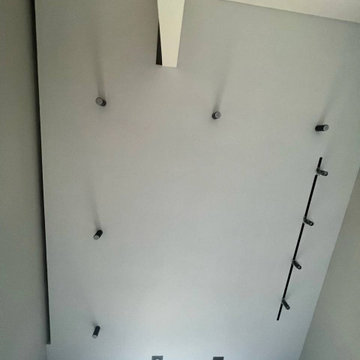
BEFORE PICTURE: The ceiling and some of the walls had to be resurfaced before the new wallcovering could be installed.The final outcome of the room depends so much on the prep work before hand. New electric had to be run to accomodate the new lighting in the room as well.


Find the right local pro for your project



 Katz Design & Builders inc
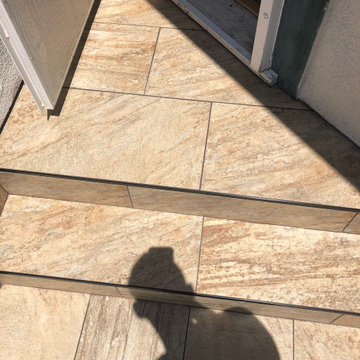
Balcony Renovation, a charm musician old house with 2nd deck that view the pool , after 50 years must to be remodel.
We met and went over how we can save the design of the house but still renovated and answer to our clint needs - Wind, water damage, mold , safety, and back to use it .
So we build a concept, and design it so our clint can see it on the 3D rendering and build according our plan.
Balcony got all new framing floor joist and subfloor, waterproof, stucco wall, and brick wall match house design, tile floor, electrical fixtures, speakers, lights, a glass railing , we even salvage our client important glasses that he have for many years and waited to be installed at this project.

 Terry's Floor Fashions Inc
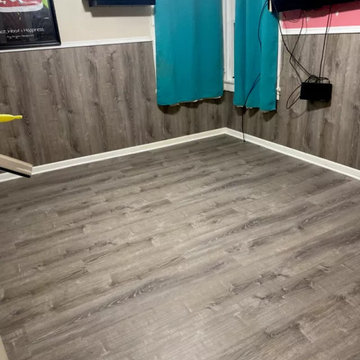
Wood Floors is LM Kendall Plank color Twilight
Area Rugs 7' Round, 3x5 and 3x2 bound from Terry's Floor Fashions Shaw Carpet Sweet Beauty Color Cocoa Quartz


 Silver Maple Construction LLC
Photography by Susan Teare • www.susanteare.com
Staircase - contemporary staircase idea in Burlington
Staircase - contemporary staircase idea in Burlington


 Organize Create Decorate
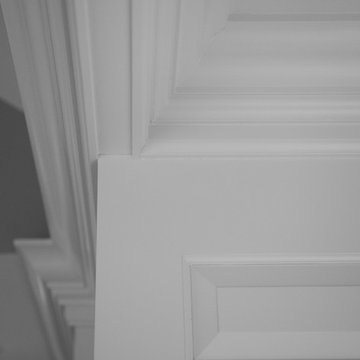
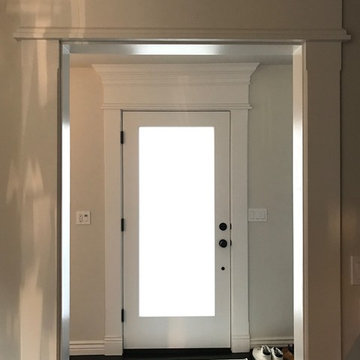
Alicia Slayton painted this door for a client wanting to sell their property and the door was severely damaged. As you can see the transformation was incredible.


 Tile Doctor Ltd
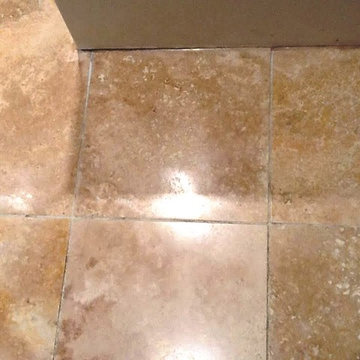
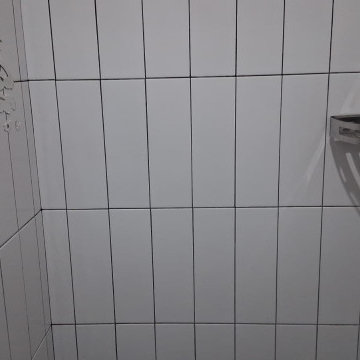
Earlier this month I was in the town of Northampton, to see a client who had reported a problem with her Travertine kitchen tiles. Basically the grout between the tiles was badly stained, to the point of appearing almost black.
The Travertine tiles were also in need of some maintenance, and so I was commissioned to provide a clean, polish and a fresh seal. Travertine is a popular choice for kitchen flooring due to its relatively high durability and distinct features. My task was to get this floor back to looking its best.
My priority was to address the badly stained grout so I cleaned the grout lines by hand using a combination of hand brushes and Tile Doctor Grout Clean-Up. The surface was pre-wet with water, before a solution of Grout-Clean Up and clean water was applied to the surface. The brushes were then used to agitate the solution. Grout Clean-Up contains a mix of concentrated phosphoric acid and cleaner designed to penetrate below the surface of the grout to remove grout stains, smears and mineral deposits.
As you can see from the photos, Grout Clean-Up made an immediate difference to the appearance of the tiles. This product is suitable for use on masonry and acid resistant surfaces. After completing the clean, I gave the floor a thorough rinse to neutralise the floor after cleaning and removed as much of the water as possible using a wet vacuum.
Following this, I paid attention to the tiles themselves, cleaning them to achieve a polished effect by using a system of burnishing pads. Tile Doctor burnishing pads comprise a set of four pads varying in grit type, from Coarse and Medium to Fine and Very Fine. I applied all four pads in turn to the floor, stopping to rinse the floor in between each. The result was a high quality polished finish.
I then left the floor to dry completely overnight, before commencing the seal the next day. My choice of sealing product was Tile Doctor Colour Grow which is a colour intensifying sealer that both enhances the natural appearance of the stone and provides a durable surface seal.
My client was very pleased with the finished product, and left the following comment on the Tile Doctor feedback system: “efficiently done”, yielding “good results”.
Phil Vissian
Northamptonshire Tile Doctor





44