

Tufted Headboard
13 years ago
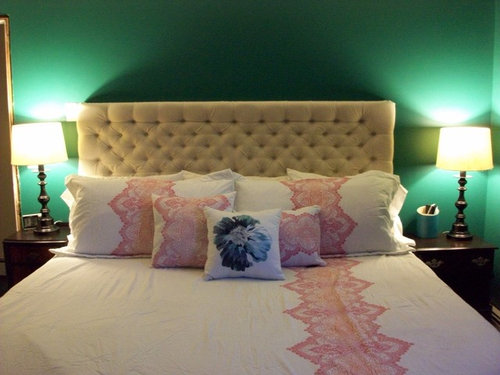
Featured Answer
Sort by:Oldest
Comments (30)
 PRO13 years ago
 PRO13 years ago
 PRO13 years ago
- 13 years ago
- 13 years ago
- 13 years ago
- PRO13 years ago
 13 years ago
 PRO13 years ago
 PRO13 years ago
- 13 years ago
- 13 years ago
- 13 years ago
 PRO13 years ago
- 13 years ago
- PRO13 years ago
- 13 years ago
- PRO13 years ago
- 13 years ago
 PRO13 years ago
- 13 years ago
- 13 years ago
- 13 years ago
- 13 years ago
- 13 years ago
 PRO13 years ago
 PRO13 years ago
 13 years ago
- 13 years ago
Related Stories
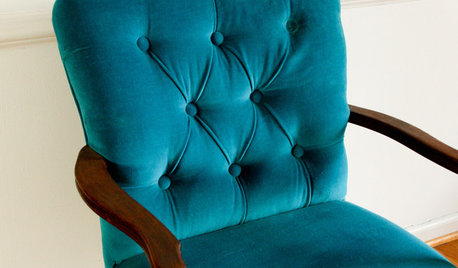
DIY PROJECTSHow to Replace a Button on a Tufted Chair
Fix a popped button on a tufted chair back with this upholstery teacher's step-by-step tutorial
Full Story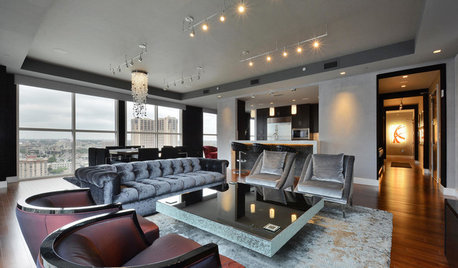
FURNITUREObjects of Desire: New Takes on the Tufted Sofa
From curving round a bend to rolling with steampunk, these decidedly different chesterfields fit more than traditional settings
Full Story
FURNITURETuft Love: Classic Look With Contemporary Appeal
Sumptuous Upholstery Adds Undeniable Glamour to All Kinds of Spaces
Full Story
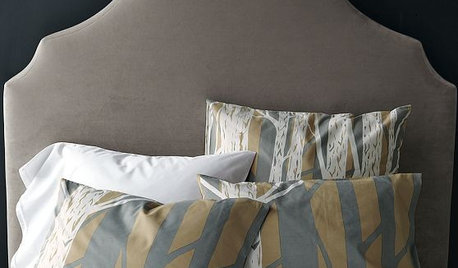
Guest Picks: Neutral Upholstered Beds and Headboards
Bring warm texture and soothing hues to a bedroom with these options that leave room for colorful bedding and pillows
Full Story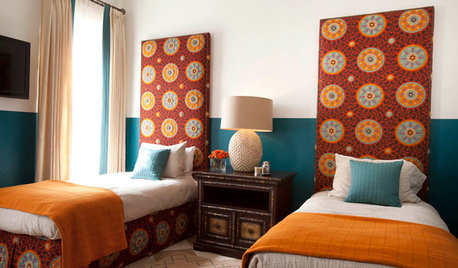
DECORATING GUIDES12 Ways to Celebrate a Fabulous Patterned Headboard
These extravagant bedroom textiles are events unto themselves. Let the revelry begin
Full Story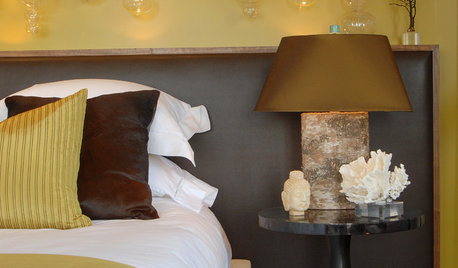
BEDROOMSTake Your Headboard to New Lengths
If you want to create a bold, dramatic statement for your bed, consider an extra-wide headboard
Full Story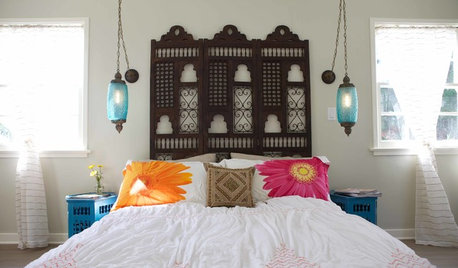
BEDROOMSHeadboards That Welcome You to Bed
When your headboard is as inviting as your mattress, you can't help but be drawn in
Full Story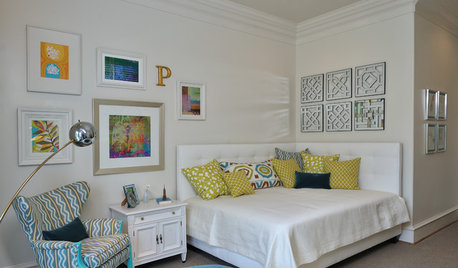
BEDROOMSDesign Solution: Dual Headboards to Cap a Corner Bed
Neatly tailored but as casual as you please, this corner headboard style is a fitting finishing touch for a flexible, lounge-like bed
Full Story

MarissaOriginal Author