

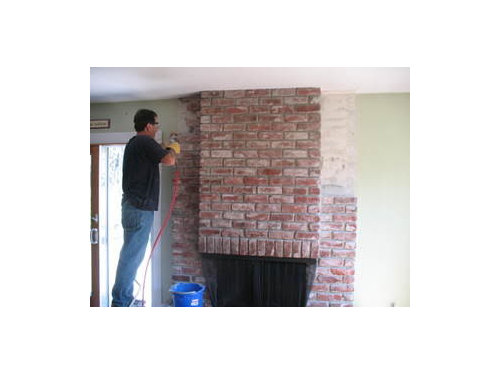
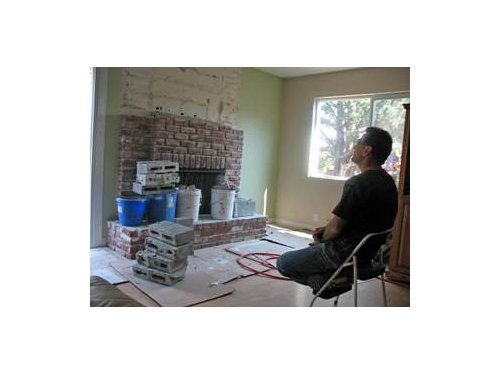
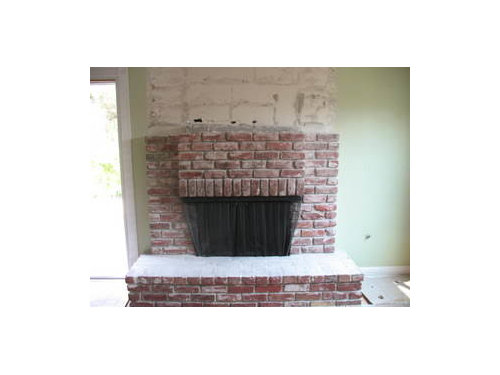
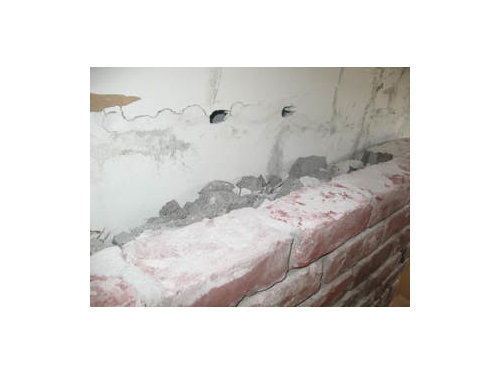
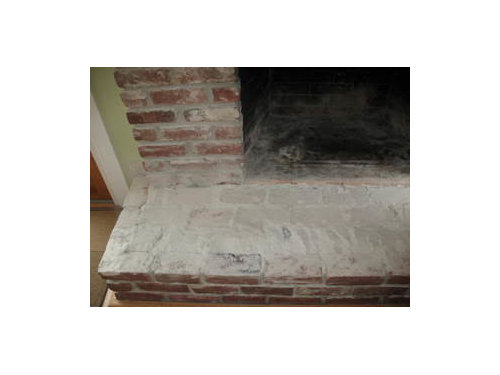
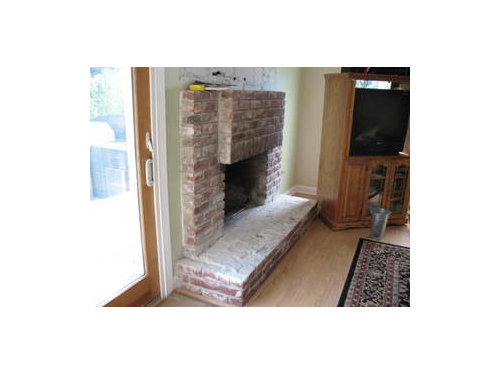
Removing Bricks - 6 PICS
19 years ago
Comment

Related Stories
GARDENING AND LANDSCAPING6 Ways to Rethink Your Patio Floor
Figure out the right material for your spring patio makeover with this mini guide to concrete, wood, brick and stone
Full Story
BRICKHow to Make an Interior Brick Wall Work
Learn how to preserve, paint, clean and style a brick wall to fit your design scheme
Full Story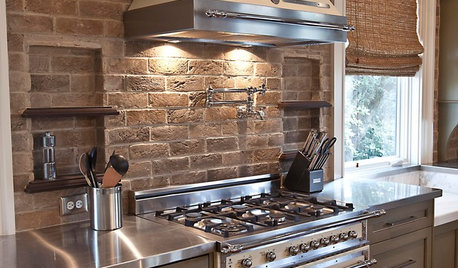
KITCHEN DESIGNYes, You Can Use Brick in the Kitchen
Quell your fears of cooking splashes, cleaning nightmares and dust with these tips from the pros
Full Story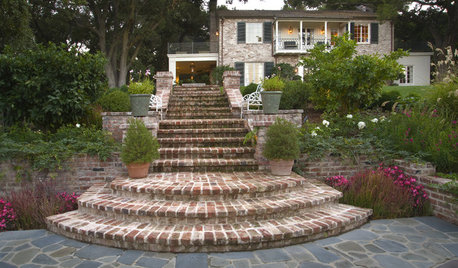
MATERIALSReclaimed Brick Brings History and Charm to the Garden
Old bricks make durable and beautiful pavers for the home landscape
Full Story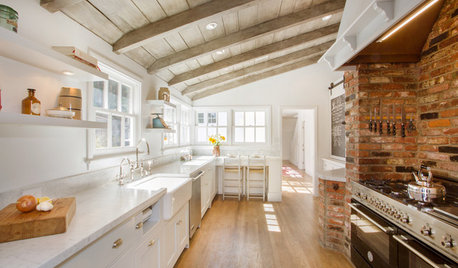
KITCHEN DESIGNKitchen of the Week: Brick, Wood and Clean White Lines
A family kitchen retains its original brick but adds an eat-in area and bright new cabinets
Full Story
KITCHEN DESIGN6 Kitchens, 6 DIY Updates
Get inspired to give your own kitchen a fresh look with ideas from these affordable, do-it-yourself fixes
Full Story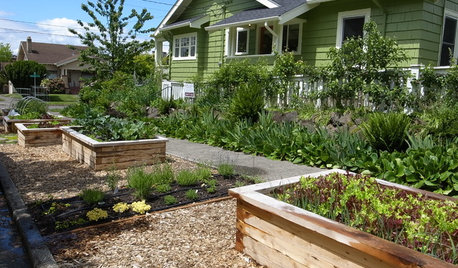
BEFORE AND AFTERSSee 6 Yards Transformed by Losing Their Lawns
Wondering whether a turf lawn is the best use of your outdoor space? These homeowners did, and they found creative alternatives
Full Story
WINDOW TREATMENTS6 Ways to Deal With a Bad View Out the Window
You can come out from behind the closed curtains now. These strategies let in the light while blocking the ugly
Full Story
SELLING YOUR HOUSE6 Tips for Staging Historic Homes
Putting a period home on the market requires a unique level of attention to detail. Here's how to preserve its historic appeal
Full Story
REMODELING GUIDES6 Must-Know Lessons From a Serial Renovator
Get your remodel right the first time, with this insight from an architect who's been there too many times to count
Full Story
Sponsored
Related Professionals
Meridian Interior Designers & Decorators · Jacksonville Interior Designers & Decorators · Anniston Interior Designers & Decorators · South Bend Interior Designers & Decorators · Kirksville Interior Designers & Decorators · Bennington Interior Designers & Decorators · Albuquerque Interior Designers & Decorators · El Dorado Tile and Stone Contractors · San Jose Tile and Stone Contractors · Odessa Tile and Stone Contractors · Grand Island Interior Designers & Decorators · Cleveland Interior Designers & Decorators · Youngstown Interior Designers & Decorators · Burlington Interior Designers & Decorators · Vancouver Interior Designers & Decorators