Software
Houzz Logo Print
noellabelle

DIY Stair Remodel

13 years ago
My dh installed hardwood floors on our 1st level this winter, and we are going to get new carpet soon for the upstairs. Our carpet was probably original to our condo (1987) and really really past it's prime.

Since the stairs were carpeted, I decided to take a chance and pull up the carpet to see what was underneath. We had dingy pine risers, but they had potential. I figured that I would try and refinish them, with the worst case scenario being that we would just re carpet over them when the upstairs is done.

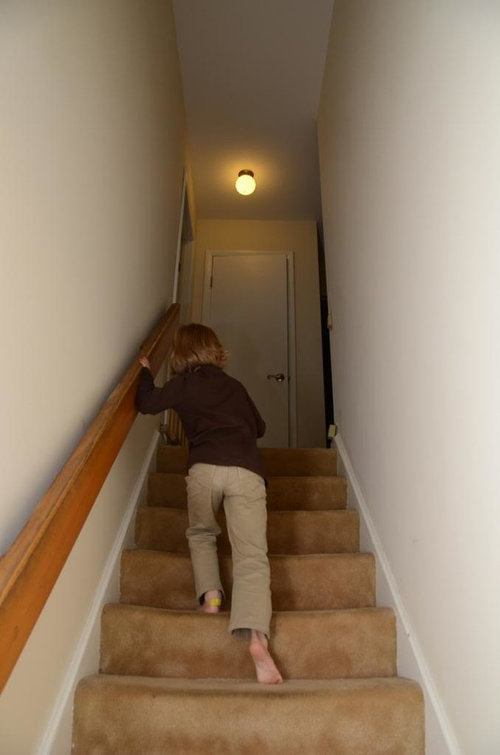
Here is the before:

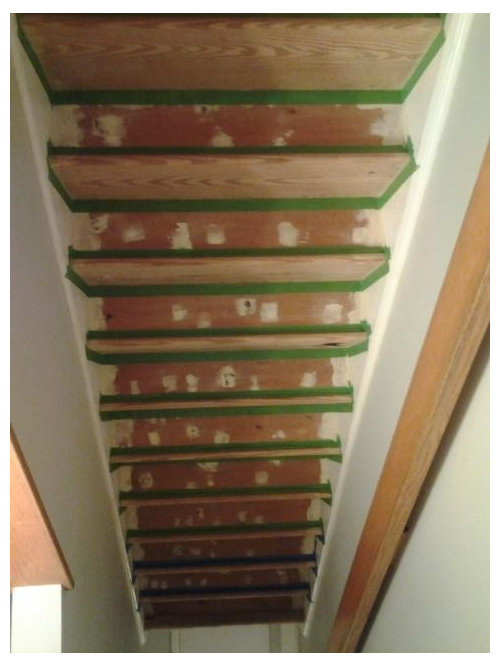
I removed the carpet, and pulled out a lot of staples. Then I spent many hours sanding. There was a lot of paint on the edges of the steps. I had pictures of that, but the same little girl going up the steps in the previous pic erased them from my phone. : )

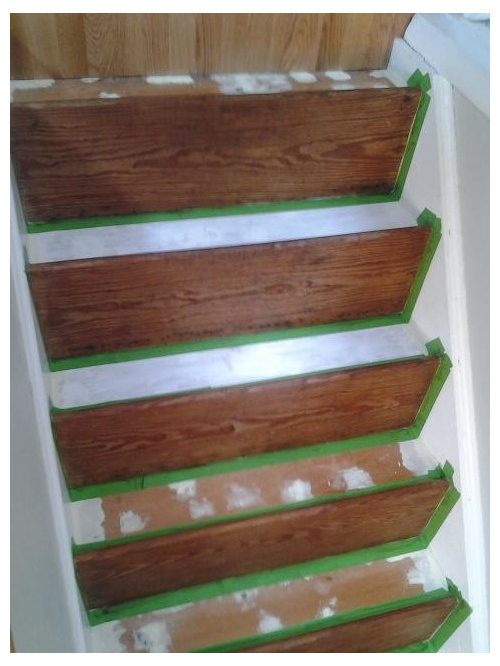
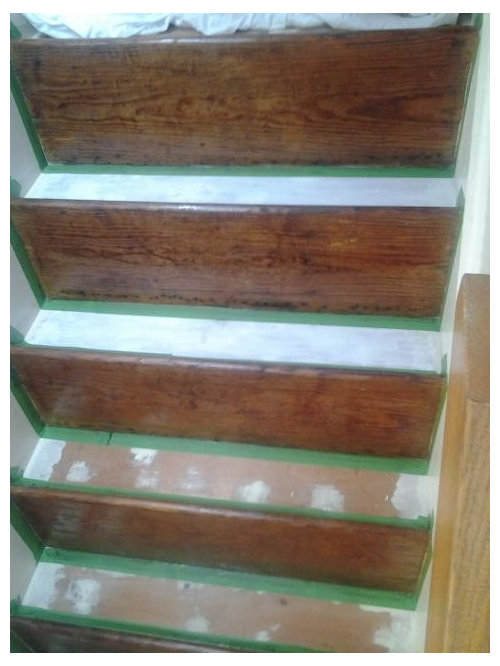
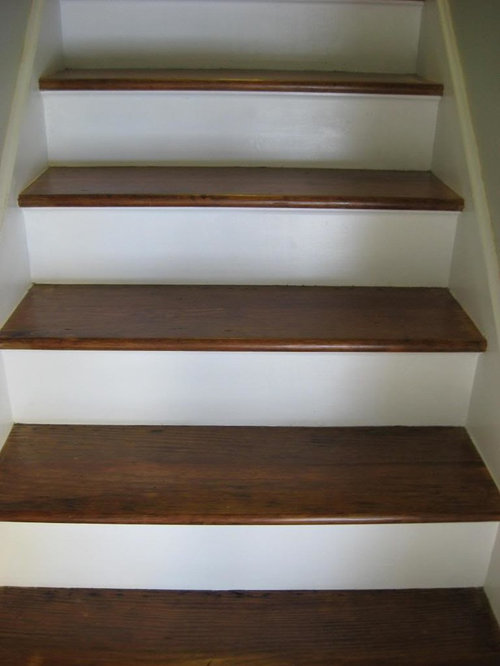
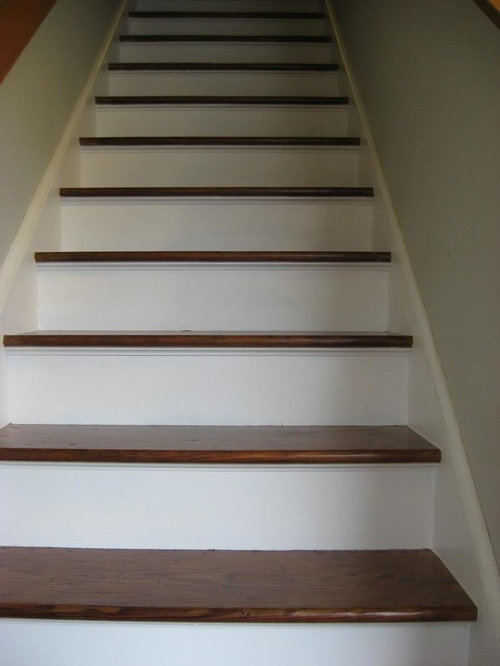
I then stained the treads, first applying a wood pre-stain conditioner. They came out a little darker than I was planning, but I like the color anyway (I tested on a scrap piece of pine, which didn't take the stain nearly as well).

Then came 4 coats of satin poly

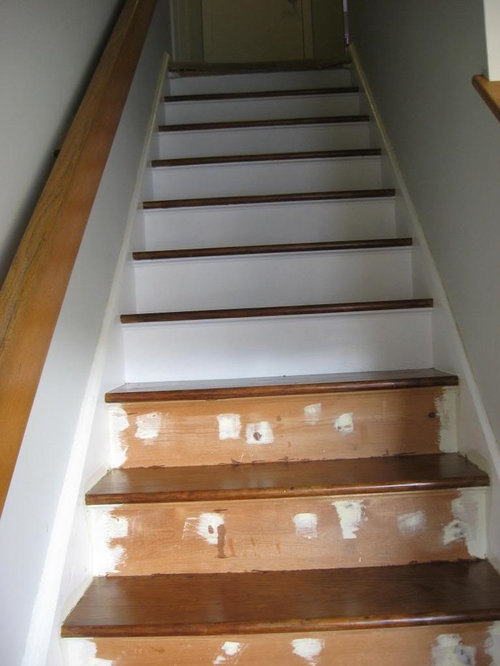
Last was priming and painting the risers and trim that had been covered previously by the carpet.

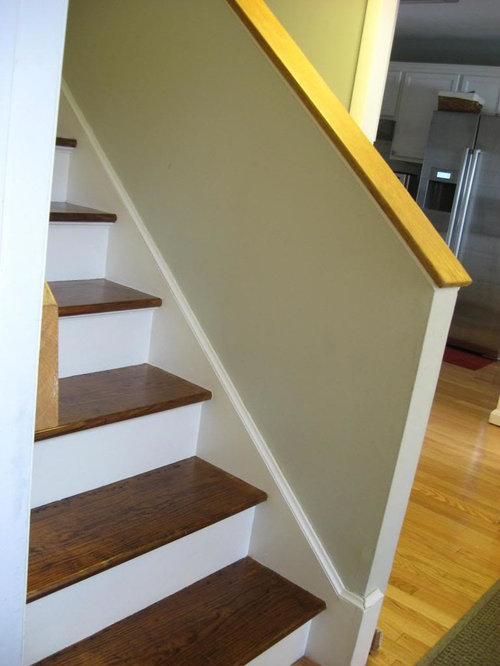
I am very happy with the finished product!!! (note: the contrast between the oak floors and the stained treads is exaggerated in the pics...in real life, they are more harmonious).

I think I spent under $50 on this. I would have never been able to install new treads by myself, and I am so happy that this project worked out! I know that the railing is quite ugly (we just were watching ET and noticed they had the same enormous wood railing as us!), but that's a project for another day. : )

Comments (22)

  • 13 years ago

    Wow, that's a beautiful transformation! It looks like a professional result. Makes a huge difference and brightens up the stairway.

  • 13 years ago

    Really beautiful! Nice job!

  • 13 years ago

    That is one fantastic job! I continue to be amazed at the initiative and ability of GWers who can make these WOW improvements in their own homes.

  • 13 years ago

    Amazing!! Great transformation.

  • 13 years ago

    Great job!

  • 13 years ago

    That looks great! I hate carpeted stairs, we had a similar issue in our townhouse. Unlike yours however we didn't have "real' treads under the carpet, just low grade plywood! I did have to replace the treads and risers but I just overlaid them on top of the existing treads/risers. So yes you could have done it if you had to - but it's great that you didn't!

  • 13 years ago

    Awesome! I love these type of DIY jobs! And just $50.

  • 13 years ago

    Looks great! You're lucky it had the pine!

  • 13 years ago

    Our stairs have dirty old carpet. This post inspires me!
    That's a beautiful job & you should be proud : )

  • 13 years ago

    Looks great!

  • 13 years ago

    You did a fantastic job! For the large railing I'd paint it white also and do some colorful stenciling on it, have a little fun in the stairway. :)

  • 13 years ago

    You did a great job. Amazing what a difference it made!

    Beth P.

  • 13 years ago

    Amazing!! Such a great job!

  • 13 years ago

    Beautiful job.

  • 13 years ago

    Beautiful!

  • 13 years ago

    Absolutely beautiful!

    I saved a previous thread on how to overlay plywood/composite treads with pine treads (complicated math to get them right so wish I already had the pine treads like yours).

    How did you continue to use the stairs during the refinish? Work on alternating treads?

  • 13 years ago

    Beautiful!!

    But one word of caution. We did a similar update in our house (but we replaced the treads because DH is a woodworker). Those new steps are SLIPPERY. It took about 6 months before the dog stopped falling down the stairs. I haven't fallen .. yet .. but I'm really careful, especially in socks.

  • 13 years ago

    Wow! What a difference. Looks fantastic.

  • 13 years ago

    Wow, so impressed. Can't believe you did it, and for $50. Great job!!

  • 13 years ago

    Thanks everyone! I always love to see what people redo in their houses too, especially when it doesnâÂÂt cost a lot.

    We were very lucky that the treads were nice. Our basement stairs are the same, so I was crossing my fingers that they matched.

    Tinan- thatâÂÂs awesome that you transformed yours. IâÂÂm still afraid of saws, so I really donâÂÂt think I could have done that yet.

    Laurie - the hardest part was the sanding. Not exactly hard, but it took a long time. I did a litte each day, and it was definitely doable (it was my first time staining anything).

    Ghostly - We have a friend in the exact same floorplan that has white painted railings. I tink the top cap part on the right of her stairs looks much better, but the long left railing doesnâÂÂt. The paint doesnâÂÂt seem to be standing up to all that touching. So weâÂÂre t hinking about it but are unsure. My dh is considering trying to cut some of the railing off and then reshaping it on the bottom , and then we would paint or stain it.

    Javachik - I worked on these on and off for at least a month. The sanding took a few weeks, and then I had to take a week off when my kids were home from the blizzard a few weeks ago.I worked mostly in the morning once I started doing steps that needed time to dry.
    I stained, starting at the top and working my way down (I think I did 3 steps, then wiped off the top step, then did another, then wiped off the next top step, etc, so the stain time on each step was roughly the same). That night we could walk on them to go up to bed. I did the same thing the next day with a 2nd coat of stain. I bought fast drying poly, and the can said it would dry in 3-4 hrs. I think I did 2 coats the first day (one in the morning, and one at lunchtime), and then for the next 2 did once a day in the morning. I was going to poly every other tread if needed, but it worked for us just to use them lightly at the end of the day. I waited 3 days before taping off the treads to do the risers, and I did those pretty quickly (1 coat primer + 2 coats paint) because I was ready to be done! : )

    Aok - thanks for the warning. I used satin poly in the hopes that it would be less slippery. I like the look of sisal runners or stair treads, so I thought we could do that if weâÂÂre having trouble with them.

  • 13 years ago

    Great DIY; I bet this inspires many people to ditch the carpet.

    As a word of caution, you were very fortunate to find solid wood treads in basically great shape (except the darned staples); most of the time when the stairs are intended to be carpeted from the get-go,the treads will be plywood. And as you stated, it's quite a task and expense to replace them with solid wood.
    Casey

  • 13 years ago

    noellabelle, I am afraid of circular and table saws too - I measured first and had the treads and risers cut to the right width at Lowes. The heights were all standard. Just a tip for anyone who doesn't find useable treads under their stairs! I did need my jigsaw to cut off the existing plywood overhang.

    You can also get stuff called sharkgrip that you add to stain or paint for grip. We didn't need it - ours are not slippery at all, perhaps because the wood is not dense grained or polished.

    I love the colors you chose, it blends very well with the existing flooring. Carpeted stairs are so hard to keep clean, with the wood I just either swipe with a broom once a week or take a rag and wipe as I walk up the stairs!

    This post was edited by tinan on Thu, Feb 28, 13 at 10:56