

cheap plastic sink drain - junk!
18 years ago
Sort by:Oldest
Comments (4)
Related Stories
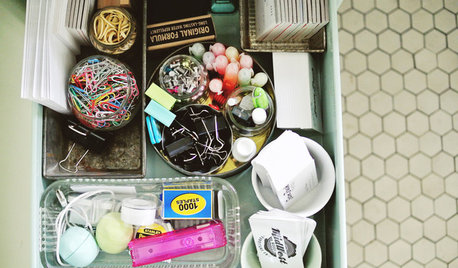
MOST POPULAR8 Ways to Get a Handle on the Junk Drawer
Don’t sweat the small stuff — give it a few drawers of its own, sorted by type or task
Full Story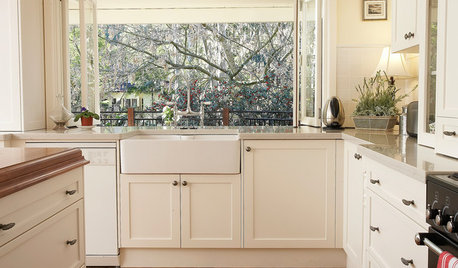
KITCHEN SINKSEverything You Need to Know About Farmhouse Sinks
They’re charming, homey, durable, elegant, functional and nostalgic. Those are just a few of the reasons they’re so popular
Full Story
MOST POPULARHow to Choose the Right Kitchen Sink
Learn about basin configurations, sink shapes, materials and even accessories and specialty sinks
Full Story
BATHROOM DESIGNHow to Choose the Right Bathroom Sink
Learn the differences among eight styles of bathroom sinks, and find the perfect one for your space
Full Story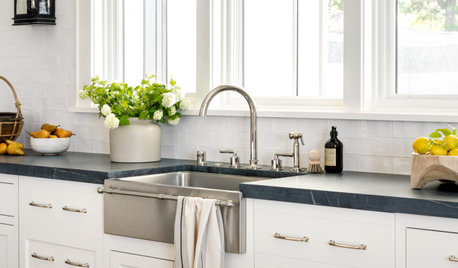
KITCHEN DESIGN8 Kitchen Sink Materials to Consider
Learn the pros and cons of these common choices for kitchen sinks
Full Story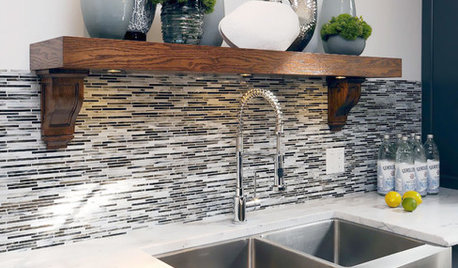
KITCHEN DESIGNKitchen Sinks: Stainless Steel Shines for Affordability and Strength
Look to a stainless steel sink for durability and sleek aesthetics at a budget-minded price
Full Story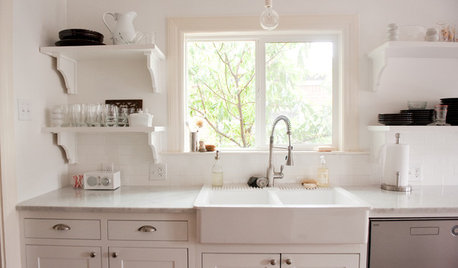
KITCHEN DESIGNKitchen Sinks: Easy-Clean, Surprisingly Affordable Ceramic
You get a lot for the price with ceramic sinks, and they're available everywhere. See the pros and cons here
Full Story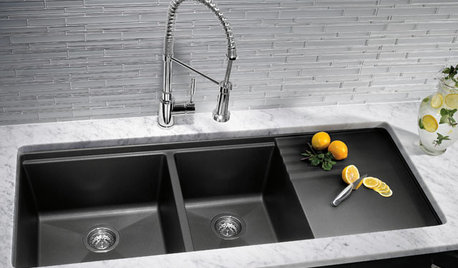
KITCHEN DESIGNKitchen Sinks: Granite Composite Offers Superior Durability
It beats out quartz composite for strength and scratch resistance. Could this kitchen sink material be right for you?
Full Story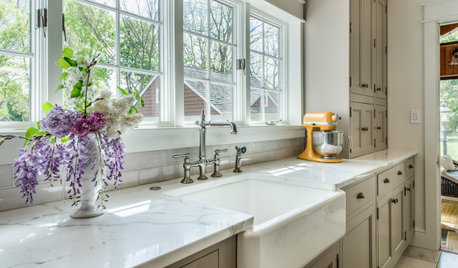
KITCHEN DESIGNHow to Choose the Best Sink Type for Your Kitchen
Drop-in, undermount, integral or apron-front — a design pro lays out your sink options
Full Story
KITCHEN DESIGNKitchen Sinks: Fireclay Brims With Heavy-Duty Character
Cured at fiery temperatures, fireclay makes for farmhouse sinks that just say no to scratches and dents
Full Story


pjb999
homeboundOriginal Author
Related Professionals
Kissimmee General Contractors · Syracuse General Contractors · Dodge City General Contractors · Kalispell General Contractors · Memphis Home Remodeling · Aurora Home Remodeling · Rochester Home Remodeling · Merced Home Remodeling · Hobbs Home Remodeling · Lubbock Home Remodeling · Owensboro Bathroom Remodelers · Aberdeen Bathroom Remodelers · Burlington Bathroom Remodelers · Concord Bathroom Remodelers · Odessa Bathroom Remodelerspjb999
homeboundOriginal Author