

Removing Silicone Caulk from Undermount Sink?
17 years ago
Sort by:Oldest
Comments (10)
Related Stories
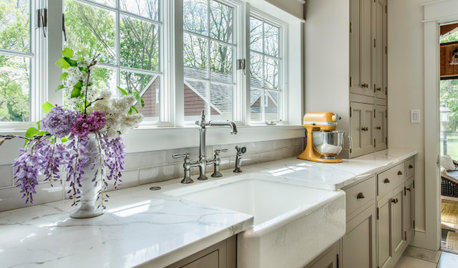
KITCHEN DESIGNHow to Choose the Best Sink Type for Your Kitchen
Drop-in, undermount, integral or apron-front — a design pro lays out your sink options
Full Story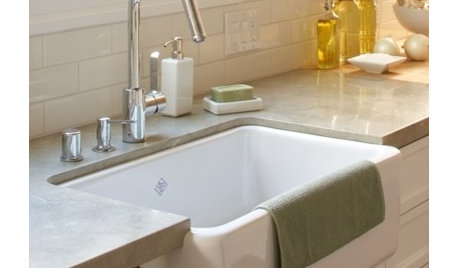
CONTRACTOR TIPSContractor Tips: Countertop Installation from Start to Finish
From counter templates to ongoing care, a professional contractor shares what you need to know
Full Story
GARDENING AND LANDSCAPINGSee a Family Greenhouse Grown From Scraps
Can-do resourcefulness and less than $400 lead to a new 8- by 8-foot home for plants on a Tennessee family's property
Full Story
KITCHEN DESIGN20 Kitchen Must-Haves From Houzz Readers
We asked you to tell us your top kitchen amenities. See what popular kitchen features made the list
Full Story
KITCHEN DESIGNPearls of Wisdom From a Real-Life Kitchen Remodel
What your best friend would tell you if you were embarking on a renovation and she'd been there, done that
Full Story
KITCHEN DESIGN16 Practical Ideas to Borrow From Professional Kitchens
Restaurant kitchens are designed to function efficiently and safely. Why not adopt some of their tricks in your own home?
Full Story
MOST POPULAR15 Remodeling ‘Uh-Oh’ Moments to Learn From
The road to successful design is paved with disaster stories. What’s yours?
Full Story
FEEL-GOOD HOME12 Very Useful Things I've Learned From Designers
These simple ideas can make life at home more efficient and enjoyable
Full Story
REMODELING GUIDESFrom the Pros: 8 Reasons Kitchen Renovations Go Over Budget
We asked kitchen designers to tell us the most common budget-busters they see
Full Story
LAUNDRY ROOMSSoak Up Ideas From 3 Smart Laundry Rooms
We look at the designers’ secrets, ‘uh-oh’ moments and nitty-gritty details of 3 great laundry rooms uploaded to Houzz this week
Full Story
mississippirose
mom2reeseOriginal Author
Related Professionals
West Palm Beach Kitchen & Bathroom Designers · Kankakee Kitchen & Bathroom Designers · Syracuse Kitchen & Bathroom Designers · Los Angeles Kitchen & Bathroom Designers · Aberdeen Kitchen Remodelers · Jackson Kitchen Remodelers · Elgin Kitchen Remodelers · Williamsport Kitchen Remodelers · Sioux Falls Kitchen Remodelers · Burlington Kitchen Remodelers · Atlantic City Custom Countertops · Spartanburg Custom Countertops · San Marcos Custom Countertops · Texarkana Custom Countertops · Muskegon Custom Countertopskatiee511
azstoneconsulting
mom2reeseOriginal Author
mavmomma
grannysmith18
mom2reeseOriginal Author
chachashea
grannysmith18