

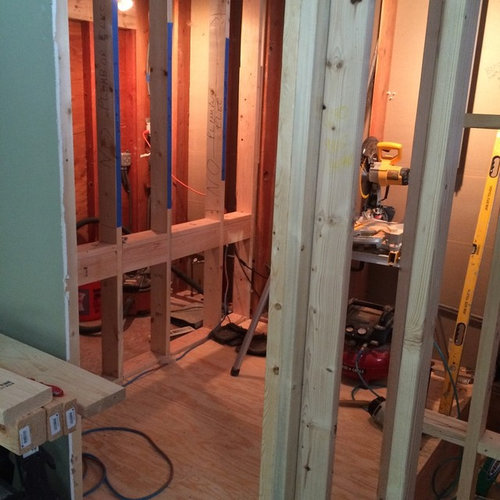
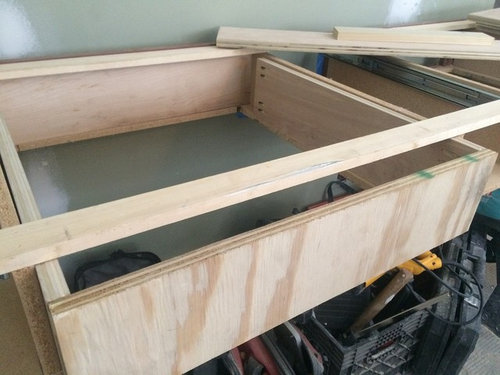
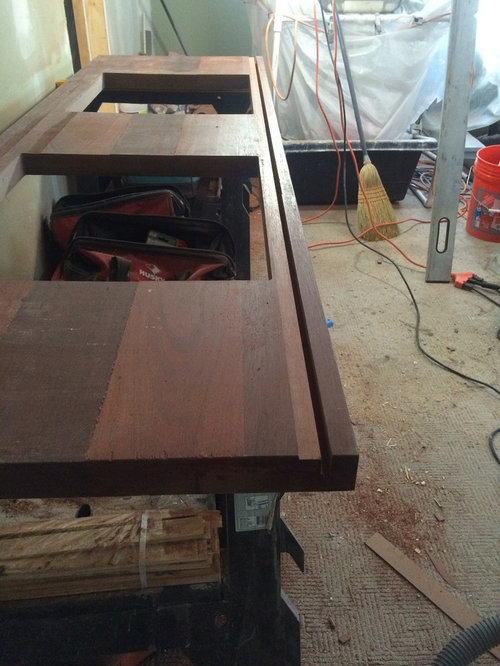
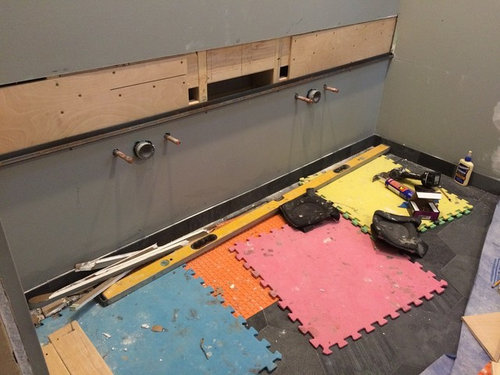
Floating A recycled Vanity pictorial
11 years ago
last modified: 11 years ago
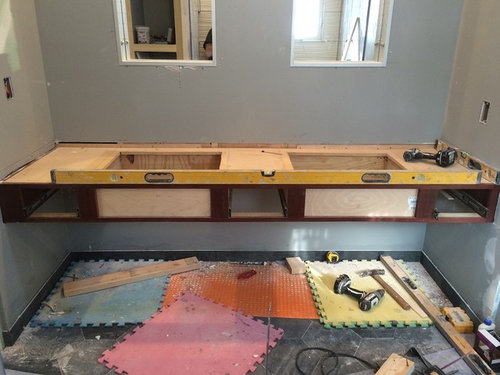
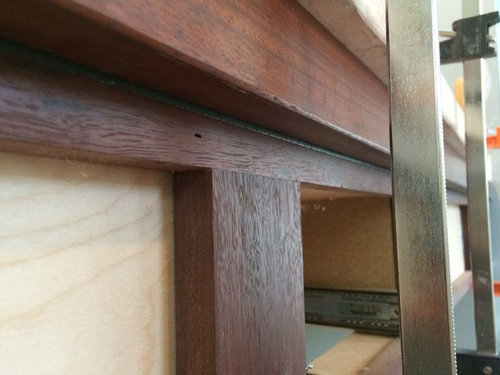
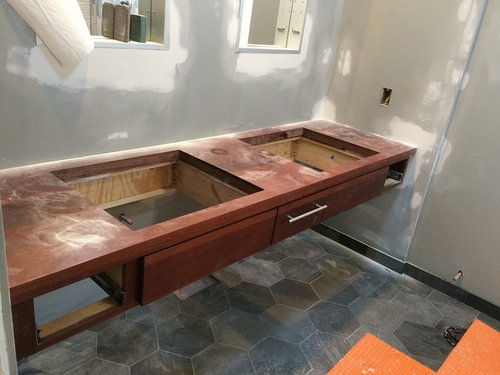
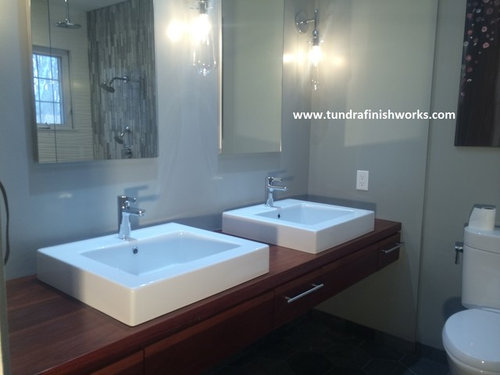
Sort by:Oldest
Comments (3)

Related Stories
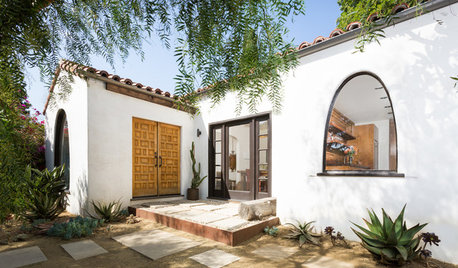
BEFORE AND AFTERSHouzz TV: See Recycled Walls and Cool Cassette Art in a Woodsy DIY Home
Walnut countertops join hardwood floors and pieces made from leftover framing in a bright Spanish colonial
Full Story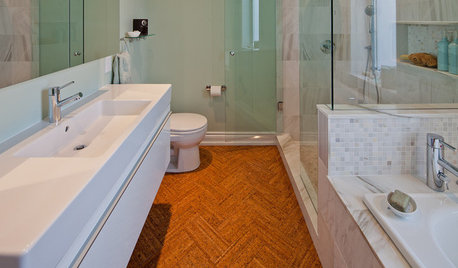
FLOORSWill Cork Float for Your Bathroom Floor?
Get the facts on advantages, disadvantages, costs and installation to see if a cork bathroom floor is right for you
Full Story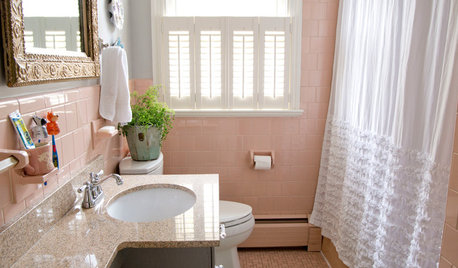
BATHROOM DESIGNHouzz Call: Have a Beautiful Small Bathroom? We Want to See It!
Corner sinks, floating vanities and tiny shelves — show us how you’ve made the most of a compact bathroom
Full Story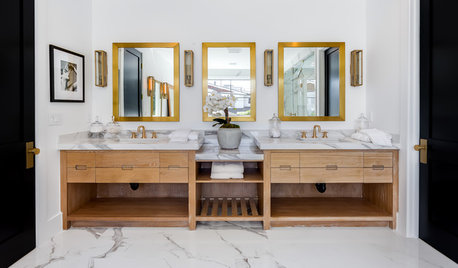
BATHROOM DESIGNHow to Know if an Open Bathroom Vanity Is for You
Ask yourself these questions to learn whether you’d be happy with a vanity that has open shelves
Full Story
BATHROOM VANITIESAll the Details on 3 Single-Sink Vanities
Experts reveal what products, materials and paint colors went into and around these three lovely sink cabinets
Full Story
BATHROOM DESIGNHow to Choose the Right Bathroom Sink
Learn the differences among eight styles of bathroom sinks, and find the perfect one for your space
Full Story
BATHROOM DESIGNGet It Done: Organize the Bathroom for Well-Earned Bliss
You deserve the dreamy serenity of cleared countertops, neatly arranged drawers and streamlined bathroom storage
Full Story
MOST POPULAREasy Green: 23 Ways to Reduce Waste at Home
Pick from this plethora of earth-friendly ideas to send less to the landfill and keep more money in your pocket
Full Story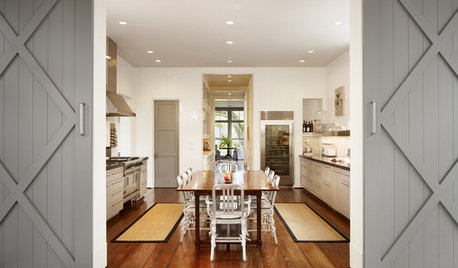
TRADITIONAL HOMESHouzz Tour: Casual Elegance With a Touch of Farmhouse Style
Informal family living is aided by a home layout with an easy flow
Full Story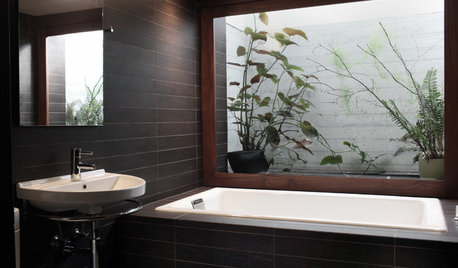
BATHROOM DESIGNPersonal Style: 50 Bath Designs From Creative Owners and Renters
Ideas abound in bathroom styles ranging from upcycled vintage to sleekly modern
Full Story

Addition Building & Design, Inc.
Joseph Corlett, LLC
alwaysdesigning