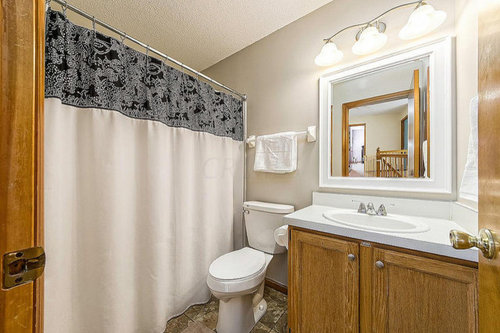
When we moved into new house this is how kids bathroom looked like:
The curtain is closed on the real estate picture and there is a good reason for that.
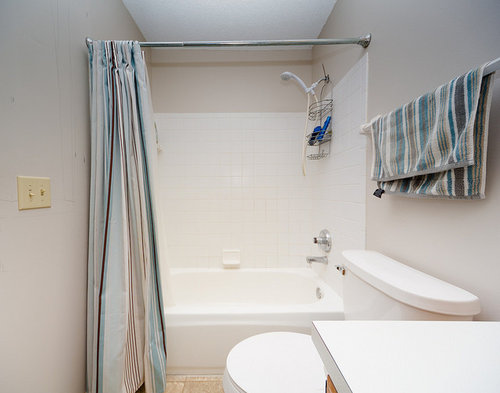
White grout turned pink and mold, small cream square tiles looked dated.
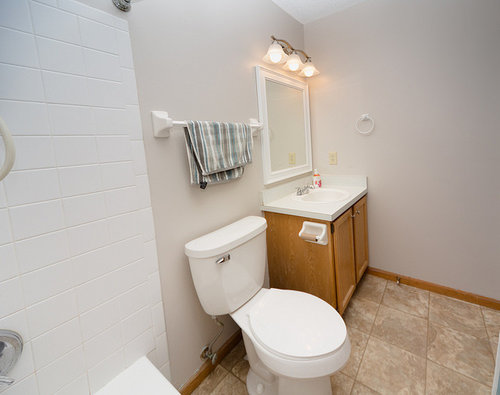
Here are more photos that I took:
The switch was placed in the middle of the wall, way to far from easy reach
The problem is obvious, we ran out of toilet paper. And this alone needed some radical measures!
The room needed remodeling.
But first things first. Before I did anything, I bought beautiful porcelain sink on craigslist.
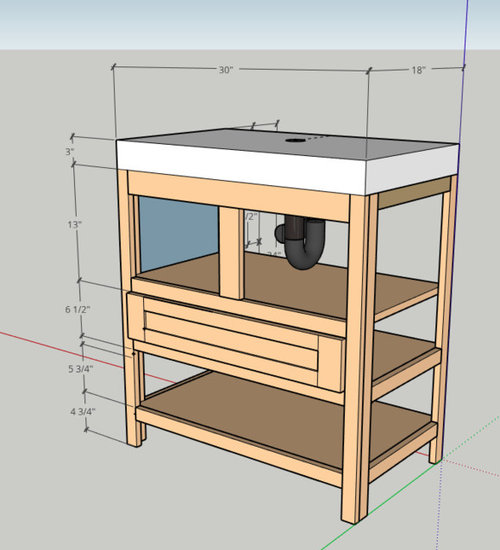
Then, I draw cabinet I wanted, and my plumber have approved the cabinet plan:
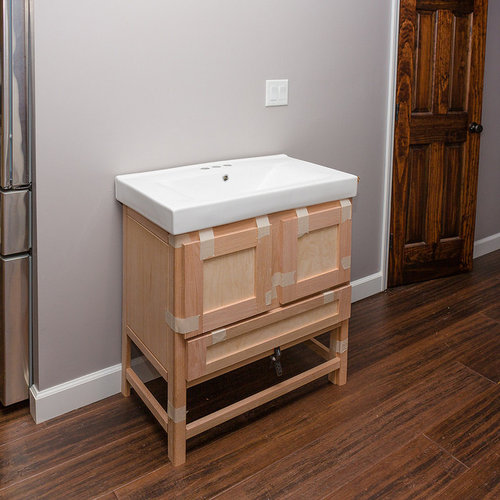
The next step was to build the cabinet, and it was probably the easiest part, since I built cabinets before:
Also I did not need to rush, the cabinet itself took me about a week to make it between the work, family, running a marathon and other stuff.
I wanted the bathroom in black-white-gray tones, so I have stained the cabinet with Ebony stain, but the red oak gave it deep-deep brown color. Not the pitch black, but I am ok with it how it turned out.
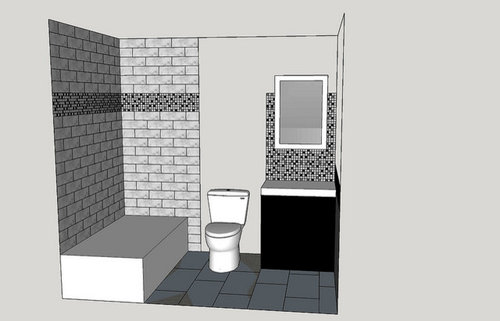
Then it was a time to plan the bathroom tile layout:
When the plan was more or less finalized, I started to tear down the old bathroom.
At one point I wanted to get rid of the bath and make shower instead.
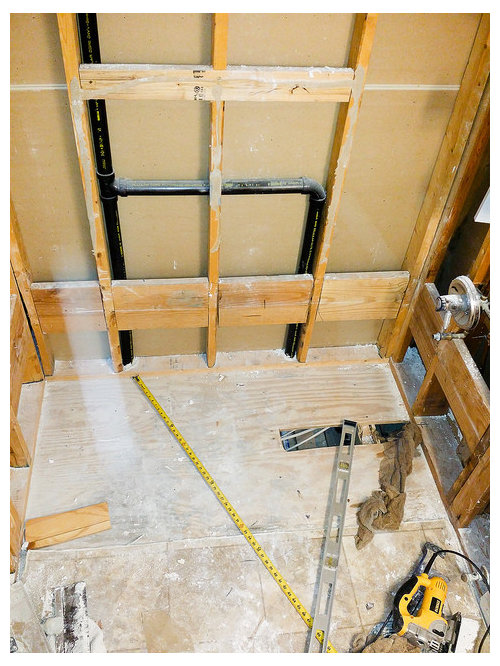
However it did not work. When I removed the old bath, my plumber and I have discovered a lot of electric cables and other pipes under the floor, you could see them through the floor cut on the picture:
The only way to make a shower drain was to cut the ceiling from the first floor, newly repainted ceiling I should say!
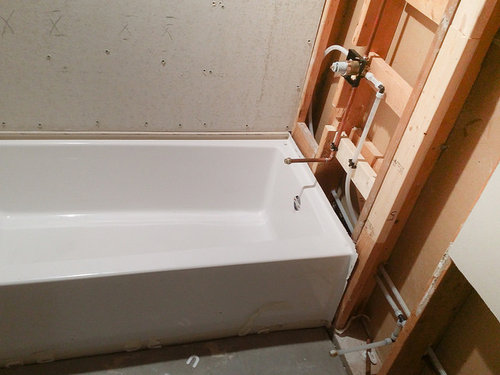
I have decided to cancel the shower and install a bath tub back:
Since my old tub was ruined at the demolition, I had to buy a new tub. It set me off couple hundred dollars. it was the reason why I had to cancel heated floors too, it would be just too much to spend.
Then I really need to hurry, because I have promised my wife to finish it before Thanksgiving when all the kids are getting back home.
Well, it was a problem because I never installed tiles on the wall. I had to learn, ask advise and do everything slowly, making sure the tiles will not go down the next day.
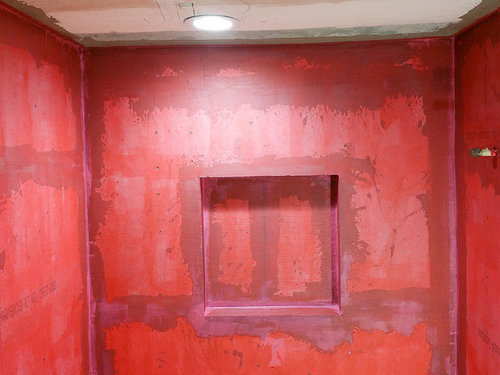
I have made Redguard waterproof on the walls:
Originally I was going to install smaller tiles on the walls, size 4x12, and larger tiles on the floor 12x24.
However, I was told the bigger tiles will look better especially in the smaller room.
So I have changed my plans: I have selected new bigger tiles on the floor 16x32 and bigger tiles 12x24 on the walls:
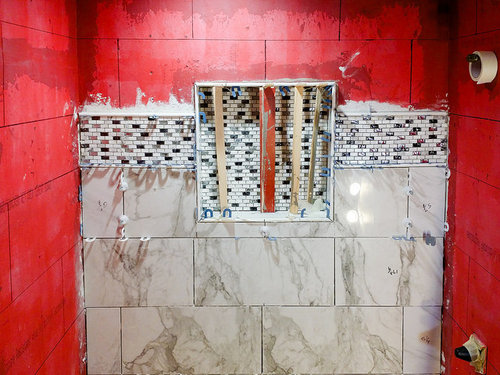
Another challenge was to find matching mosaic for niche and splash guard. Got what I need at Home depot. More expensive that I wanted, but it was a good fit.
Had to work day and night, but finally the bath tub part was ready. However, at that time I was behind my schedule for two or three days!
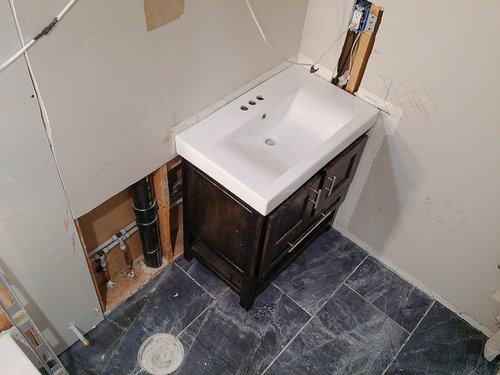
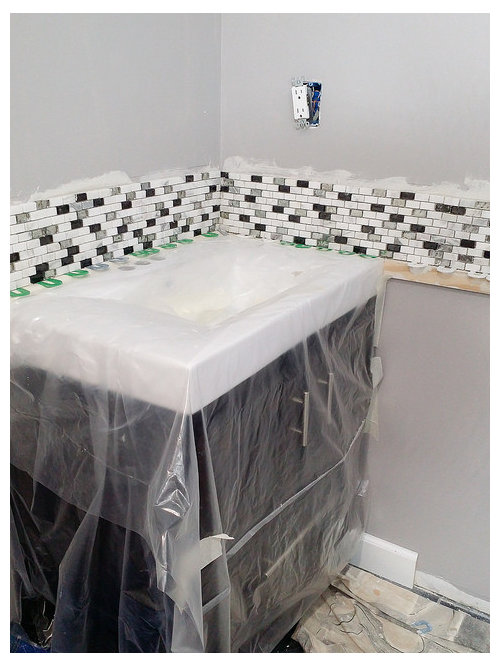
Well, the rest was relatively easy, just the mosaic. The smaller the tiles, the easier the installation. Roughed in the cabinet just to make sure I did not miscalculate the placement. The new cabinet was smaller, opening a little more space
Also it is a good view on the floor tiles:
It took me few more days to install splash guard:
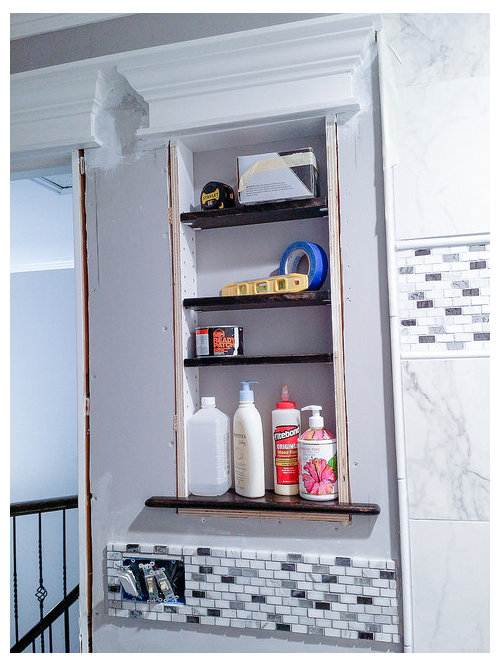
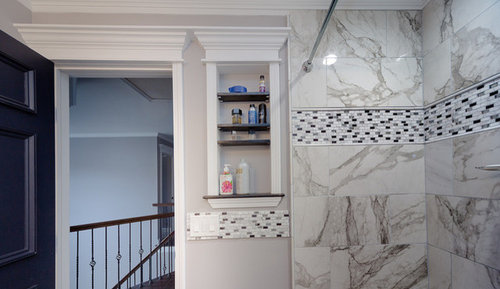
And make another niche:
And ta-da!!! Finally new roll could be added:
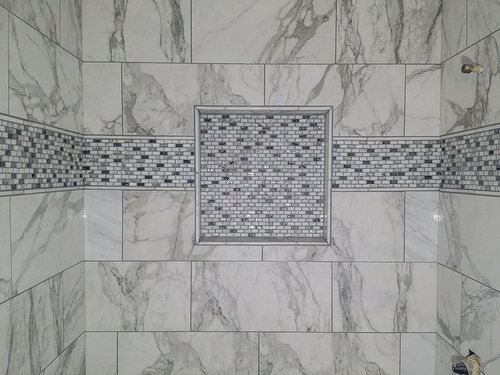
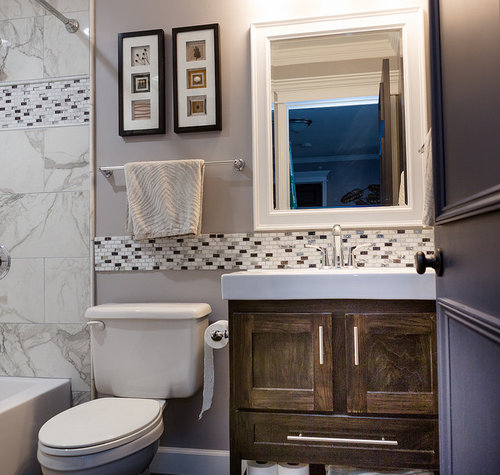
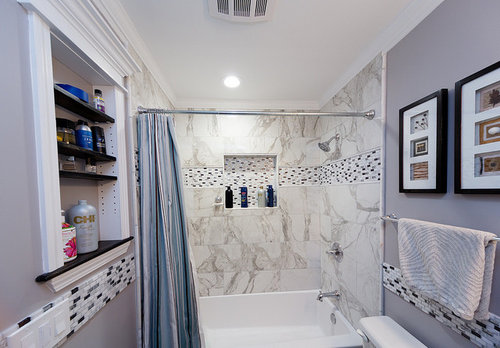
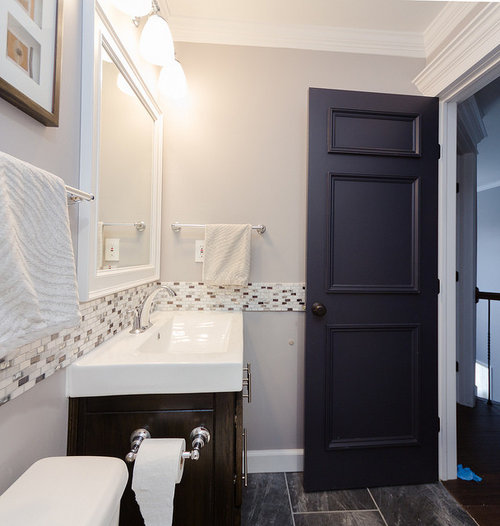
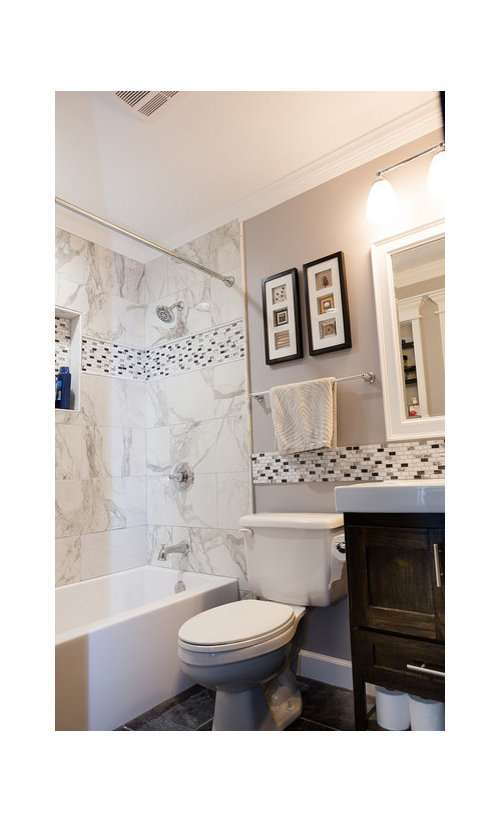
This is how it looks now:
This is the list of what was done:
- Removed pop-corn ceiling. I am doing in through out the whole house, room by room. Two rooms and one closet left with pop corn!
- Installed new can light over the tub
- Installed new bigger fan. I was told Panasonic is a good one. I have no idea because I cannot hear it! Also, added timed switch on the fan
- New bath tub. The old one was so-so, it would be ok, I could keep it, if I only knew about the plumbing problem
- Installed new tiles over bathtub
- Installed crown moulding
- Created new niche with shelves (not the tile one)
- New toilet, a gift from my plumber, he had extra one and was going to through it away.
- New sink and cabinet. Cost me abut $100 for both thanks to craigslist and DIY
- New tiles on the floor
- New lights over mirror, new towel bars, new faucet and new shower trim.
The only things I kept were the shower rod, mirror, and shower curtain. I am not completely happy with the shower curtain, because it has blue strips on it, planning to replace one when I see the one that I like.
More photos:
What it took:
It took me less than a month to complete the project. But I had to work full time and my job, plus a little overtime, that left me to work on the bathroom days and nights literally! You need to know that I had my cabinet ready finished before I started the demolition. It started on October 28th, and I have installed the last shower trim piece on Thanksgiving morning. So, technically I kept my word and finished it BEFORE Thanksgiving ;)
I have spent on all about $2,000. I do not have a final figure, just returned yesterday few unused pieces back to the store, and found few more in my garage. So it could be something from $1,900 to $2,100, if more, than not so much more, maybe another $100, but definitely not a thousand.
The tile was expensive, but the marble pencil was very expensive. Just the pencils alone added close to $200 to my project. I could not find any other solution that would look the same as the stupid pencils.
Another expensive thing was mosaic tile at $13 per sq ft. I could use less, but it would not look right. Very few black/white mosaic I could consider for the project, but most of them did not fit marble pattern.
This is very standard bathroom plan 5x8, i.e 40 sq ft. If my calculations are correct I have spent on low side national average $50-55 per sq ft
After all I feel much more comfortable to start master bathroom remodeling.
But it has to be another story.


 7 years ago
 7 years agolast modified: 7 years ago
 PRO7 years ago
 7 years ago
 7 years ago

Elizabeth B