

J-Channel installation with Window Replacement
7 years ago
Sort by:Oldest
Comments (2)
Related Stories
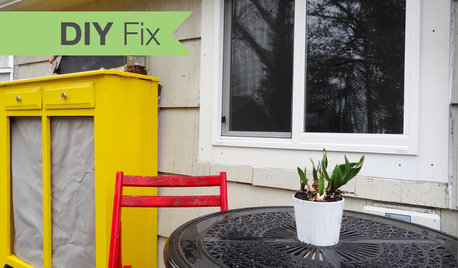
Replace Your Windows and Save Money — a How-to Guide
Reduce drafts to lower heating bills by swapping out old panes for new, in this DIY project for handy homeowners
Full Story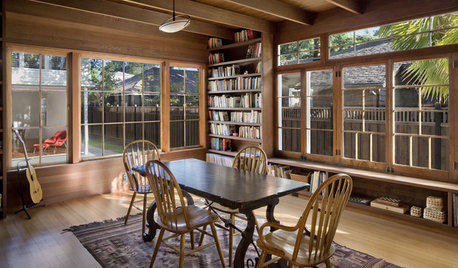
REMODELING GUIDESReplace vs. Restore: The Great Window Debate
Deciding what to do with windows in disrepair isn't easy. This insight on the pros and cons of window replacement or restoration can help
Full Story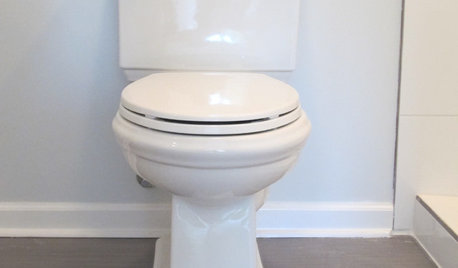
BATHROOM DESIGNHow to Install a Toilet in an Hour
Putting a new commode in a bathroom or powder room yourself saves plumber fees, and it's less scary than you might expect
Full Story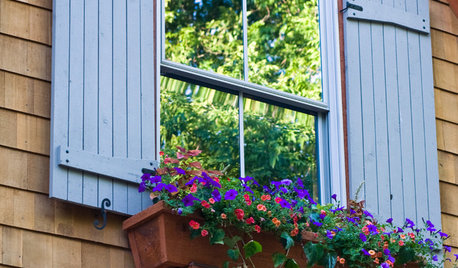
CURB APPEALHow to Make a Window Garden Grow
Get the scoop on materials, installation, plantings and more to bring the charming look of window boxes to your home
Full Story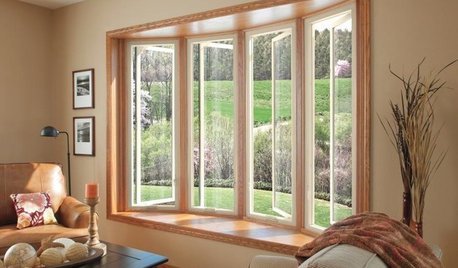
GREAT HOME PROJECTSUpgrade Your Windows for Beauty, Comfort and Big Energy Savings
Bid drafts or stuffiness farewell and say hello to lower utility bills with new, energy-efficient windows
Full Story
WINDOW TREATMENTSBedroom Window Treatments to Block the Light
Sleep tight with curtains, shades and more designed to keep out bright rays while letting stylishness in
Full Story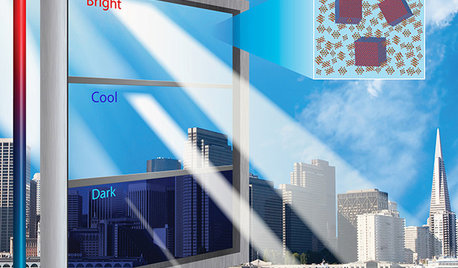
HOME TECHIs It Curtains for Curtains? Smart Glass Eliminates Window Coverings
Windows can now control light and heat through electricity and high-tech formulations, making blinds and shades optional
Full Story
KITCHEN DESIGNKitchen of the Week: Walnut Cabinets Channel Midcentury Style
Warm wood cabinets complement a collection of midcentury modern furniture, while an airier layout celebrates leafy views
Full Story
HOUSEKEEPINGHow to Replace a Broken Tile
Changing out one little tile seems easy enough, right? It can be. Find out when to do it yourself and when to hire a pro
Full Story
WINDOWSBlack-Framed Windows — Faux Pas or Fabulous?
Find out if black frames would be a great fit for your home — or better to avoid
Full Story



Windows on Washington Ltd
NoviceDIYerOriginal Author
Related Professionals
Bangor General Contractors · Johnson City Home Remodeling · Huntington Home Remodeling · Cleveland Home Remodeling · Ocala Interior Designers & Decorators · Lewiston Architects & Building Designers · Medford Home Builders · Hagerstown Design-Build Firms · Stamford Design-Build Firms · Boston Design-Build Firms · Salinas Home Remodeling · Sheridan Home Remodeling · Tulsa General Contractors · Marinette Bathroom Remodelers · Bridgeport Bathroom Remodelers