

Replacement windows - acceptable top/bottom gaps?
7 years ago
Featured Answer
Sort by:Oldest
Comments (9)
 7 years ago
Related Professionals
Paducah Home Remodeling · Pine Bluff Home Remodeling · Bloomington Home Remodeling · Williamsburg Home Remodeling · Sioux Falls Home Remodeling · Sarasota Bathroom Remodelers · Rochester Bathroom Remodelers · McComb General Contractors · Beaumont Home Remodeling · Logan Home Remodeling · Fort Worth Interior Designers & Decorators · Lufkin Interior Designers & Decorators · Lawrence Interior Designers & Decorators · Lewiston Interior Designers & Decorators · Spanish Fork Interior Designers & Decorators- 7 years ago
 PRO7 years ago
- 7 years ago
- PRO7 years ago
- 7 years ago
 7 years agolast modified: 7 years ago
- 7 years ago
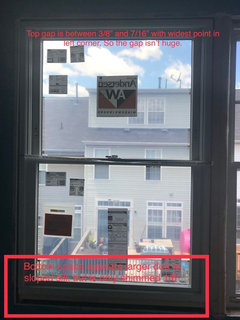
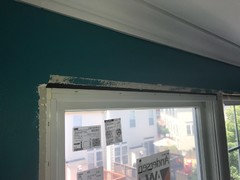
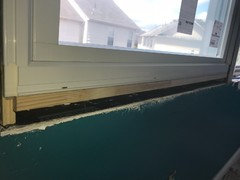
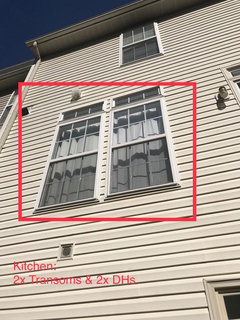
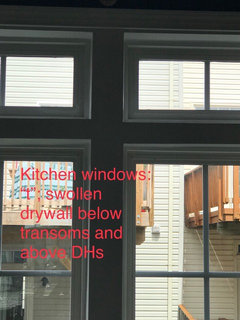
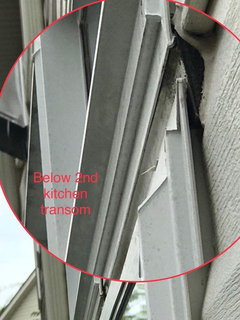
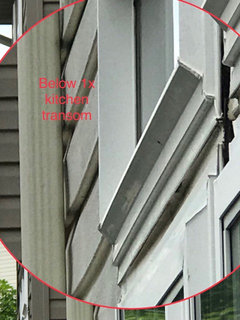
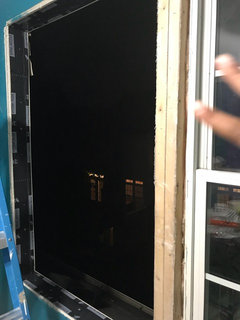
Related Stories
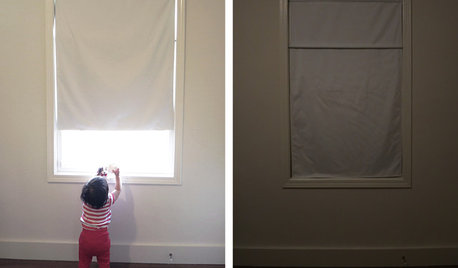
DIY PROJECTSHow to Make a Top-Down, Bottom-Up Window Shade
Block light and control privacy high or low with a no-frills magnetic covering you can whip up for less than $30
Full Story
REMODELING GUIDESOutfit a Ranch Remodel in Updated Style, Top to Bottom
Get ideas for lighting, tiles, accessories, window coverings and so much more, to make your ranch renovation easier
Full Story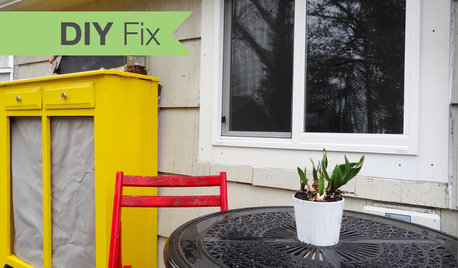
Replace Your Windows and Save Money — a How-to Guide
Reduce drafts to lower heating bills by swapping out old panes for new, in this DIY project for handy homeowners
Full Story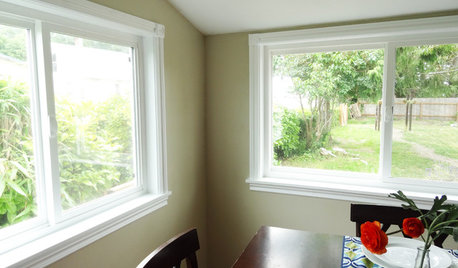
WINDOWSHow to Replace Window Trim
For finishing new windows or freshening the old, window trim gives a polished look with less effort than you may think
Full Story
DECORATING GUIDESRoom of the Day: Designer Outfits a Condo Top to Bottom in 5 Weeks
Soft touches warm this modern Texas living space, and bold colors brighten the neutral palette
Full Story
DECORATING STYLESOutfit a Cottage-Style Remodel, Top to Bottom
If you're renovating with a cottage look in mind, these fixtures, finishes and accessories will bring on the charm
Full Story
REMODELING GUIDESRenovation Detail: The Awning Window
Although they open from the bottom, awning windows are tops at boosting air circulation — even when the rain comes knocking
Full Story
GREAT HOME PROJECTSUpdate Your Windows for Good Looks, Efficiency and a Better View
Great home project: Replace your windows for enhanced style and function. Learn the types, materials and relative costs here
Full Story
WINDOWSContractor Tips: How to Choose and Install Windows
5 factors to consider when picking and placing windows throughout your home
Full Story
WINDOW TREATMENTSEasy Green: 9 Low-Cost Ways to Insulate Windows and Doors
Block drafts to boost both warmth and energy savings with these inexpensive but effective insulating strategies
Full Story




HomeSealed Exteriors, LLC