

Drywall Replacement After Demo
6 years ago
last modified: 6 years ago
Sort by:Oldest
Comments (5)
Related Stories
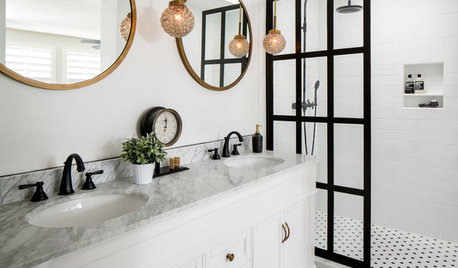
BEFORE AND AFTERSBefore and After: 6 Bathrooms That Said Goodbye to the Tub
Sleek showers replaced tub-shower combos in these bathroom remodels. Could this be an option for you?
Full Story
DISASTER PREP & RECOVERYHow to Make Your Home Safe and Dry After Flooding
Follow this expert advice to get your house ready for rebuilding while you consider your options
Full Story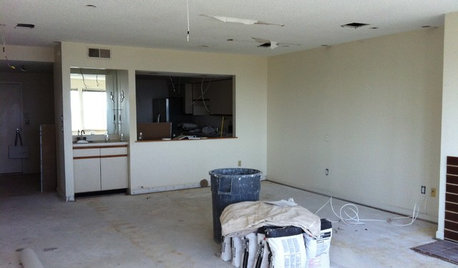
DISASTER PREP & RECOVERYRemodeling After Water Damage: Tips From a Homeowner Who Did It
Learn the crucial steps and coping mechanisms that can help when flooding strikes your home
Full Story
HOUZZ TVHouston Couple Rebuild After a Hurricane Wipes Out Their Home
These homeowners asked their designer to act fast after floodwaters destroyed their midcentury home
Full Story
ENTRYWAYSBefore and After: New Mudroom Helps a Family Get Organized
A designer improves functionality while adding modern farmhouse style to a family’s landing zone and laundry room
Full Story
MOST POPULAR9 Real Ways You Can Help After a House Fire
Suggestions from someone who lost her home to fire — and experienced the staggering generosity of community
Full Story
MOST POPULARBefore and After: 13 Dramatic Kitchen Transformations
See the wide range of ways in which homeowners are renovating their kitchens
Full Story
BATHROOM DESIGNBefore and After: 9 Small-Bathroom Makeovers That Wow
Ready to remodel? Get inspired by these bathroom projects that come in at less than 60 square feet
Full Story
MOST POPULARWhat to Do After a Hurricane or Flood
How you treat your home after a natural disaster can make all the difference in its future livability — and your own personal safety
Full Story
REMODELING GUIDESReuse or Replace? How to Save Money on Your Remodel the Smart Way
Find out when you should keep your appliances, fixtures, tile and countertops — and when you should replace them
Full Story


Mint tile Minneapolis
BLDOriginal Author
Related Professionals
Topeka Home Remodeling · Concord Home Remodeling · Danville Home Remodeling · Binghamton Home Remodeling · Fort Smith General Contractors · Pensacola General Contractors · Albert Lea General Contractors · Ithaca General Contractors · Huron General Contractors · Covington Kitchen & Bathroom Designers · Kankakee Kitchen & Bathroom Designers · Muskegon Kitchen & Bathroom Designers · Rapid City Tile and Stone Contractors · Houma Custom Closet Designers · Rapid City Custom Closet DesignersBLDOriginal Author
BLDOriginal Author
Bruce in Northern Virginia