Software
Houzz Logo Print
jay_gregory

James Hardie Lap Siding - Post Installation Questions on Appearance

5 years ago
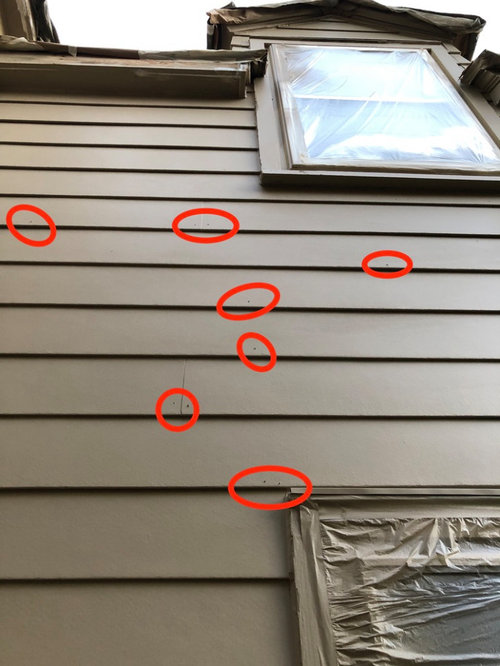
An exterior contractor just finished installing HardiPlank Smooth Lap Siding on my house, replacing aged wood lap siding (and matching a rear addition that was added to the house 18 years ago with HardiPlank). I have a few observations I'm looking for input on before I approach the contractor.


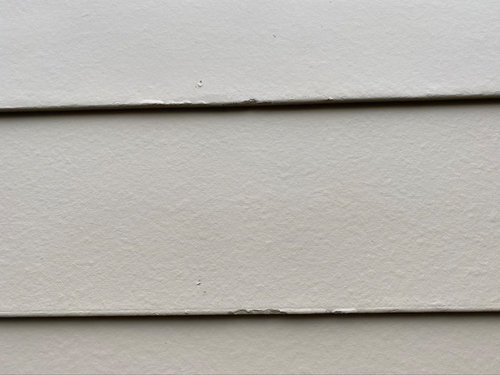
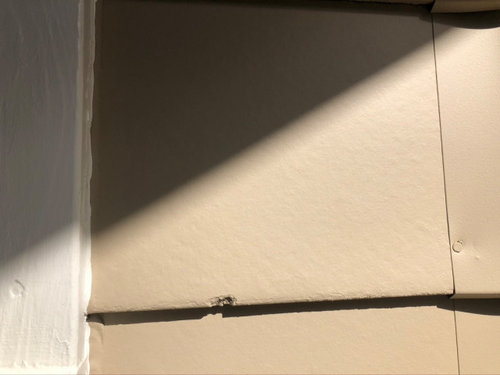
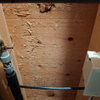
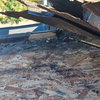
1. Should any nails be visible? My understanding is that all nailing is done at the top of the board and then covered by the overlap of the board or trim above. I have found several small nails (with their heads buried beneath the surface) placed in visible locations near the bottoms and corners of boards. And occasionally I'll find a short metal wire extending from under a board - what is this wire? See photos attached.


2. The edges are not as sharp as the HardiPlank installed 18 years ago; they are more rounded and

some are eroding or damaged, which is again inconsistent with the older Hardi installation. Can these be repaired or do the boards needs replaced or is some edge wear normal?


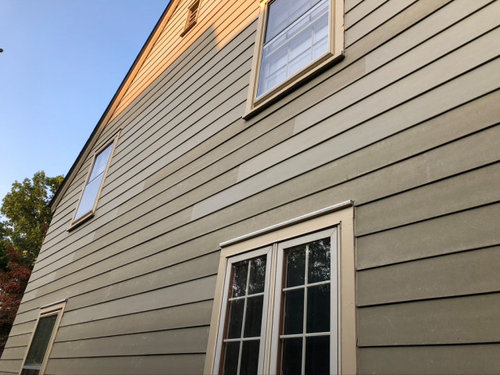
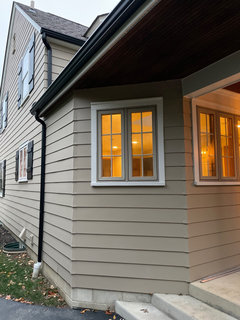
3. What am I seeing in the different colors of the boards that can be seen on the side of the house? We did not pick a color for this job, as we were painting after; all boards were to be primed.


Comments (12)

  • 5 years ago
    last modified: 5 years ago

    what are the specs for this Hardie siding? Does it specifically say it must be primed first? Look on the spec sheet.

    Did you ask if this is the primer color?

    If you didn't pick a color, then why are they painting it?

    according to Hardie, the nails should be at least 3/8" from the edge. Yours are right on the edge.

    and you're right, no exposed nails.

    Butt joints in HardiePlank lap siding should always land on a stud. Butt joints between studs are not recommended and should be avoided. Whenever possible, factory- finished ends should be used at butt joints.

    Place cut ends where the siding meets a corner, door, window trim, or other break in the wall where the joint is to be caulked. If cut ends are used in a butt joint between planks, James Hardie requires sealing cut ends for all products. For ColorPlus products, use the color-matched edge coater to seal the cut end.

    read this:

    https://www.jameshardiepros.com/getattachment/3db6064b-4ed5-433f-bfe9-caf95a61eee1/hardieplank-hz5-us-en.pdf

    Blind nailing is recommended for installing any type of HardiePlank® lap siding including ColorPlus® siding. With blind nailing, each course covers the fasteners on the course below, which provides a better looking installation.

    For blind nailing HardiePlank lap siding, James Hardie recommends driving fasteners 1 in. from the top edge of the plank. Additionally fasteners should be

    placed no closer than 3/8 in from the ends of the plank.

    HardiePlank® HZ5® Lap Siding is manufactured with a nail line that should be used as a guide for proper nail placement when blind nailing. This nail line should not be used as a lap line.

    Avoid placing fasteners near the top edge of the plank. This practice, called “high nailing”, may lead to loose planks, unwanted gaps or rattling. Pin-backed corners may be done for aesthetic purposes only. Finish nails are recommended for pin-backs. Headed siding nails are allowed. Place pin-backs no closer than 1in. from plank ends & 3/4in. from plank edge into min. 3/8in. wood structural panel. Pin-backs are not a substitute for blind or face nailing

    Face nailingExposed fasteners are driven through the face of the boards.Drive fasteners only where planks overlapSTAGGERING THE BUTT JOINTSCutoff pieces form the starter pieces for courses above.For walls longer than 12 ft land butt joints over studs, staggering the joints at least 24 in (for 24 in. o.c. framing) or 32 in. (two stud bays for 16 in. o.c. framing).

  • 5 years ago

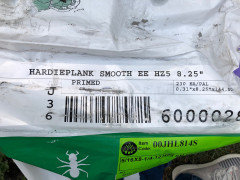
    Thanks Beth; it was painted this week after installation with Sherwin Duration . I snapped a photo of one of the Hardie shipments, which states it is primed, though I don’t know the spec of all received.

  • 5 years ago
    last modified: 5 years ago

    I just added a bunch more to my comment. I gave you the Hardie link, and added some bold text for you to read. (if you pull up the link on your phone, use the app because it's a lot to read!) but I highlighted the portion that applies to your install. Pictures are on the link. no where is it proper to do nails where yours are. I believe you are correct.

    .


  • 5 years ago

    But it's already primed, so you're good there


    you mean you didn't pick that Gray color paint?

    Jay Gregory thanked Beth H. :
  • PRO
    5 years ago

    Old Hardie had square corners which caused problems. Newer is rounded.

    A few face nails are almost always needed to help it lay flat. Nails that were driven below the surface need to have the recess filled.

    Edge damage is typical and should be sealed/primed and painted. I'll sand a bit first.

  • 5 years ago
    last modified: 5 years ago

    Thank you @PPF - big help in understanding the difference! Is there a "filler" for the larger chunks like in the photo? The minor stuff is understood......

  • 5 years ago

    Hi Everyone,

    I found a couple more things I don’t understand; could I have your feedback on the following:

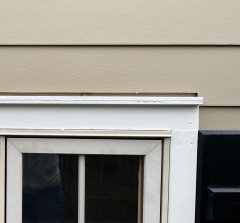
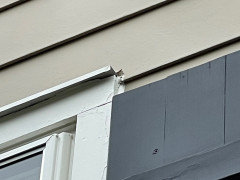
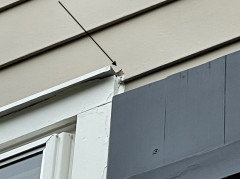
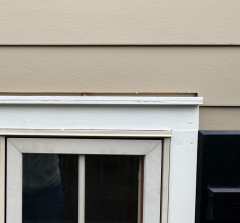
    1. Larger cuts at top of several windows have left gaps (right and front of house has this gap on every window, left does not)

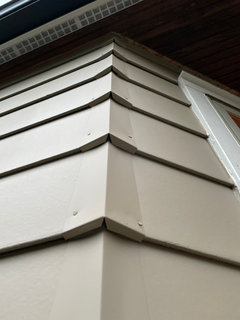
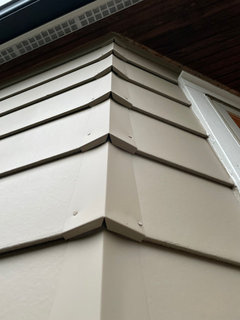
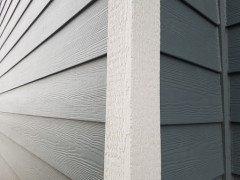
    2. Metal corners were installed to match the rest of the house; I have a wall with greater than a 90 degree angle at the corners. Will the gaps at the corner bottoms cause problems down the road?

  • 5 years ago
    last modified: 5 years ago

    I have never seen or heard of corners like that. Are you sure they are real Hardie products, not sure I like those at all? They very well may void any warranty if not a Hardie product and the face nails, yikes. Typically those outside corners would be weaved.

  • 5 years ago
    last modified: 5 years ago

    those nails should never be done like that. I posted a huge PDF installation file link. did you ever read it?

    I mean, you keep coming here to us asking for advice, and we've advised you.

    Not sure what else you want us to say? From where I sit, the install isn't done up to specs.

    Have you talked over the last issues w/the installer??

    Why not call and speak to a Hardie rep. I'm sure if you sent him these pics, they could advise you about their products.

    those corner pieces don't look right. as stated previously, nail heads should not be exposed.

    This is just wrong.


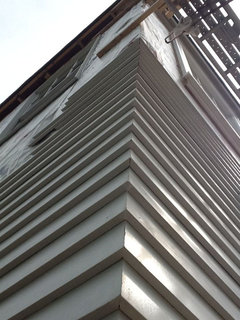
    here is a corner like yours. do you see any nail heads??? Nope.


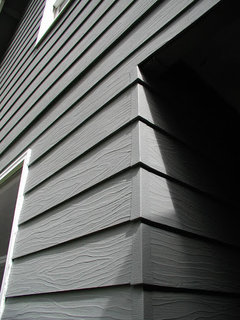
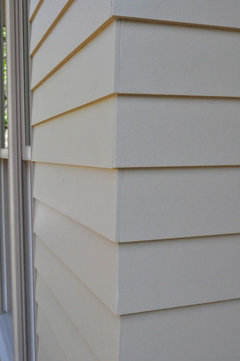
    I've posted diff corner finishes:

    Hardie Mitered Corners.


    Hardie Corners


    This just looks like water damage waiting to happen


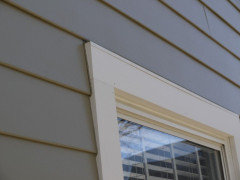
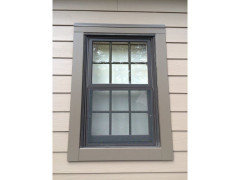
    Here's how a properly done window/siding looks:


    what happens when water gets in between this gap and just sits there or seeps in behind? have no idea if proper flashing was used.


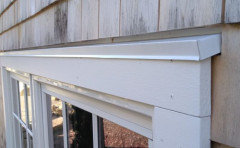
    Does this one look like yours? nope.


    This is a Drip Cap. Not sure if that's what was used w/yours


    I don't know what to say except I'd report all of these mistakes and issues to whomever is in charge. And I wouldn't pay a dime until all of these are fixed

  • 5 years ago

    I hear you Beth and thanks for all your input. The installation guide is excellent, but knowing how it translates in some of these situations takes some experience too. For instance, the guide talks about having 1/4” clearance for horizontal flashing, and not only was that inconsistently applied on my house, but these other photos show MUCH better execution of this. Kind of like you know what you’re looking at isn’t right, but can’t fully explain why. I at least feel better prepared for the discussion.....thank you.

  • 5 years ago

    I want to chime in!

    problem with Hardie is the word recommended. this is a freebie!

    if i only tell you i recomment you do not face nail it does not mean do not face nail.

    I had install issues and held money, had a lien on my home, called a remodeler association that was local and it turned out to be a construction contractor country club.

    could not get a hardi rep to ever come look.

    as a homeowner there is nobody going to fight for you.

    as a builder you have rights.

    it's bullshit. if you want anything done right you have to do it yourself. period.