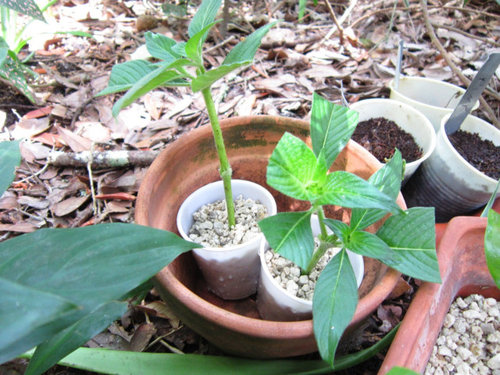
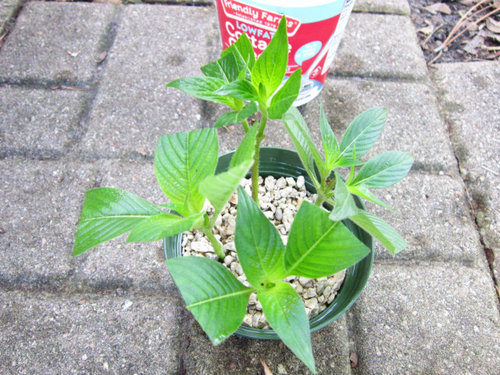
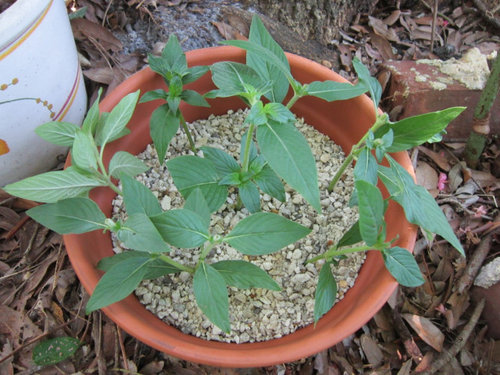
After years of frustration and mostly failure, I had great success with the following method of propagating Pentas lanceolata cuttings. Pentas are one of my favorite plants and I've lost a lot of cuttings. This past summer, this method became one-hundred-percent foolproof for me. I didn't lose a single cutting! Maybe it will help some of you? Here's my method (photos at bottom).
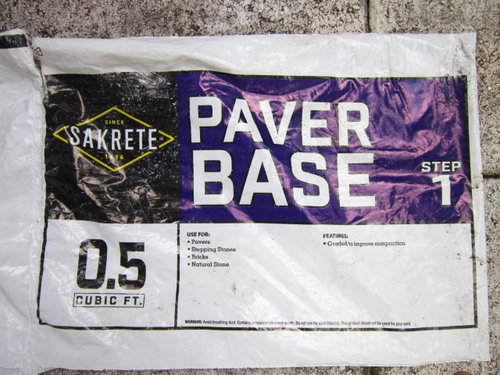
In the past, I lost most of my Pentas cuttings, which were started in either plain water or some combo of potting and/or seed-starting mix, to rot. Others say they are easy to root, but I failed every time. I knew I needed to find a substrate with better drainage. I considering using perIite, but it is so light that the cups are easily knocked over. Also, it floats, which drives me crazy. And it isn't all that cheap, either. I decided to try gravel. Boy, was that the solution! It drains just as quickly as perlite but has more weight to the cup. I used Sakrete Step 1 Paver Base (a coarse gravel, not a fine gravel) from The Home Depot. It comes in a purple and white bag. (See photo below.) (If you don't read any further, you now know my trick. 😁)
I use both individual plastic drinking cups and sometimes, community pots. For plastic drinking cups, I put three small holes in the bottom of each cup using a very cheap soldering iron. Be careful, because if you slip, you could badly burn and injure yourself. For community pots that have larger holes, I cover the holes at the bottom of the pot with a piece of window screen to keep the gravel from running out of the hole.
I fill the cups/pot with gravel. Water thoroughly until water pours freely and clearly out of the bottom. (At first, the water will look milky white, from the dust.) After the water is clear, often, I will just set the cup or community pot inside another larger container of water like an old family-size cottage cheese or yogurt container to soak, so that I know the gravel is thoroughly wet. Pull the cup/pot out of the water and using a dibble (a pencil, a sturdy stick, or anything that is long and pointy), prepare a deep hole in the center of the cup. I use the cut-off bottom end of a plastic pest control sign left in the yard. It is perfect. I usually leave the dibble right there, in the cup, until I'm ready to insert my cutting.
The rest of the process is the same, usual procedure for almost any type of cutting. Take cuttings with two or three nodes. Remove the bottom leaves and any blooms. Using your clippers or a sharp blade, gently scrape two sides of the bottom node. Apply 0.1% IBA rooting hormone powder. Insert the cutting into the hole and pinch the gravel around it to keep it in place.
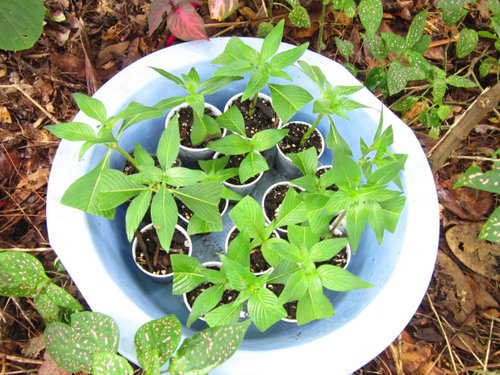
Once all of my cuttings are in gravel, I set all of the cups inside a larger container, like an inverted old plastic store-bought cake lid, that also has holes punched in the bottom. (If you are using a community pot, this is not necessary.) This keeps the cups all together and from falling over. Put the cups outside, if you possibly can, in a super-shady location. I put mine under an oak tree, underneath my understory plants so that they are in full-time shade. No direct sunlight. Here, they are in full shade but also get the all-important factor of air movement. Air movement is very important for plants - that is why house-plants don't always do so well - and why you see large fans in plant nurseries. Carefully water the cups twice a day, each time so that water is freely flowing out of the bottom (which it always will, with gravel). On days it rained, I didn't have to water.
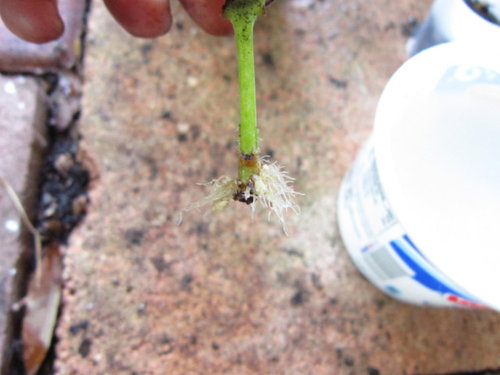
In 17-18 days, they will be full of roots and ready to pot up. After repeating this process for about ten sets of cuttings over the summer, I learned that 17-18 days is really the sweet spot. Try to pot them up any earlier and there are not enough roots, and the roots are not strong enough. After 17 days, they were always chock-full of roots, not just a few measly root strands!
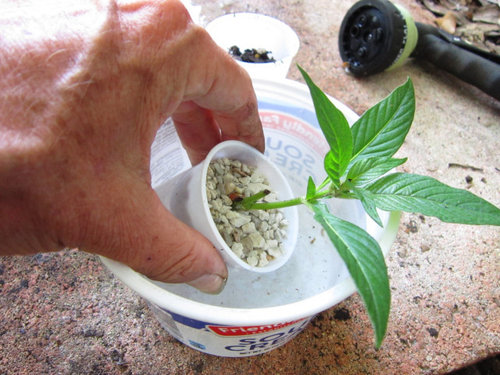
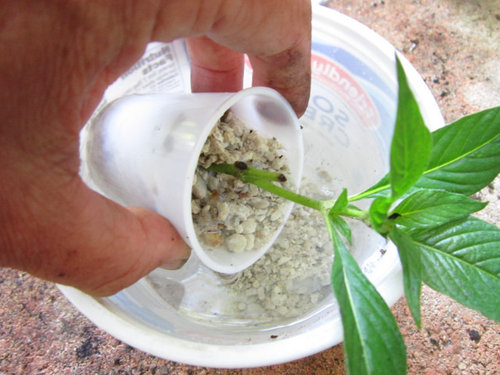
To pot up: Set the rooted cutting, still inside its gravel cup, inside a larger container of water, like an old Cool Whip container. Gently turn the cup on its side, letting the gravel spill, and work the cutting out so you don't tear the roots. The water makes the gravel lighter and looser and you can slip the cutting out like butter. 😁 I pot mine up into larger plastic cups in plain old potting soil, because they are eventually going into the ground anyway, so no need to use a fancy or expensive mix. (When I’m done potting up, I recapture my gravel by draining the water out of the Cool Whip container using an old kitchen strainer.)
I leave the potted cuttings in their cups in a semi-shaded location for another 2-4 weeks. Water them once a day, in the full heat of summer. Water them whenever the soil is dry, earlier in the year.
After that, I plant them out in the garden beds!
Interesting tidbit: the name is “Pentas”, even if you only have one. 😁
I hope this is helpful next spring and summer!
Carol in Jacksonville


 5 years agolast modified: 5 years ago


sultry_jasmine_nights (Florida-9a-ish)